SS:Shatterverse - LD process
I worked on Serious Sam: Shatterverse for about 2.5 years as a level designer, starting from an intern and making it to A2 level designer before I was transferred onto a different project at Behaviour.
I would like to explain and go over the level design process that I followed when working on Serious Sam: Shatterverse
Find level theme / biome
Goal / objective of the map
General layout
Greybox
Combat encounters / triggers
Group test
- Repeat steps 4-6 until satisfied -Level art
Verification
1. Find Level theme/Biome
SS:Shatterverse had 6 biomes: Desert, Jungle, Lava, Ice, Space and multiverse, so the start of the process for me begins with figuring out which biome a given level will be made in, its good for keeping the architecture in mind things like vaulted ceilings in the Lava Biome, Winding stone tunnels in the Desert biome and organic landforms with ruined temples in the Jungle biome can drastically change my approach to verticality, environment story telling and overall combat encounter design.
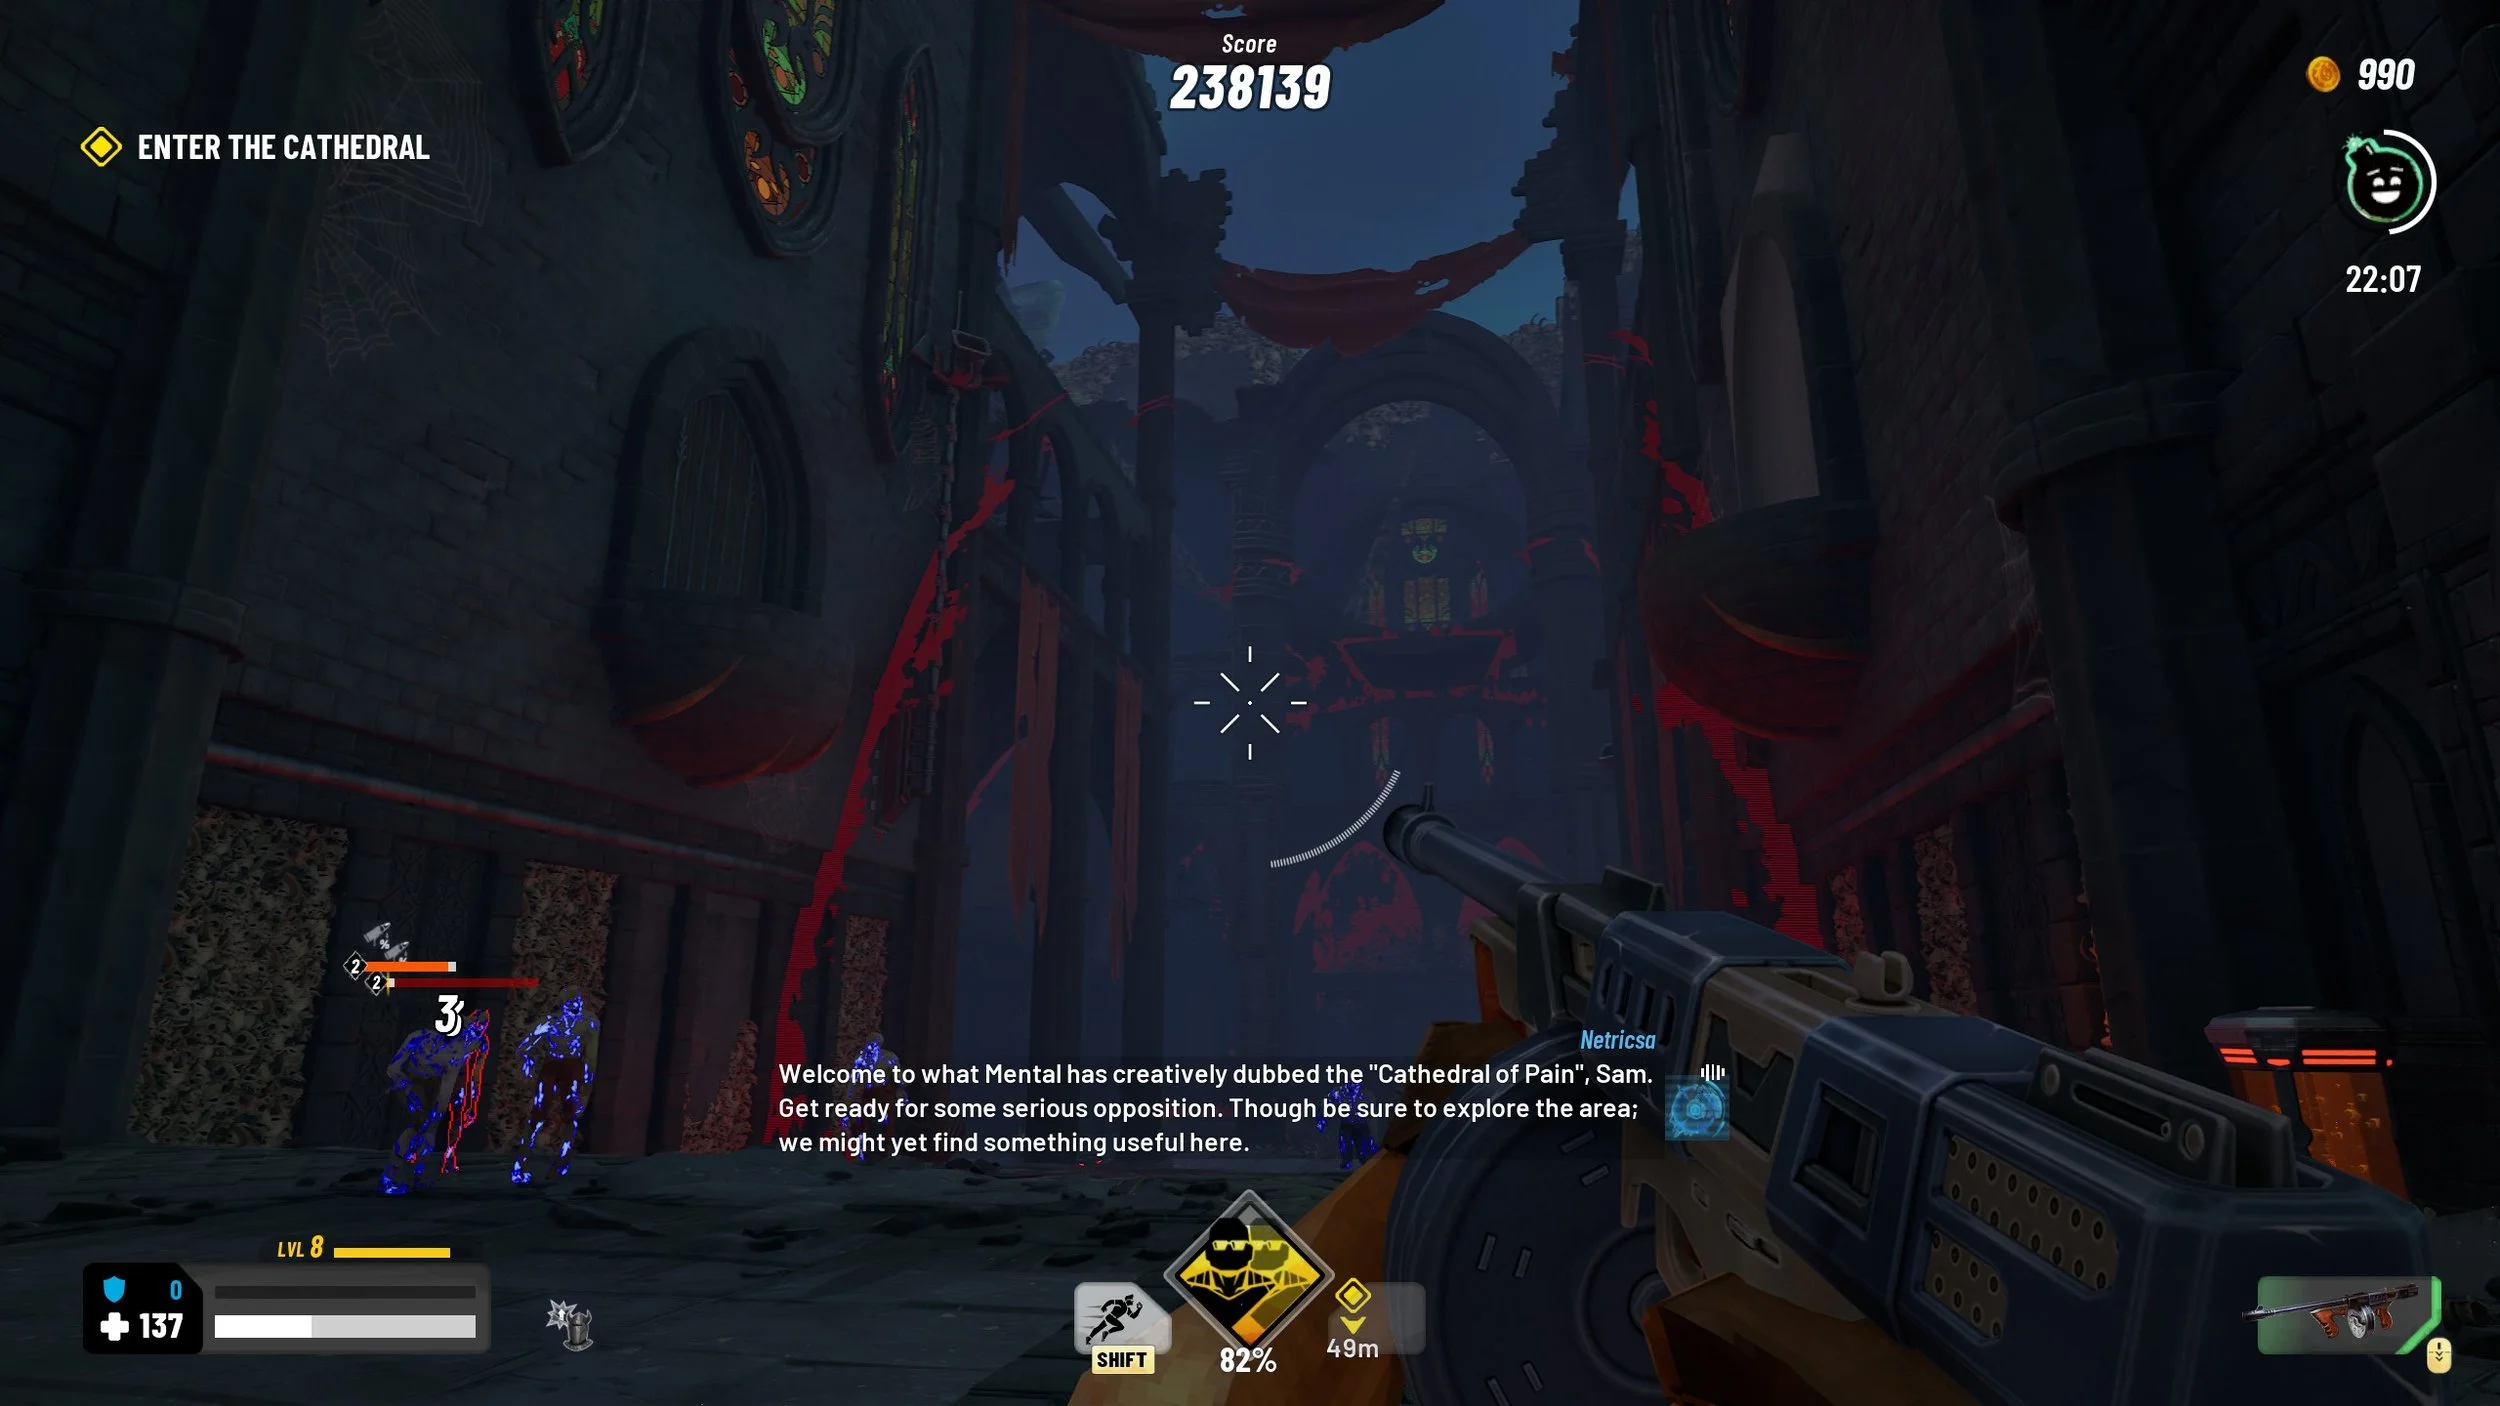
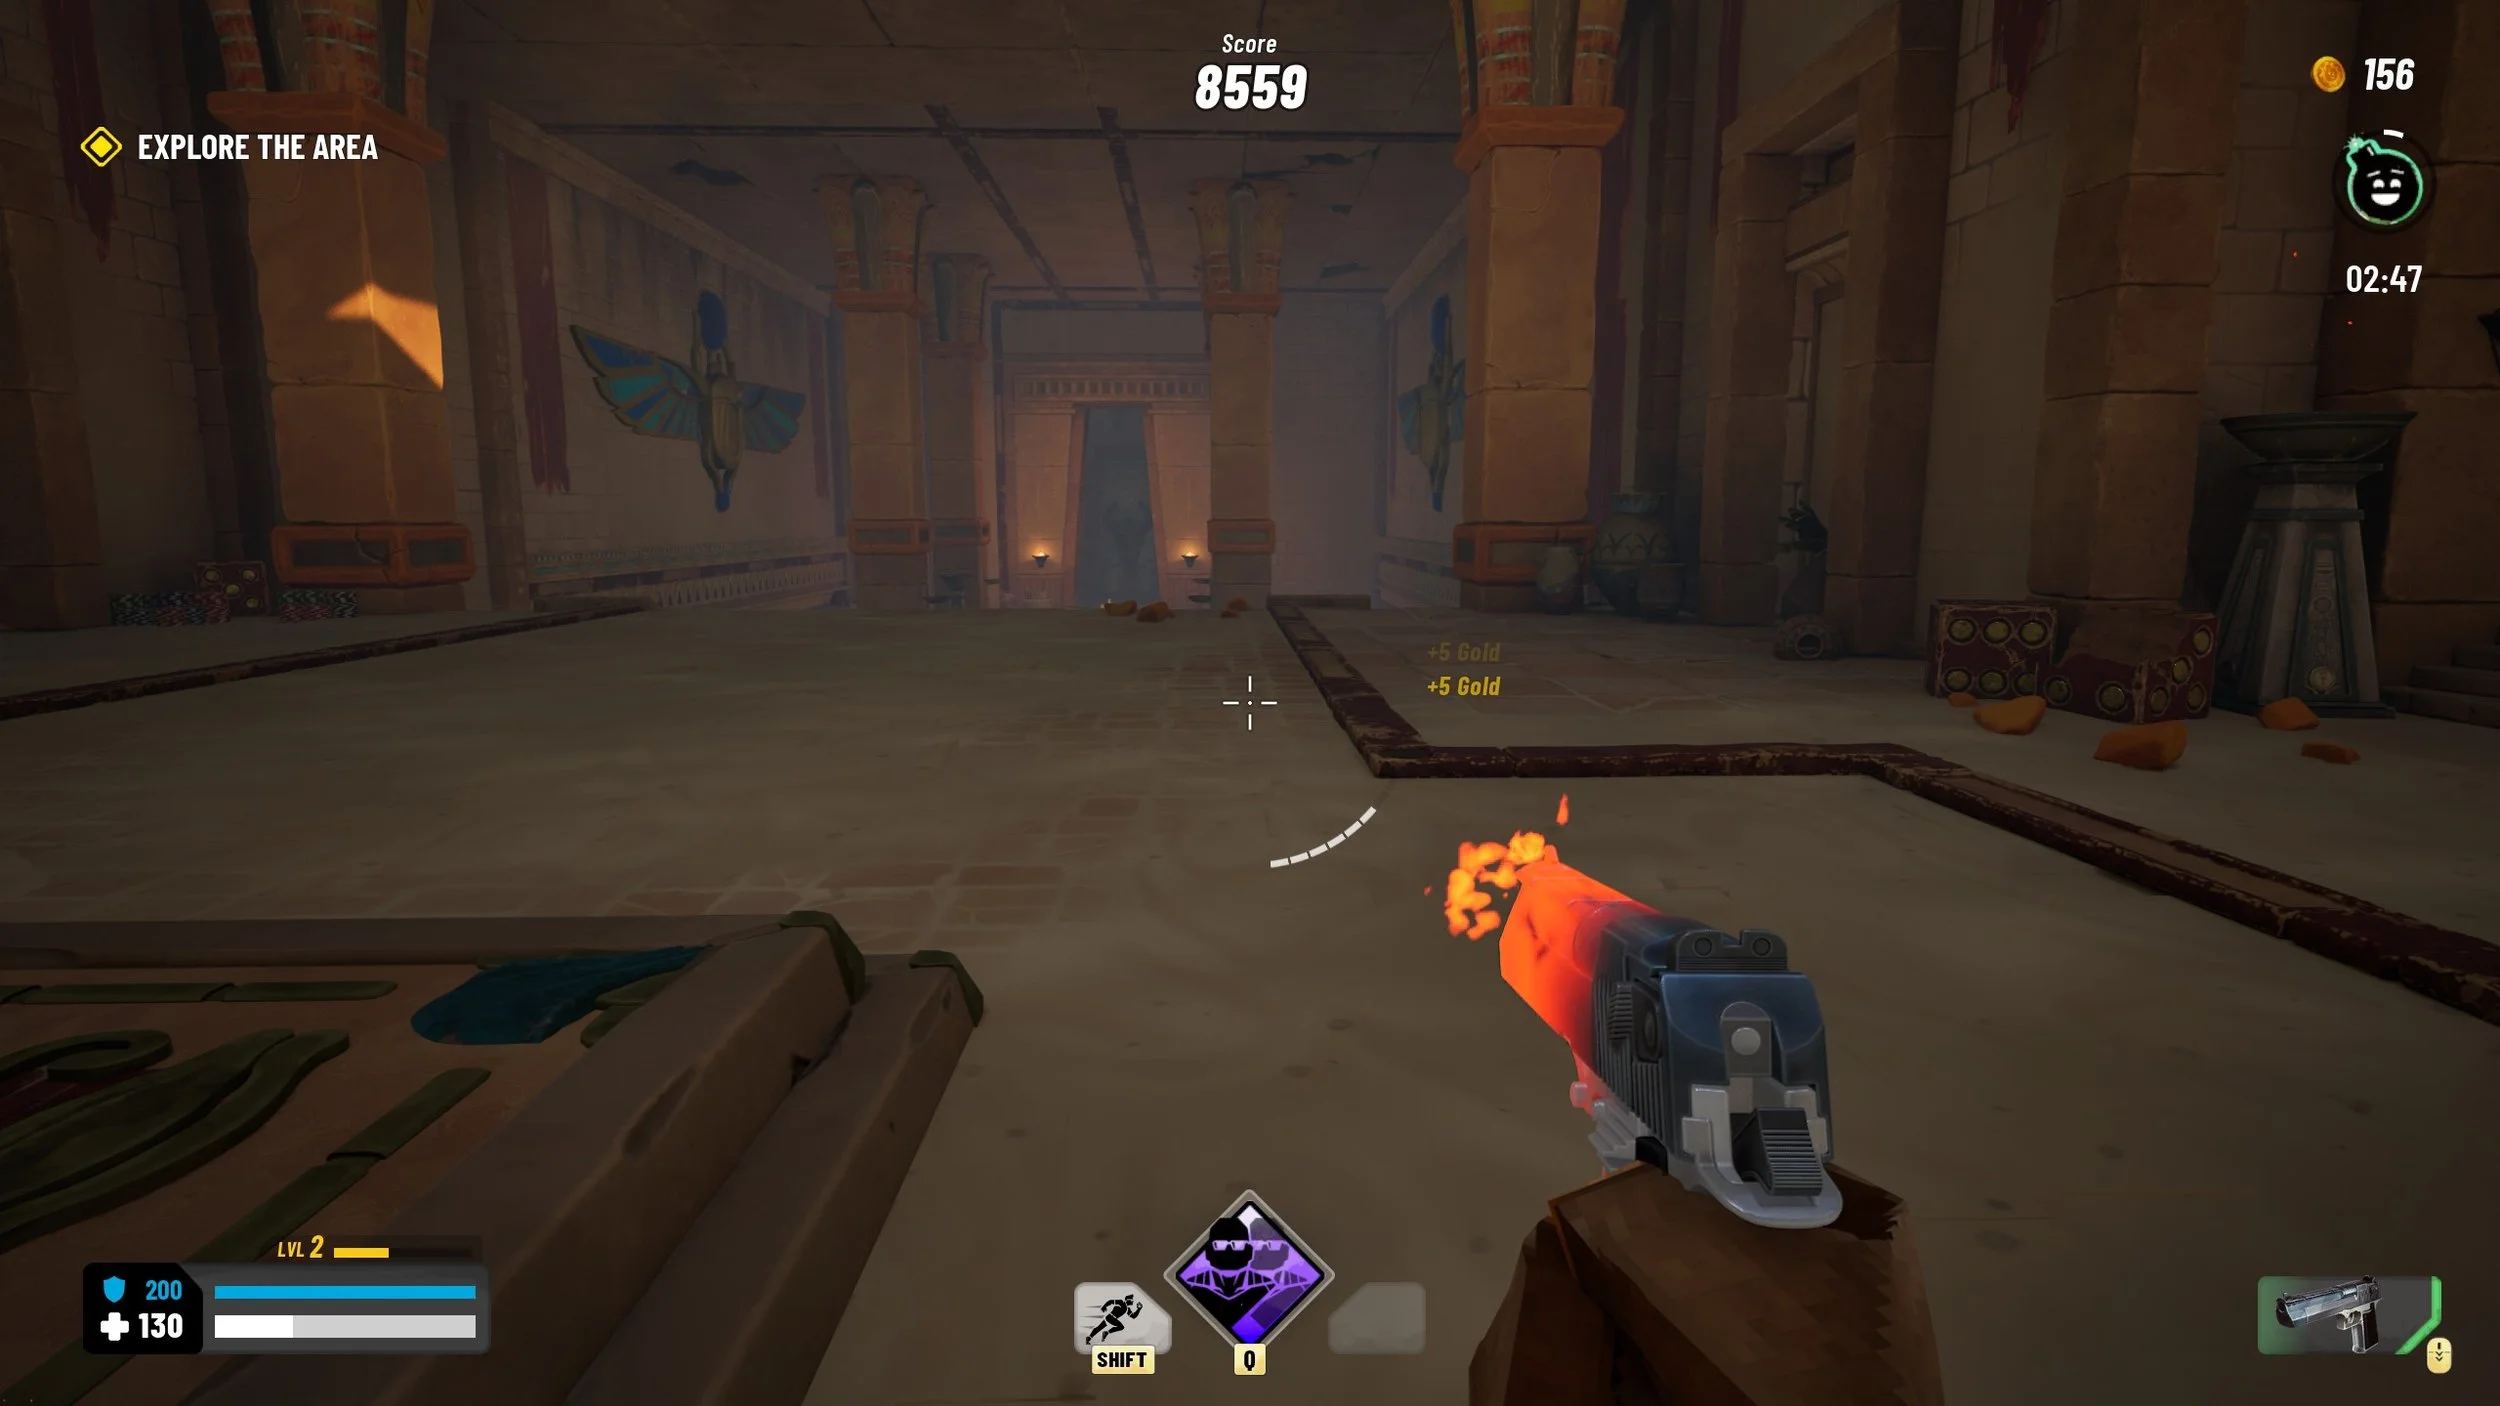
2. Goal / Objective of the map
one of the biggest things I’ve found that has to be nailed down early by the LD is the core objective, the general map layout can vary drastically depending on what the player will be doing.
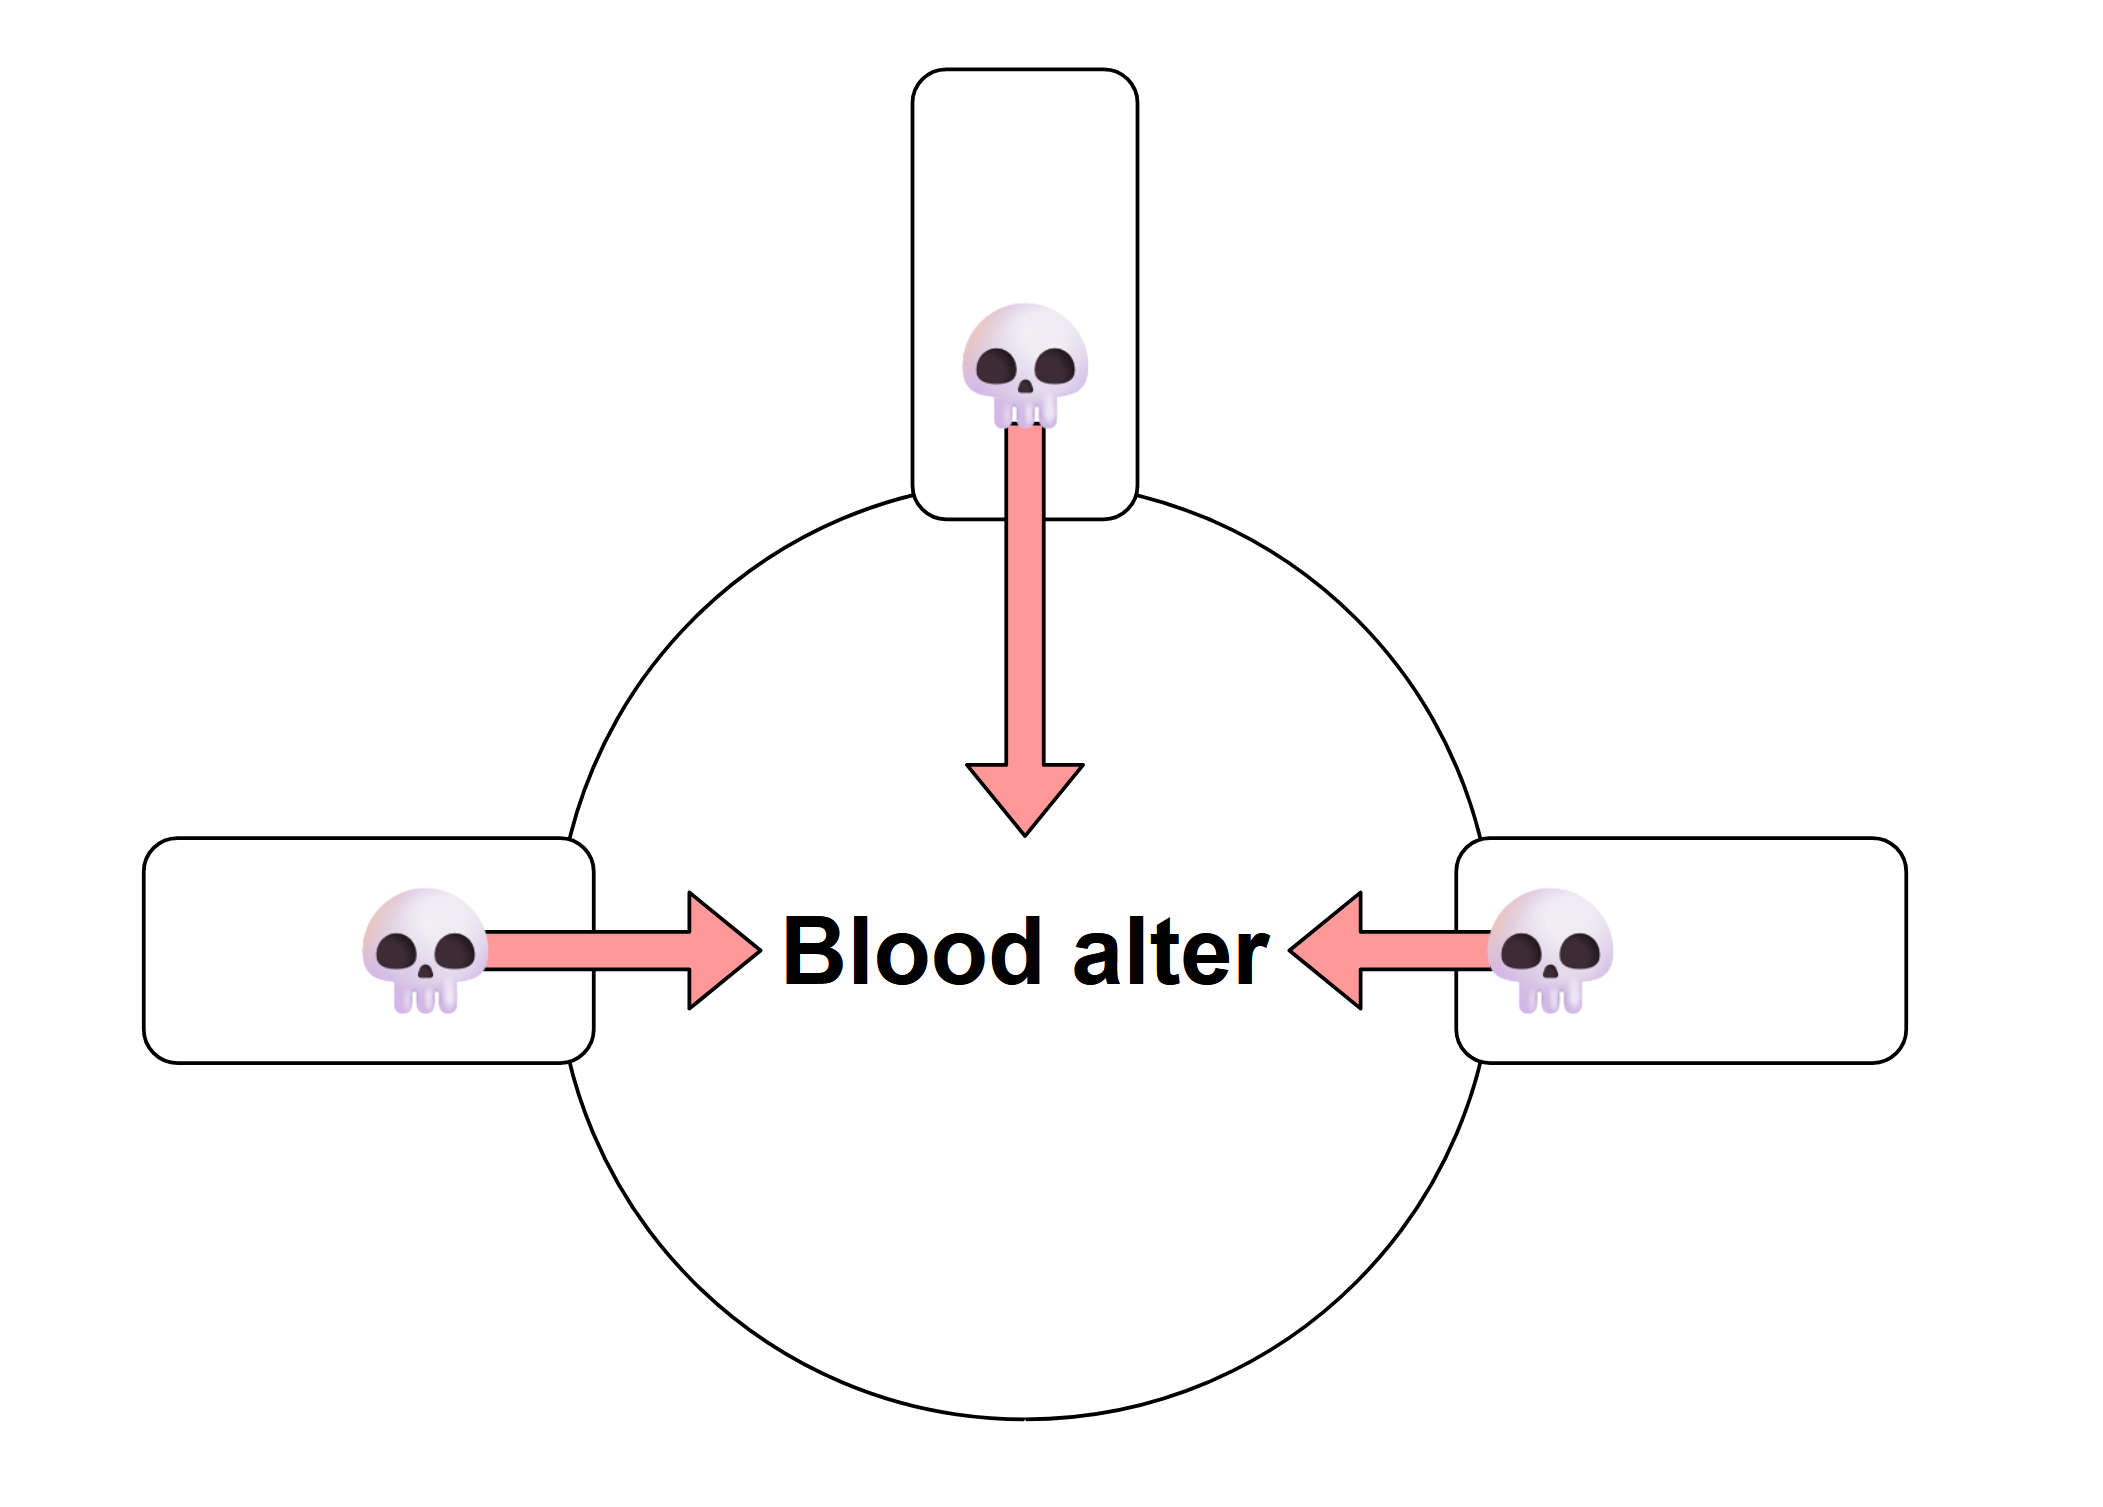
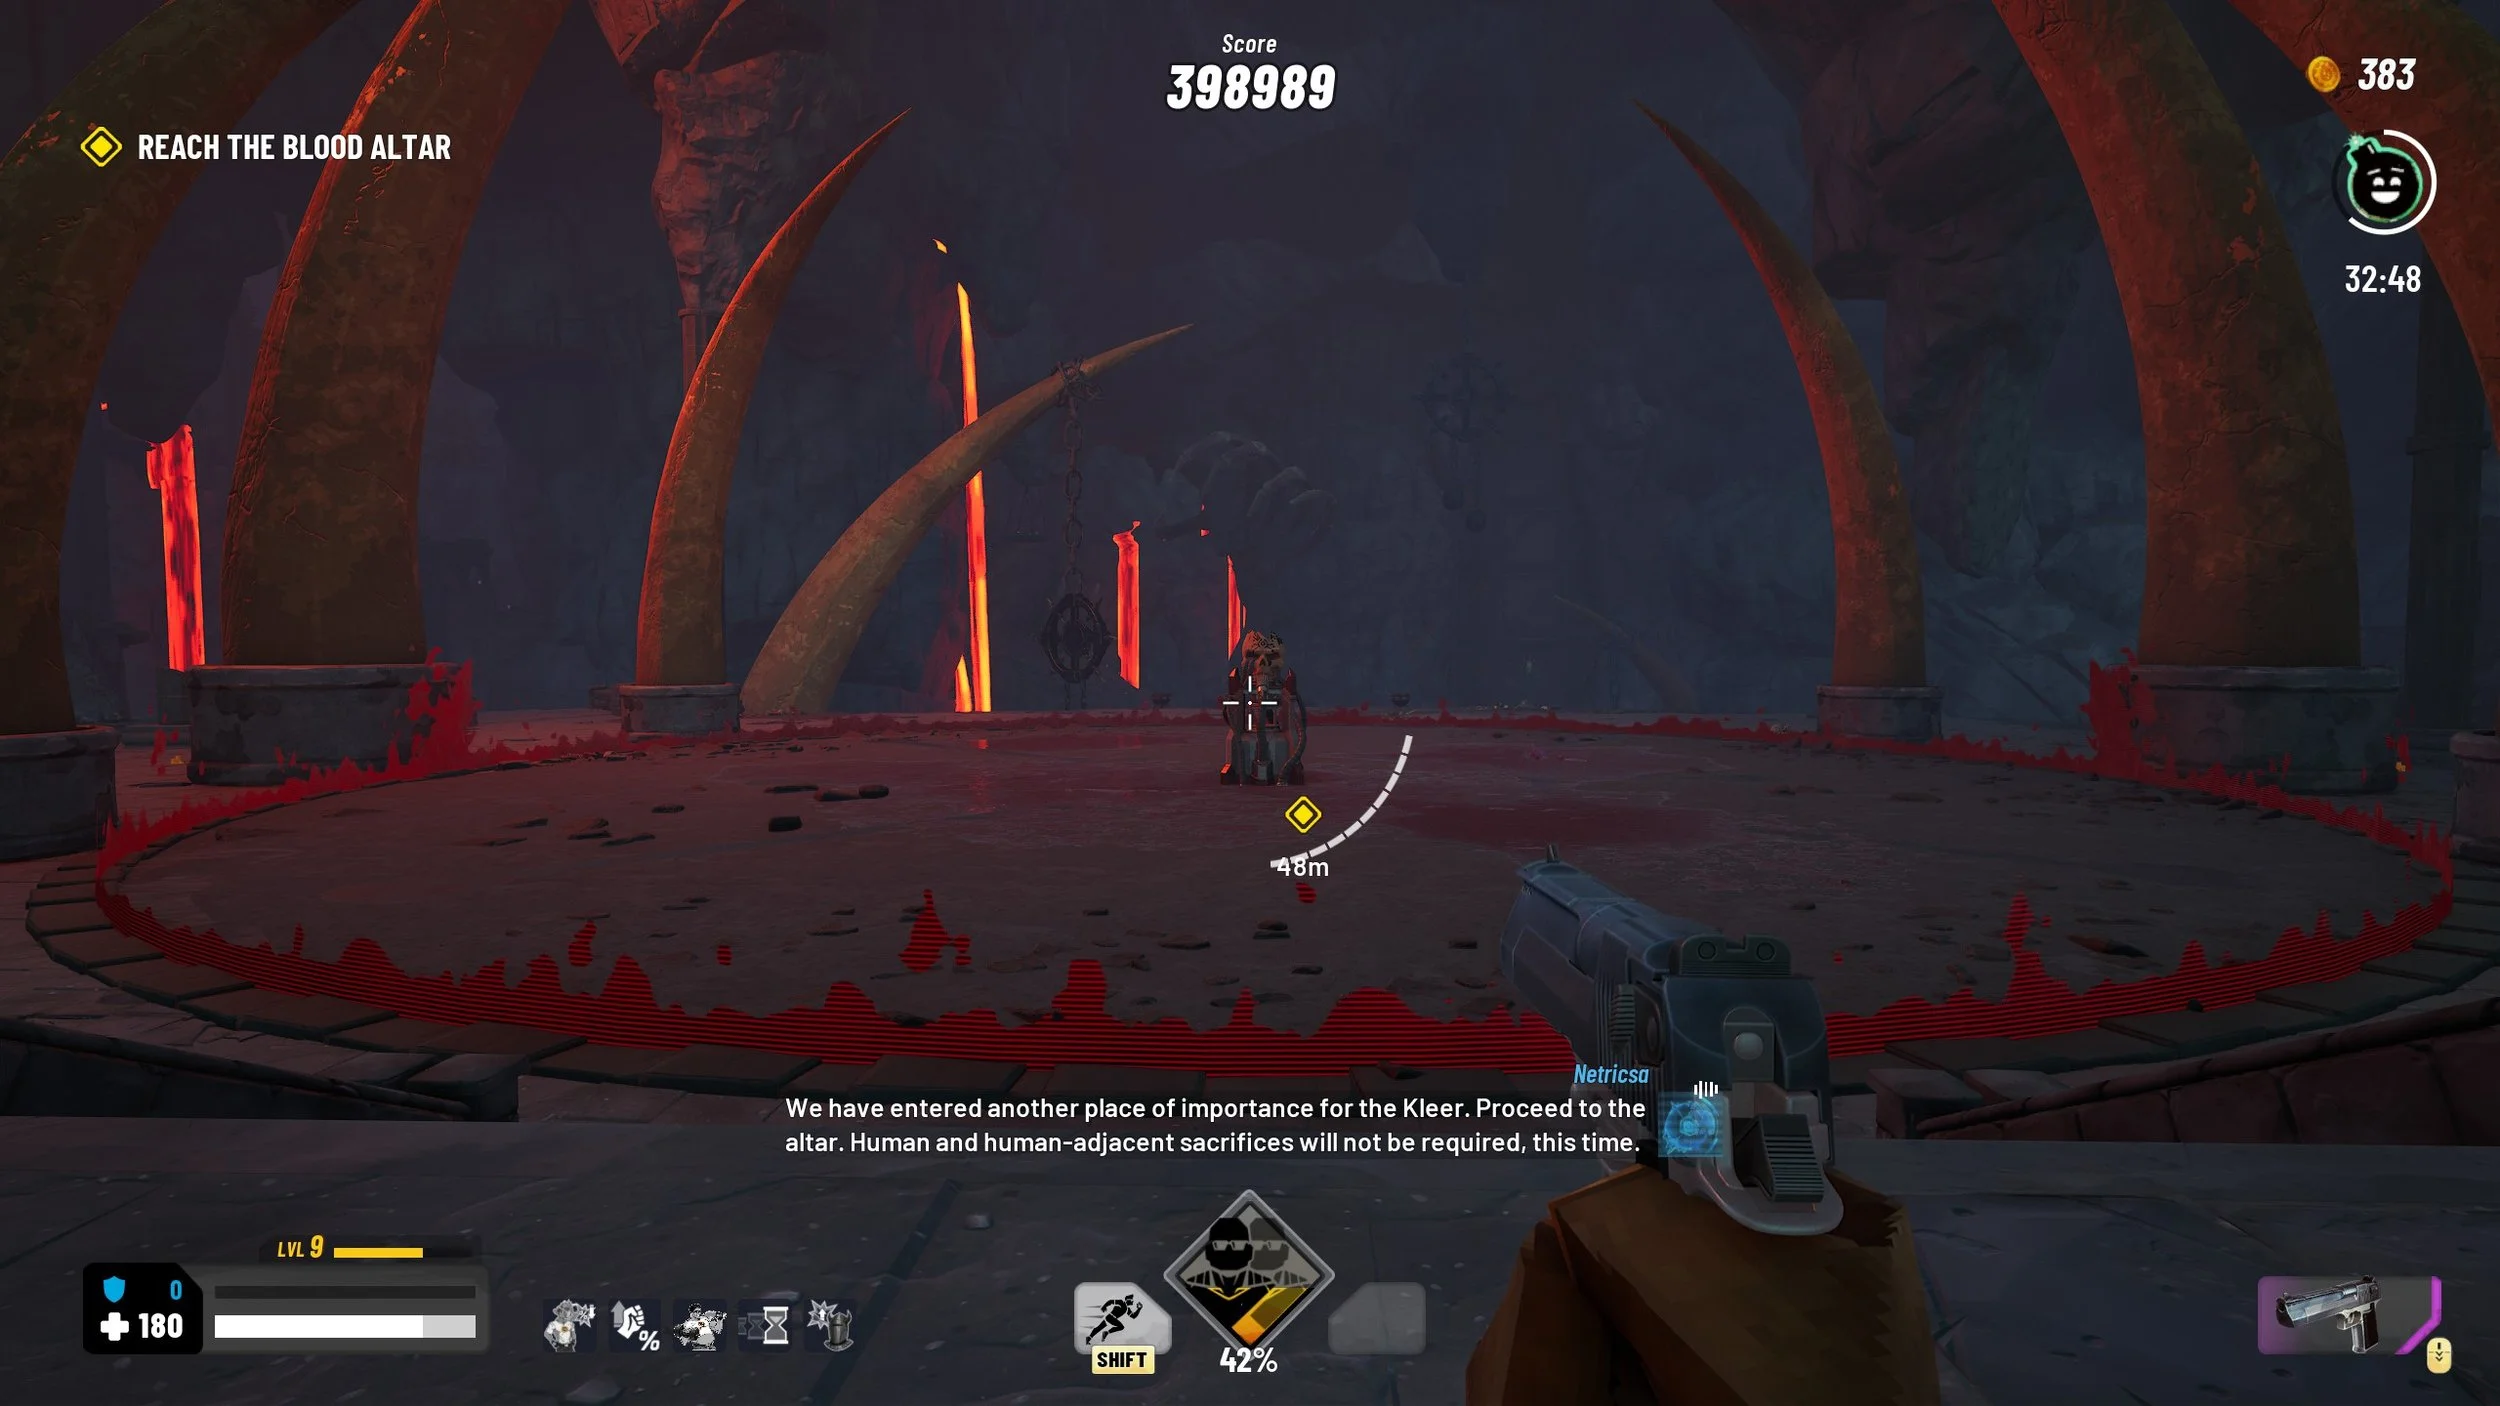
for example, a blood altar objective (kill enemies in a defined area) as the core level objective can use a simpler arena shape but the enemy spawn zones have to be varied in location as the core challenge of this objective is approach of enemies on all sides while needing to stay in one place.
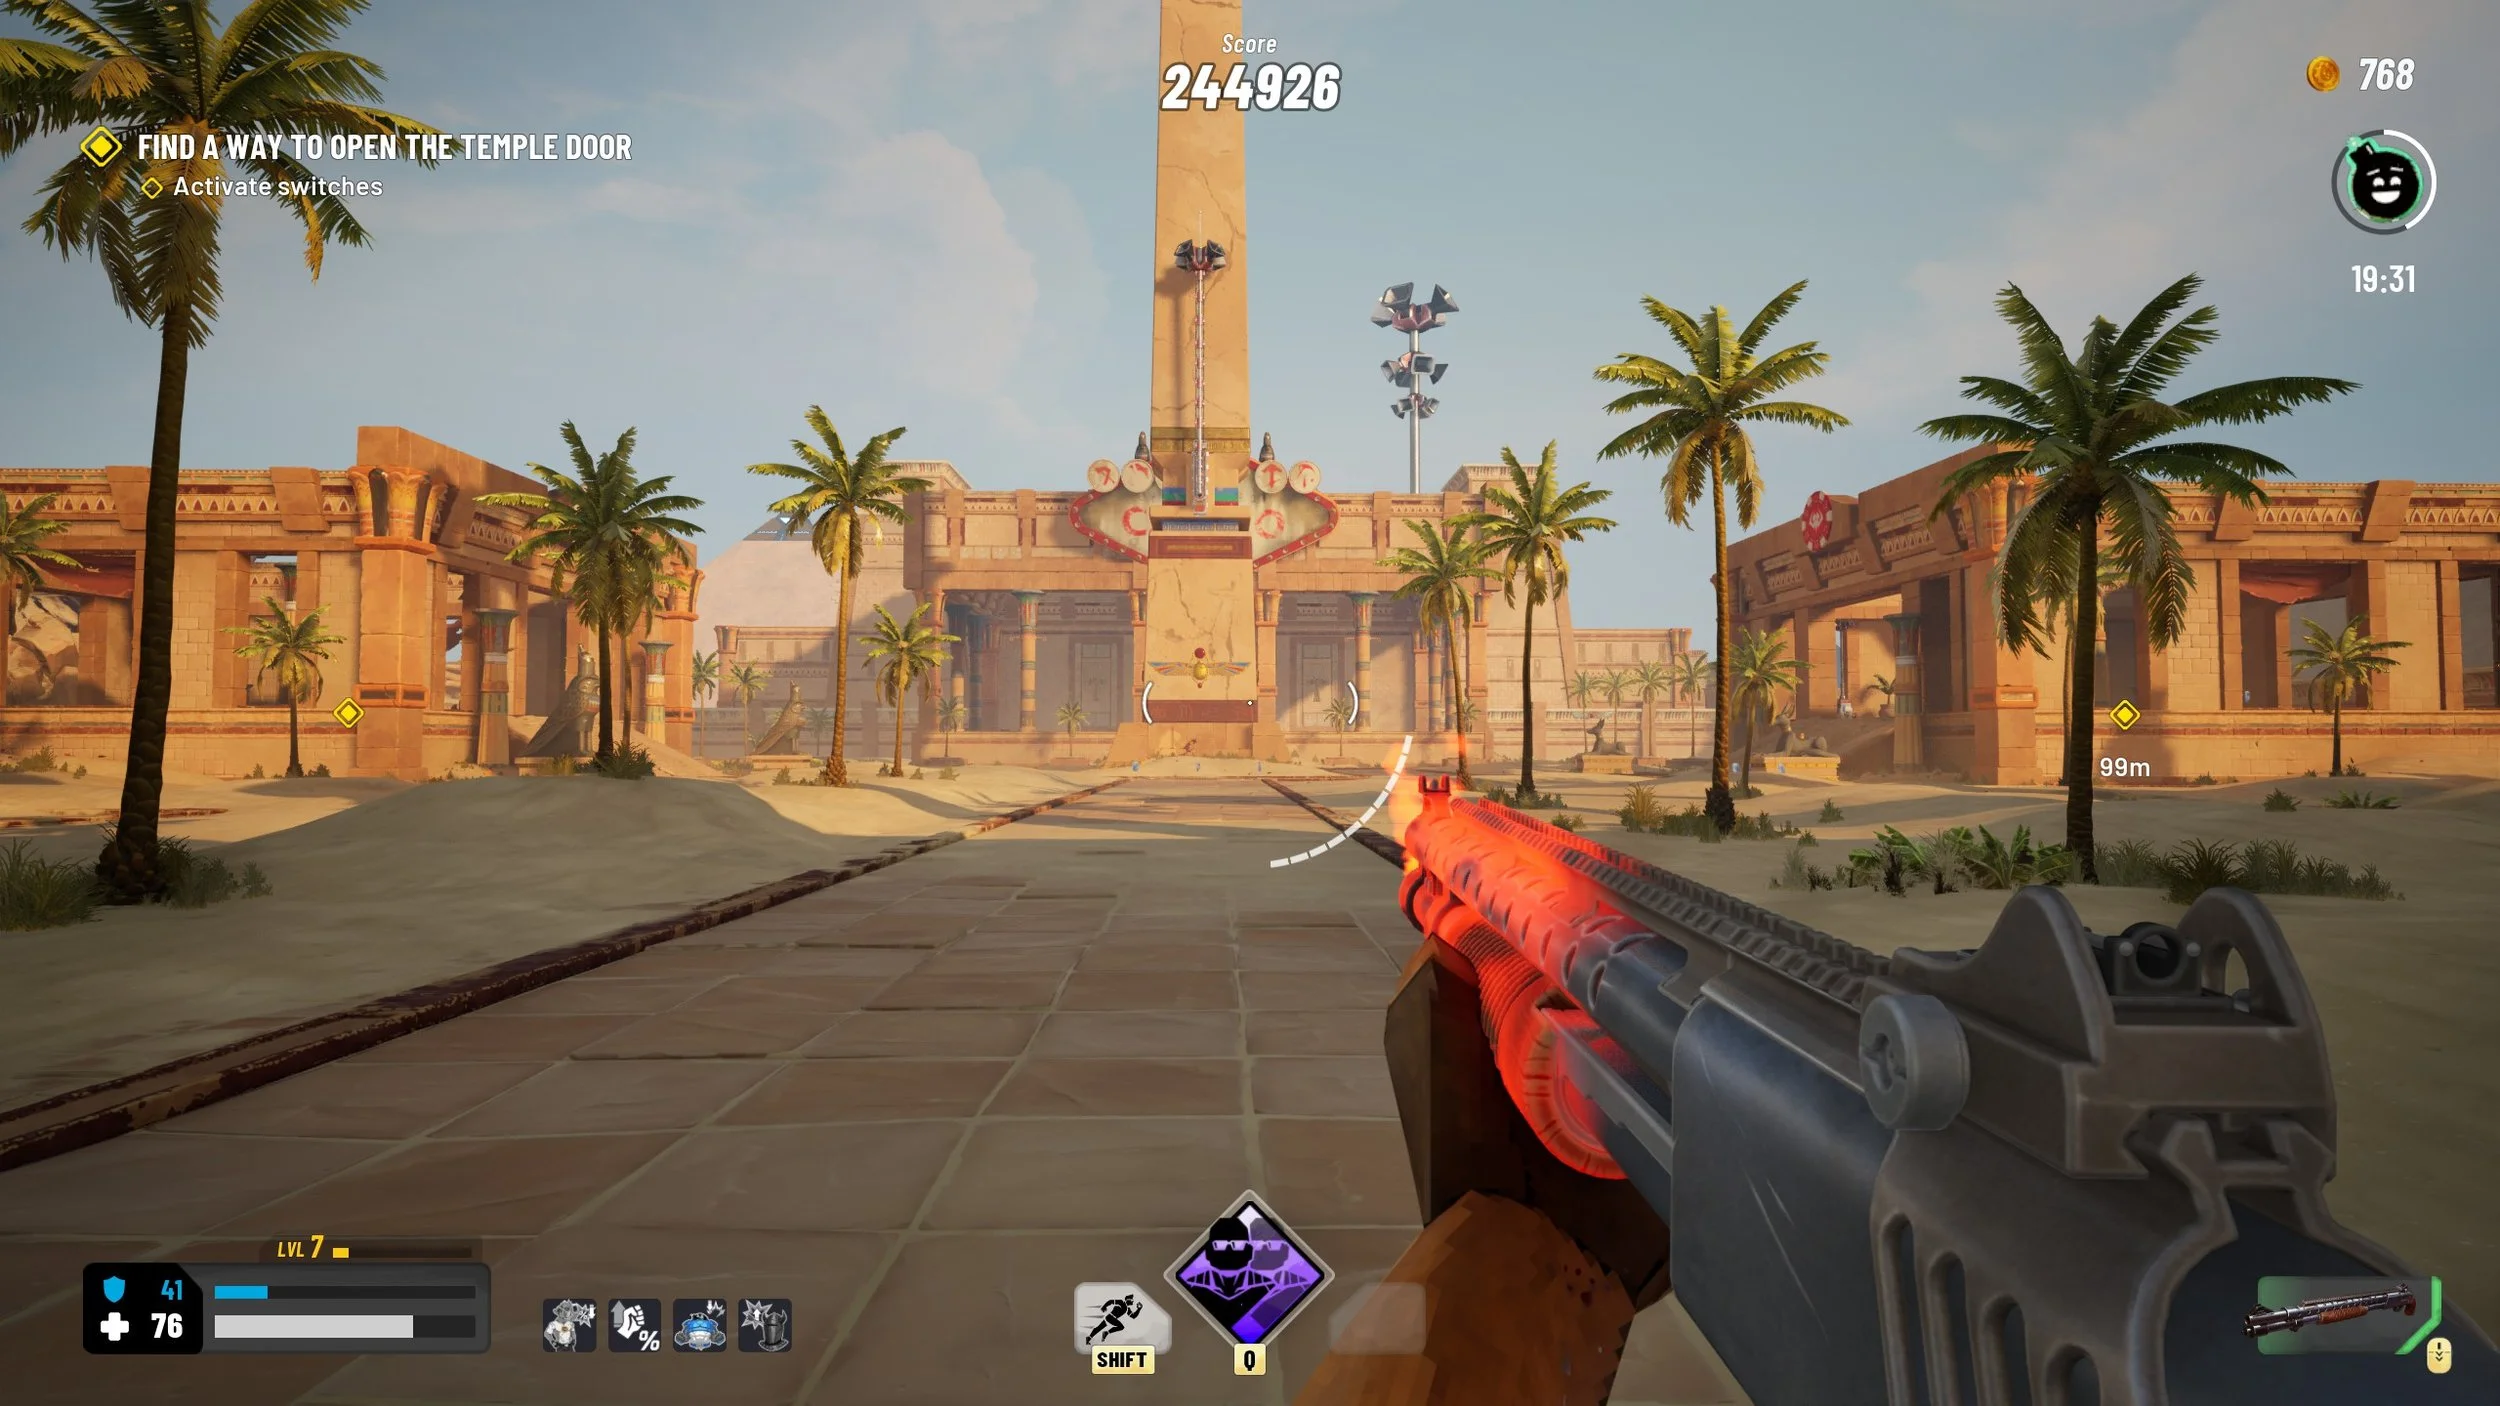
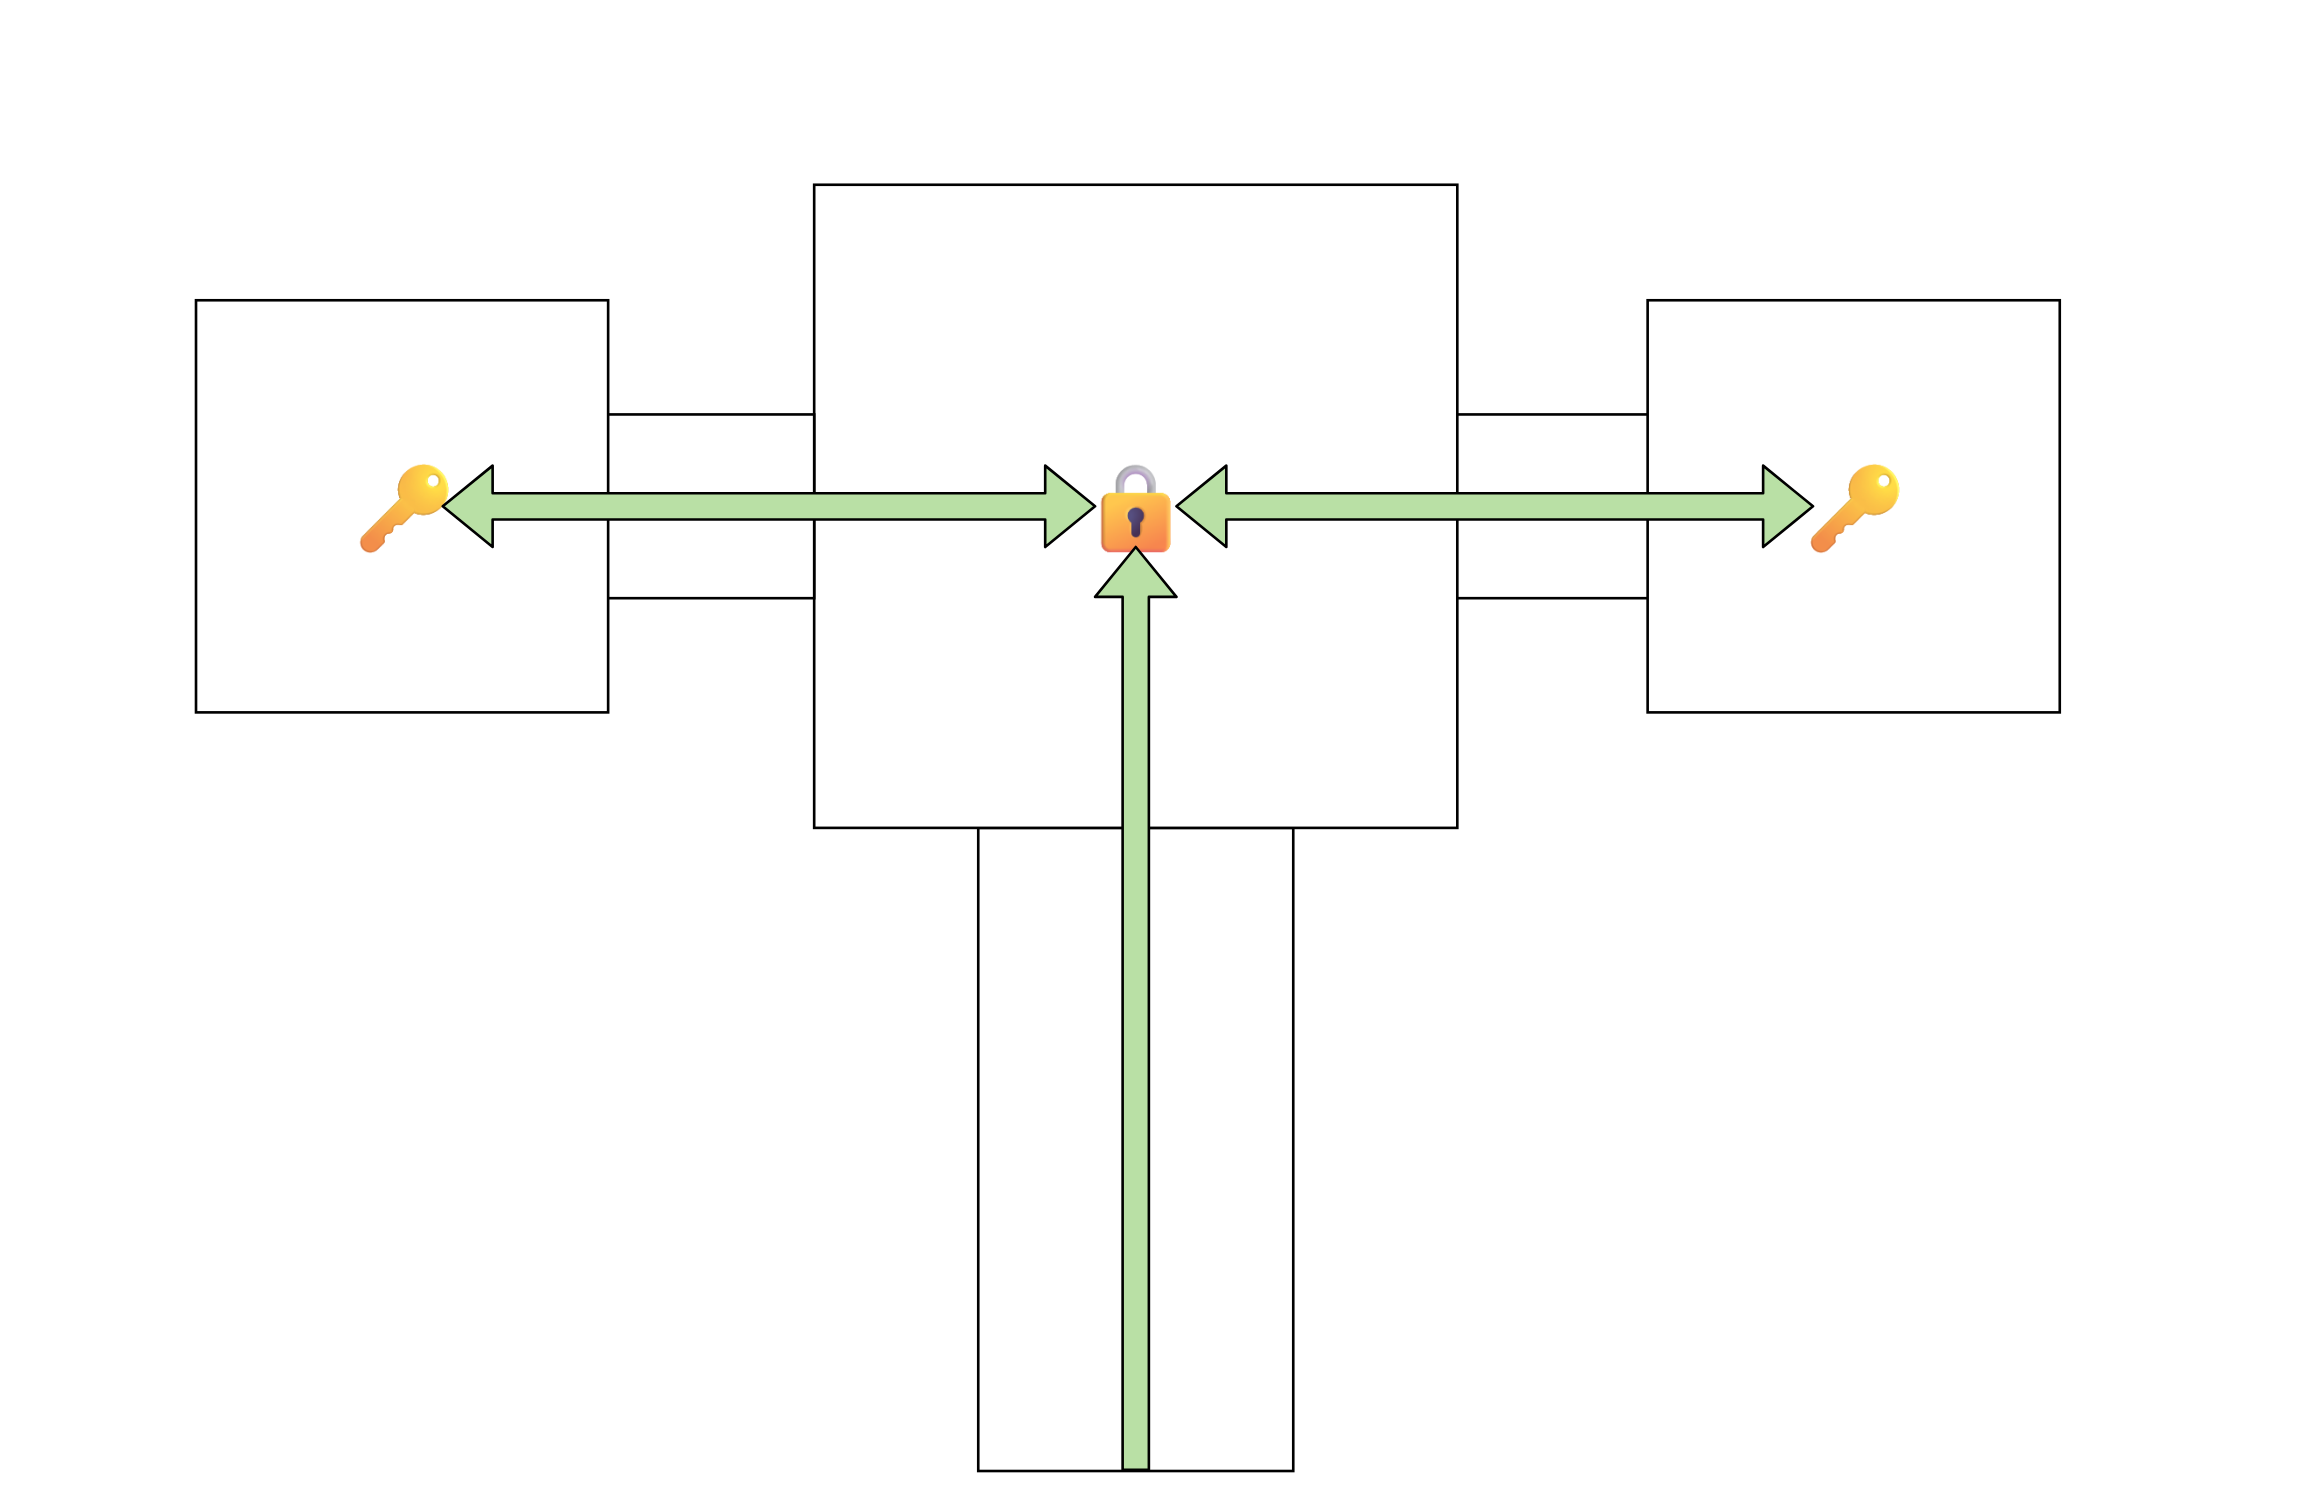
while a key or switch hunt requires the level to be more expansive to make players run up the difficulty timer while searching, and to give more chances to surprise them with jump scare encounters!
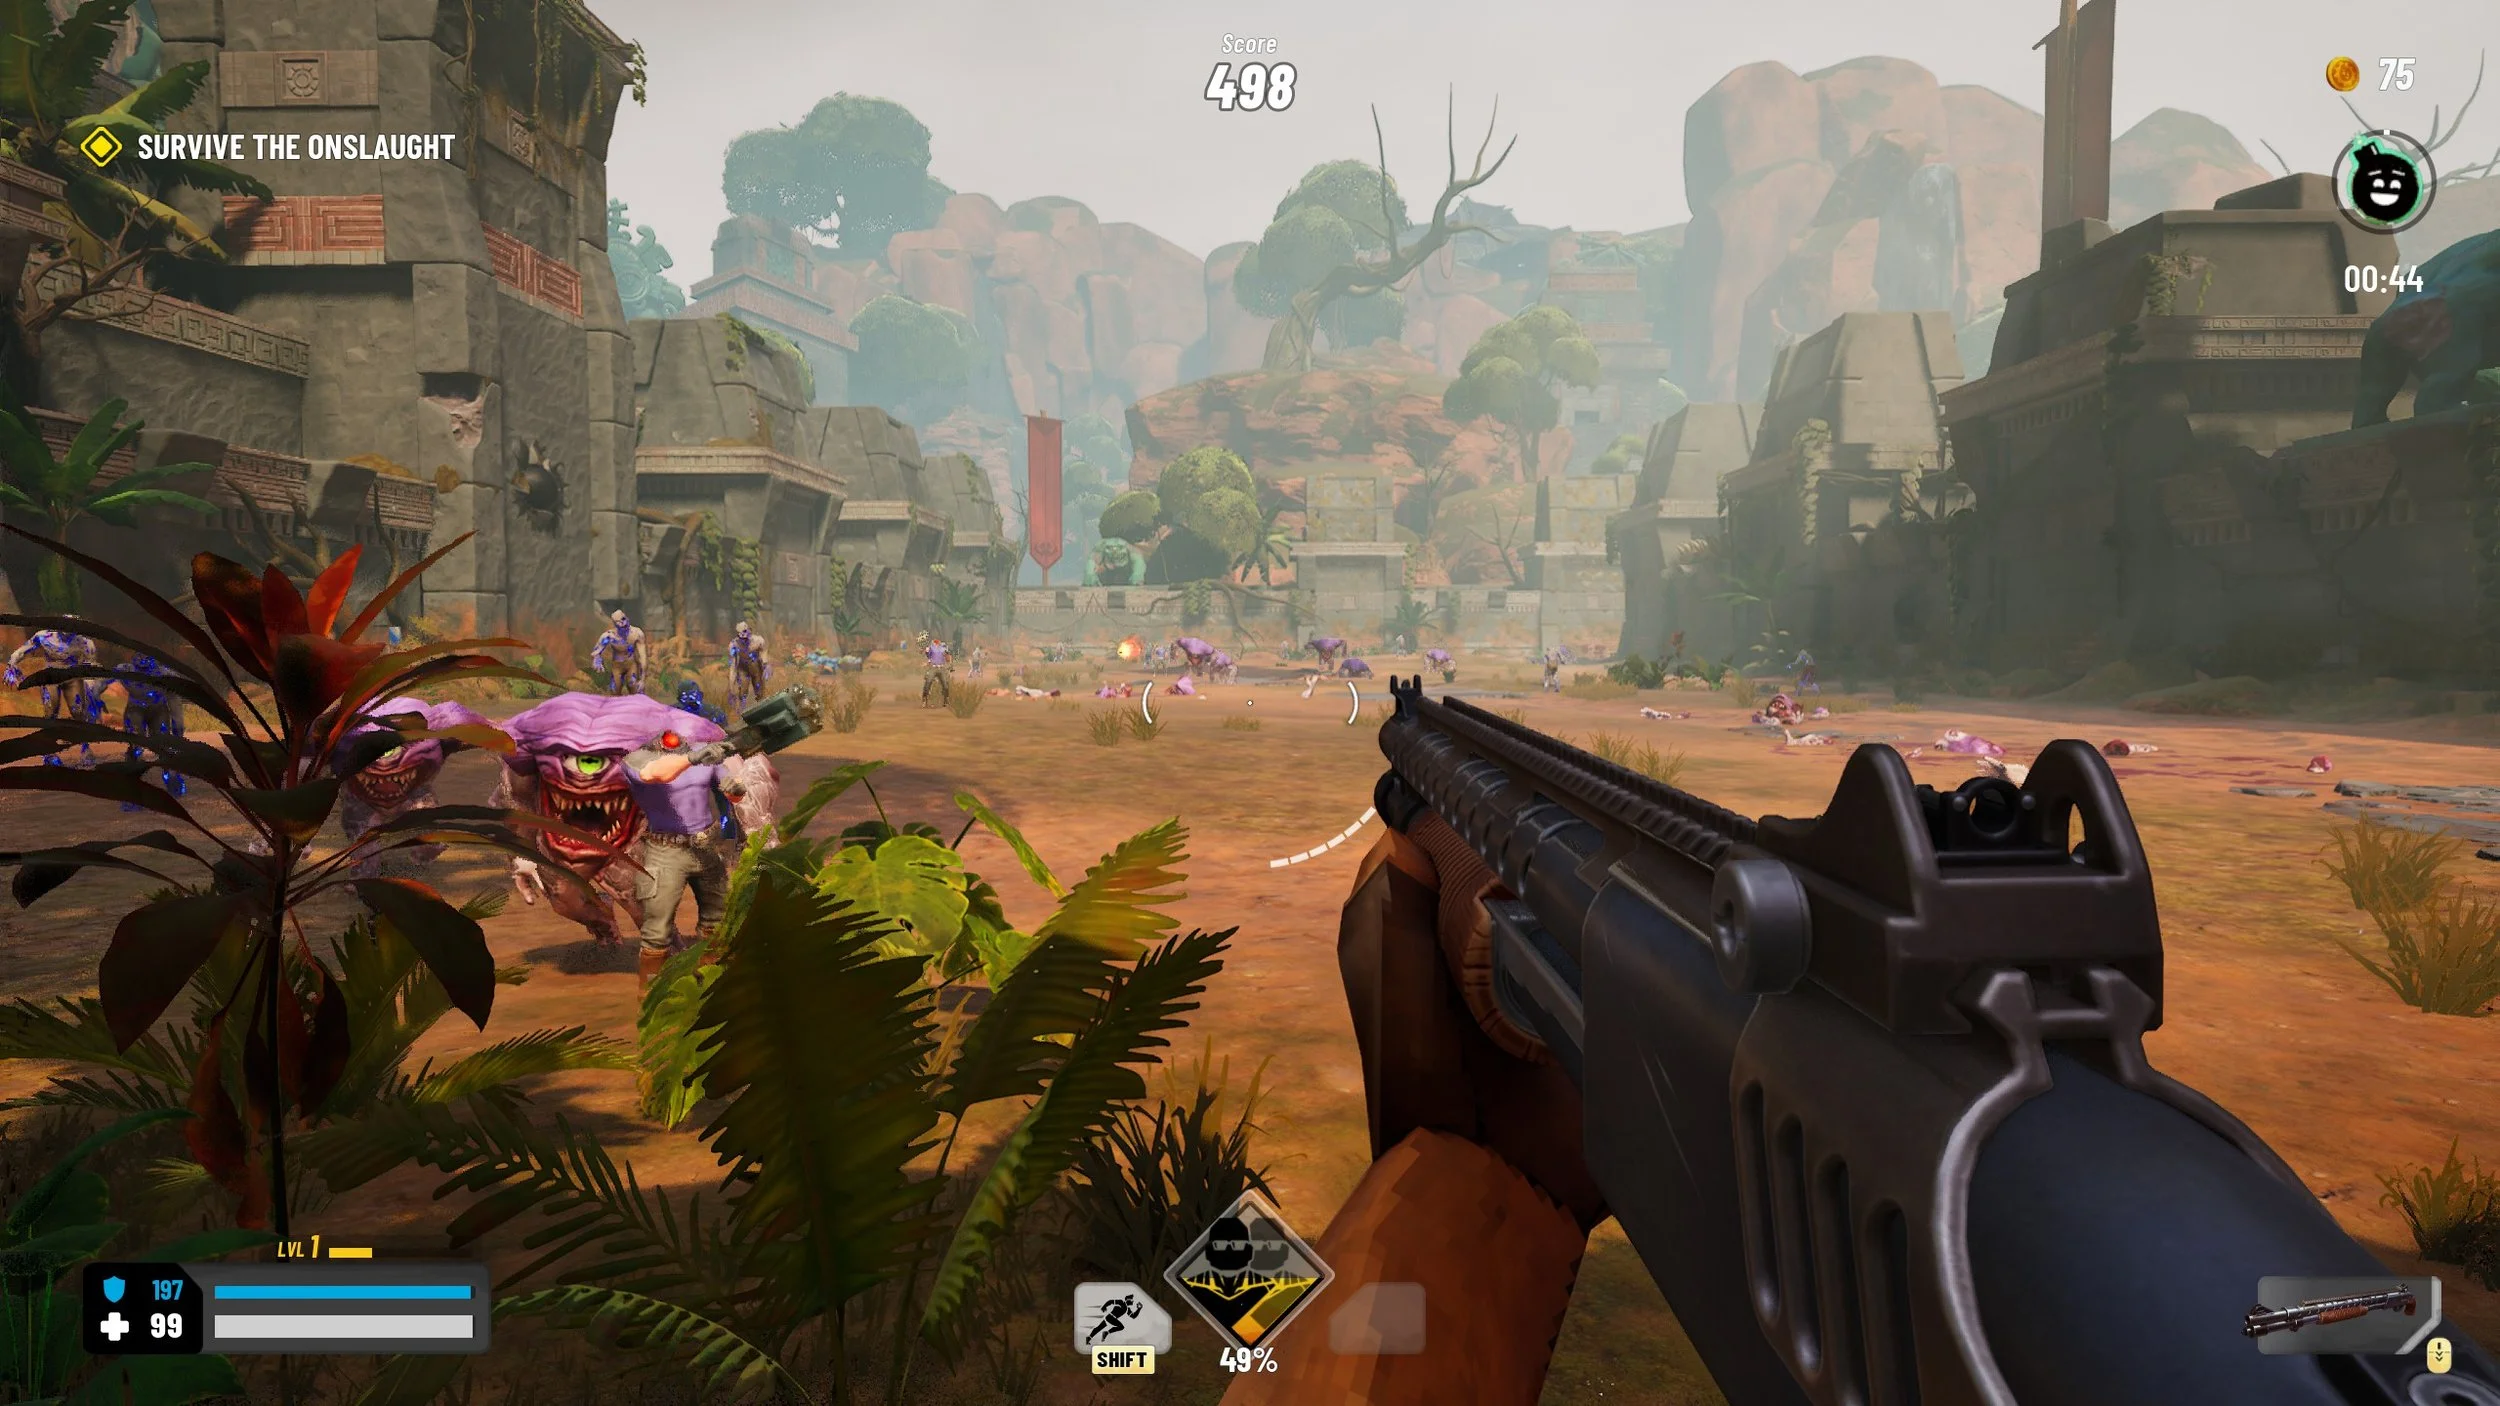
A survive the onslaught objectives can be varied but I have found that a larger area that allows players to take in the shear amount of enemies sells the effect much harder.
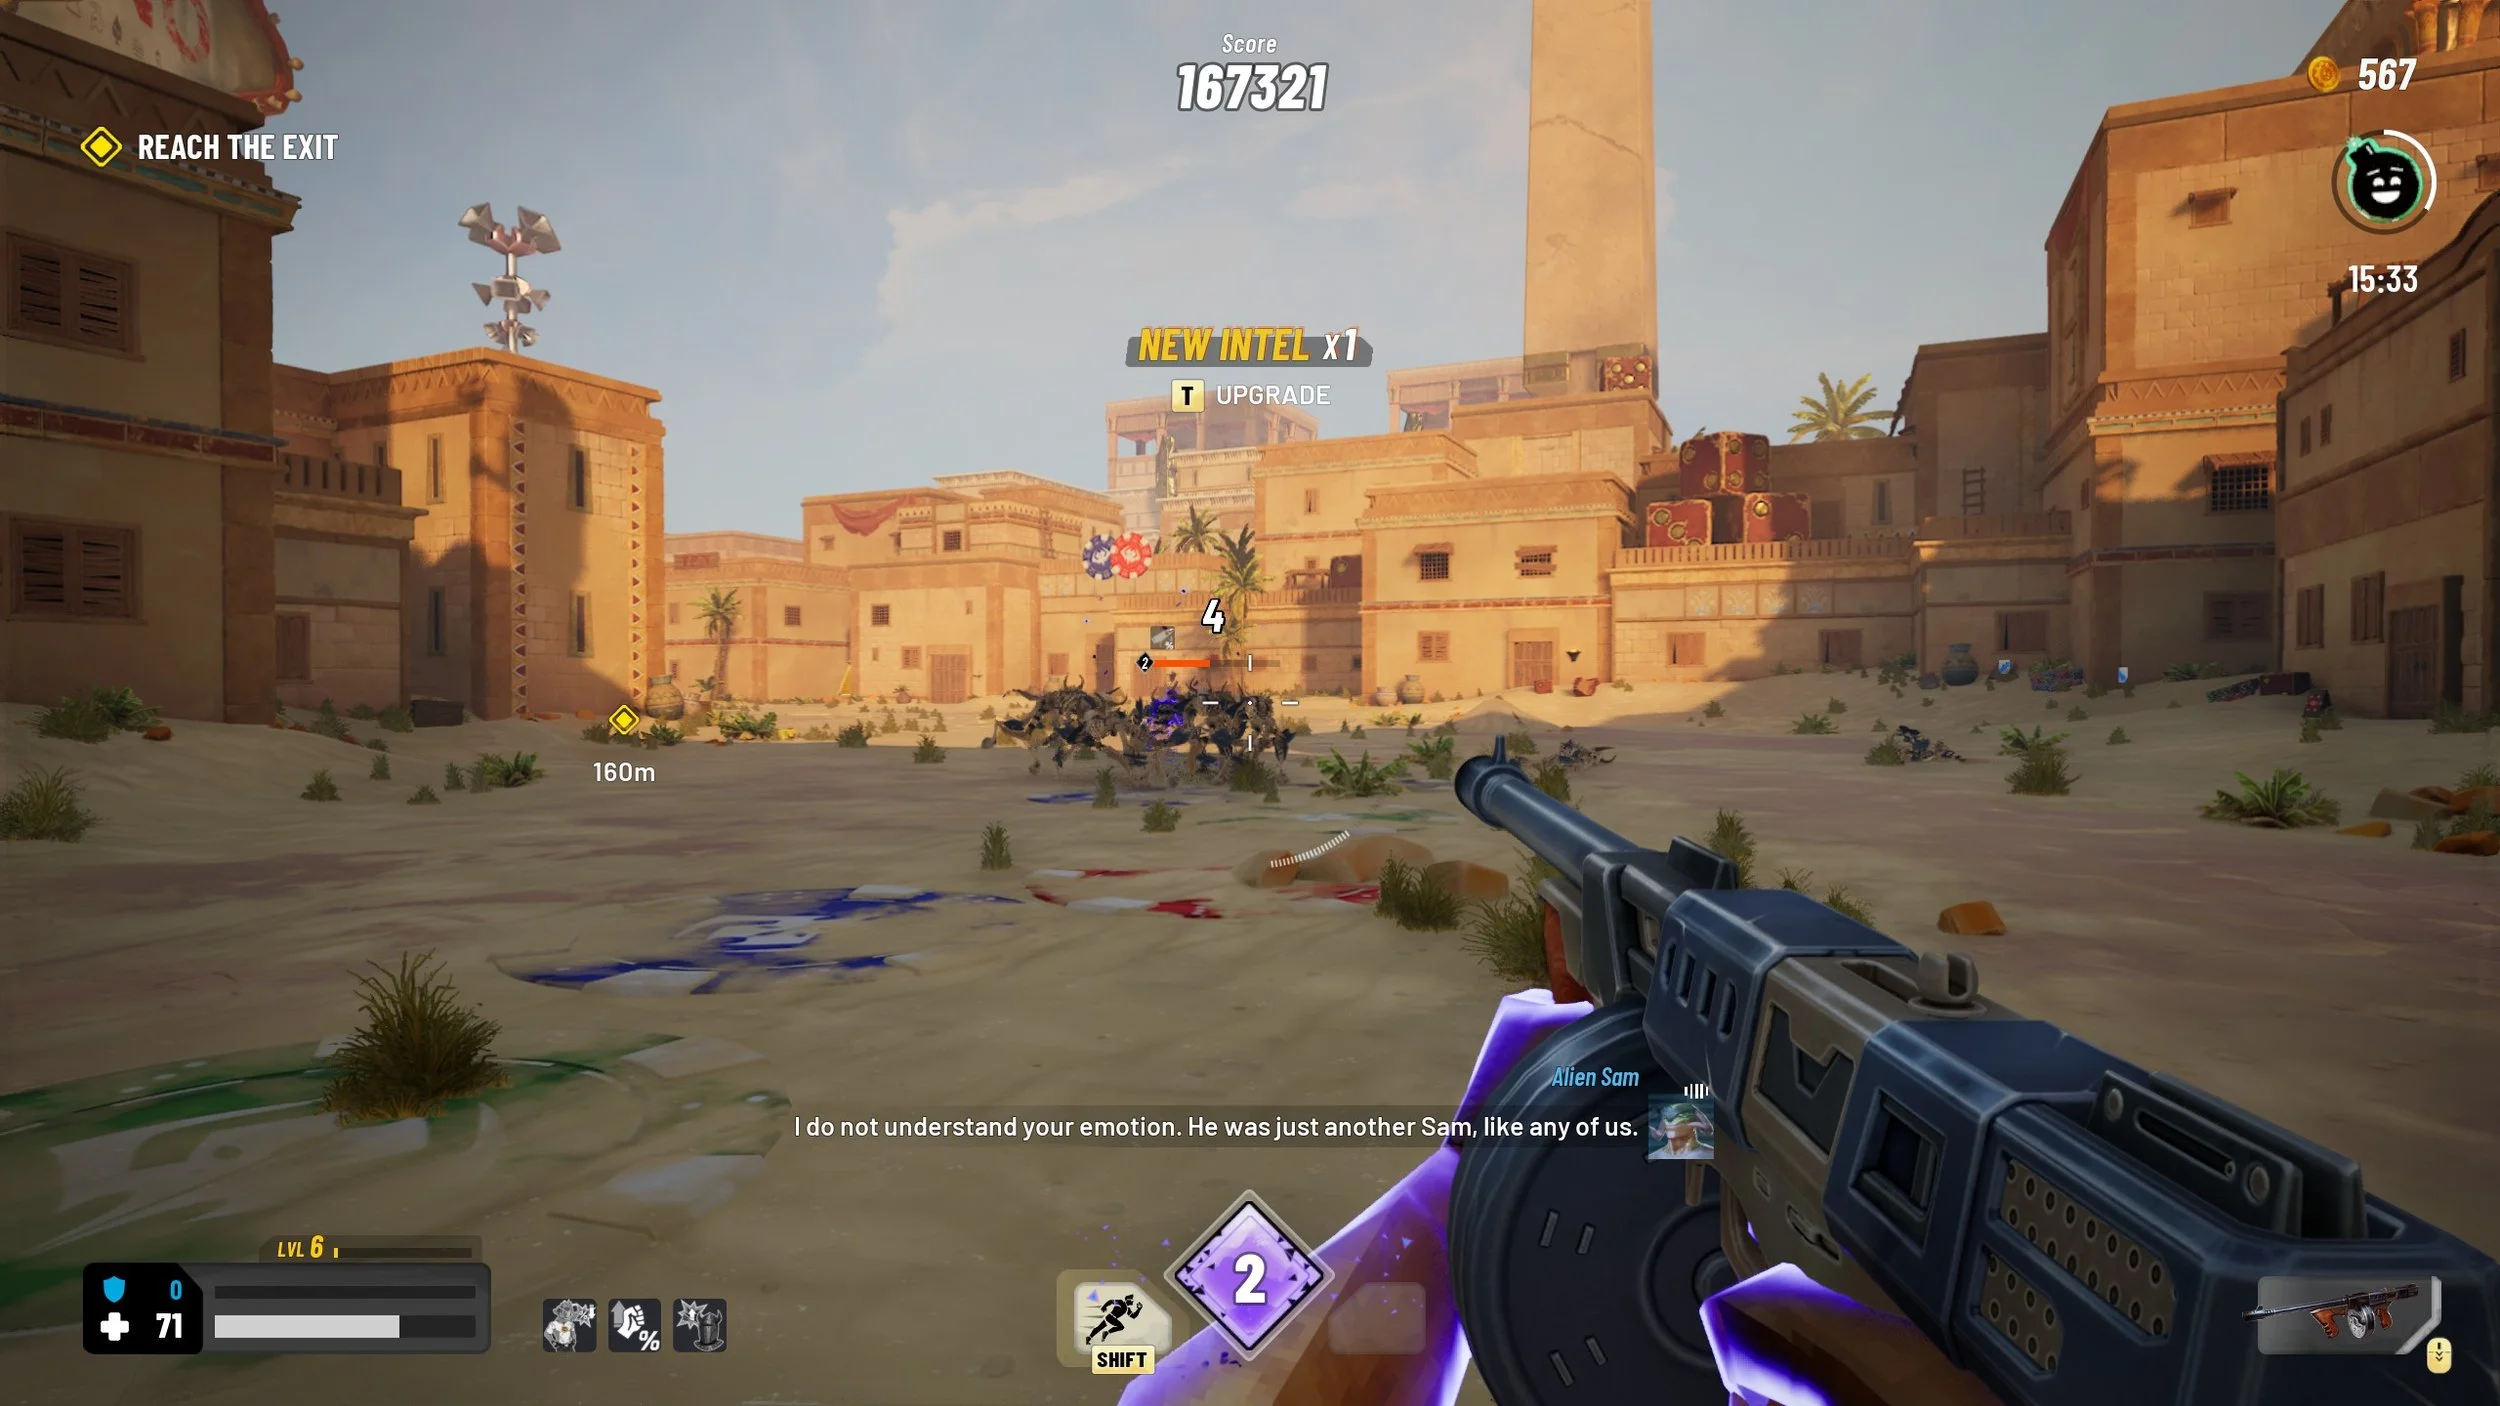
Reach the exit objectives are far more varied more so as they are more open ended, I prefer to use these to focus on traversal, smaller “Snack“ encounters that are strung along the level and interesting secrets to keep players looking for hidden health items, gold or chests.
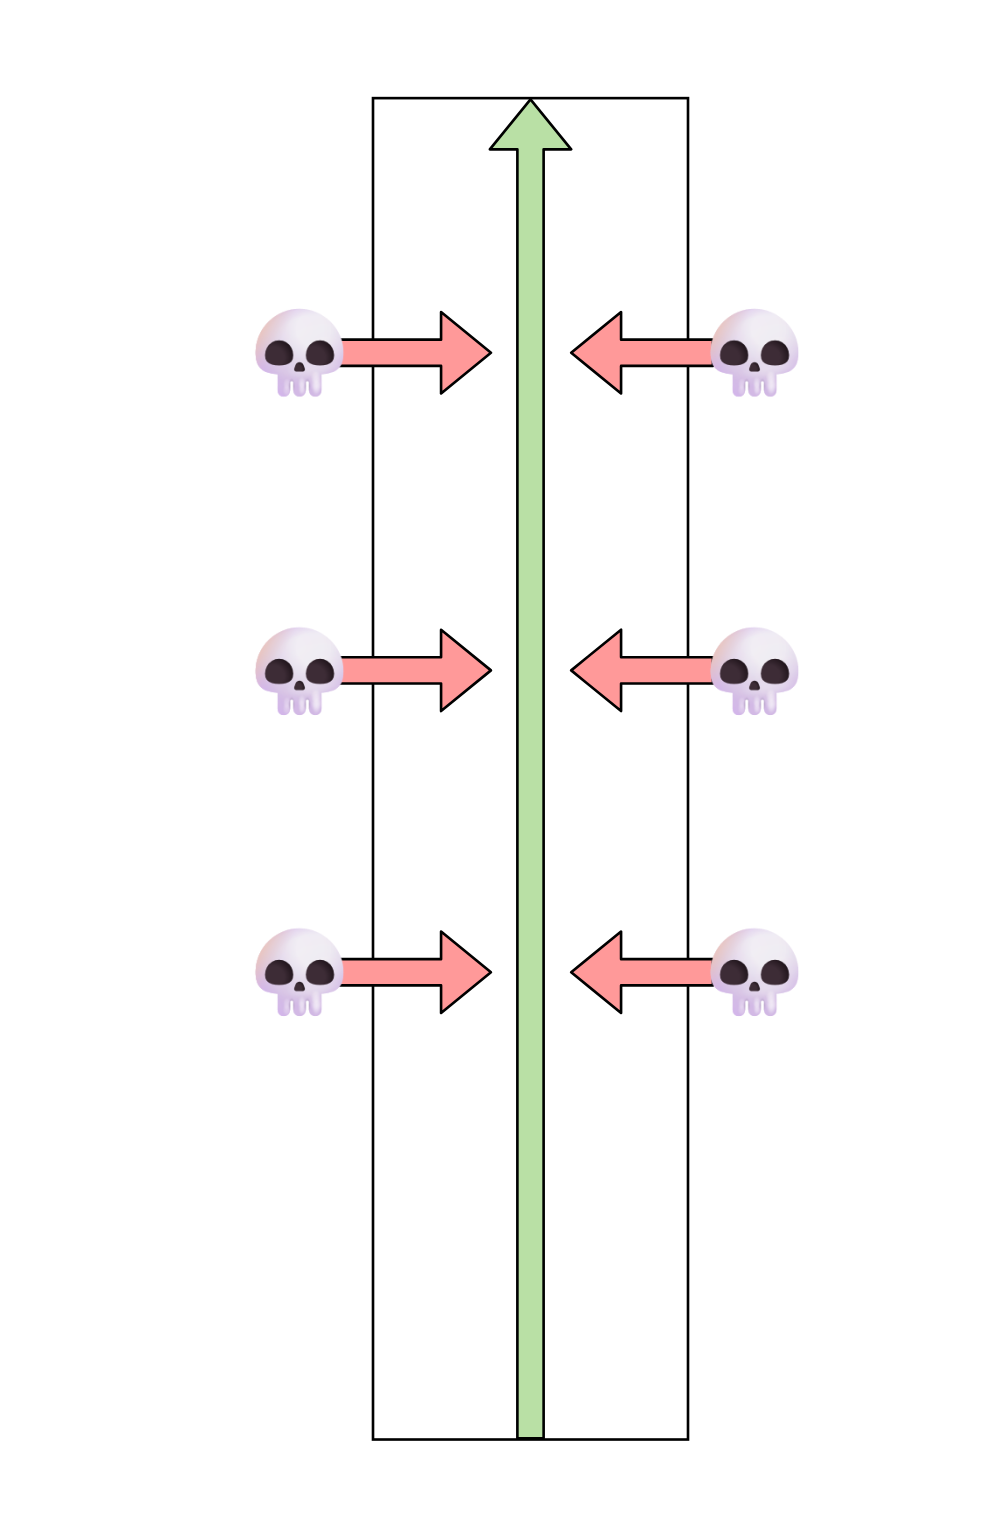
Hopefully the above examples and diagrams show how the core objective can greatly shape the layout and that LDs need to keep the importance of this step in mind and cement the level objective early, as core changes to the objective during the greybox stage can require major changes or even scrapping of levels that take up large amounts of time.
changes made later in the process bring larger costs
3. General layout
A 2D layout or map is extremely important as its one of the earliest places the LD can plan out the geometry and how they want the geometry of the level to work, changes and iteration are fast at this stage so ideally the LD can sweeping changes here and mitigate the need to redo sweeping geometry placement.
4. Greybox
Steps 4-6 are the start of work in Engine, they are divided up somewhat arbitrary as the LD will ideally be creating, testing then iterating on the level itself by going through steps 4-6 (sometimes in varying order) to hone in on an interesting level, while using the direction settled in steps 1-3 to keep the core concept in check.
In these steps the LD working on the level can set more of the details, using core metrics decided on early in the project development to build interesting combat arenas, decide enemy spawn locations, placement of pick ups, hidden locations and possible trap locations.
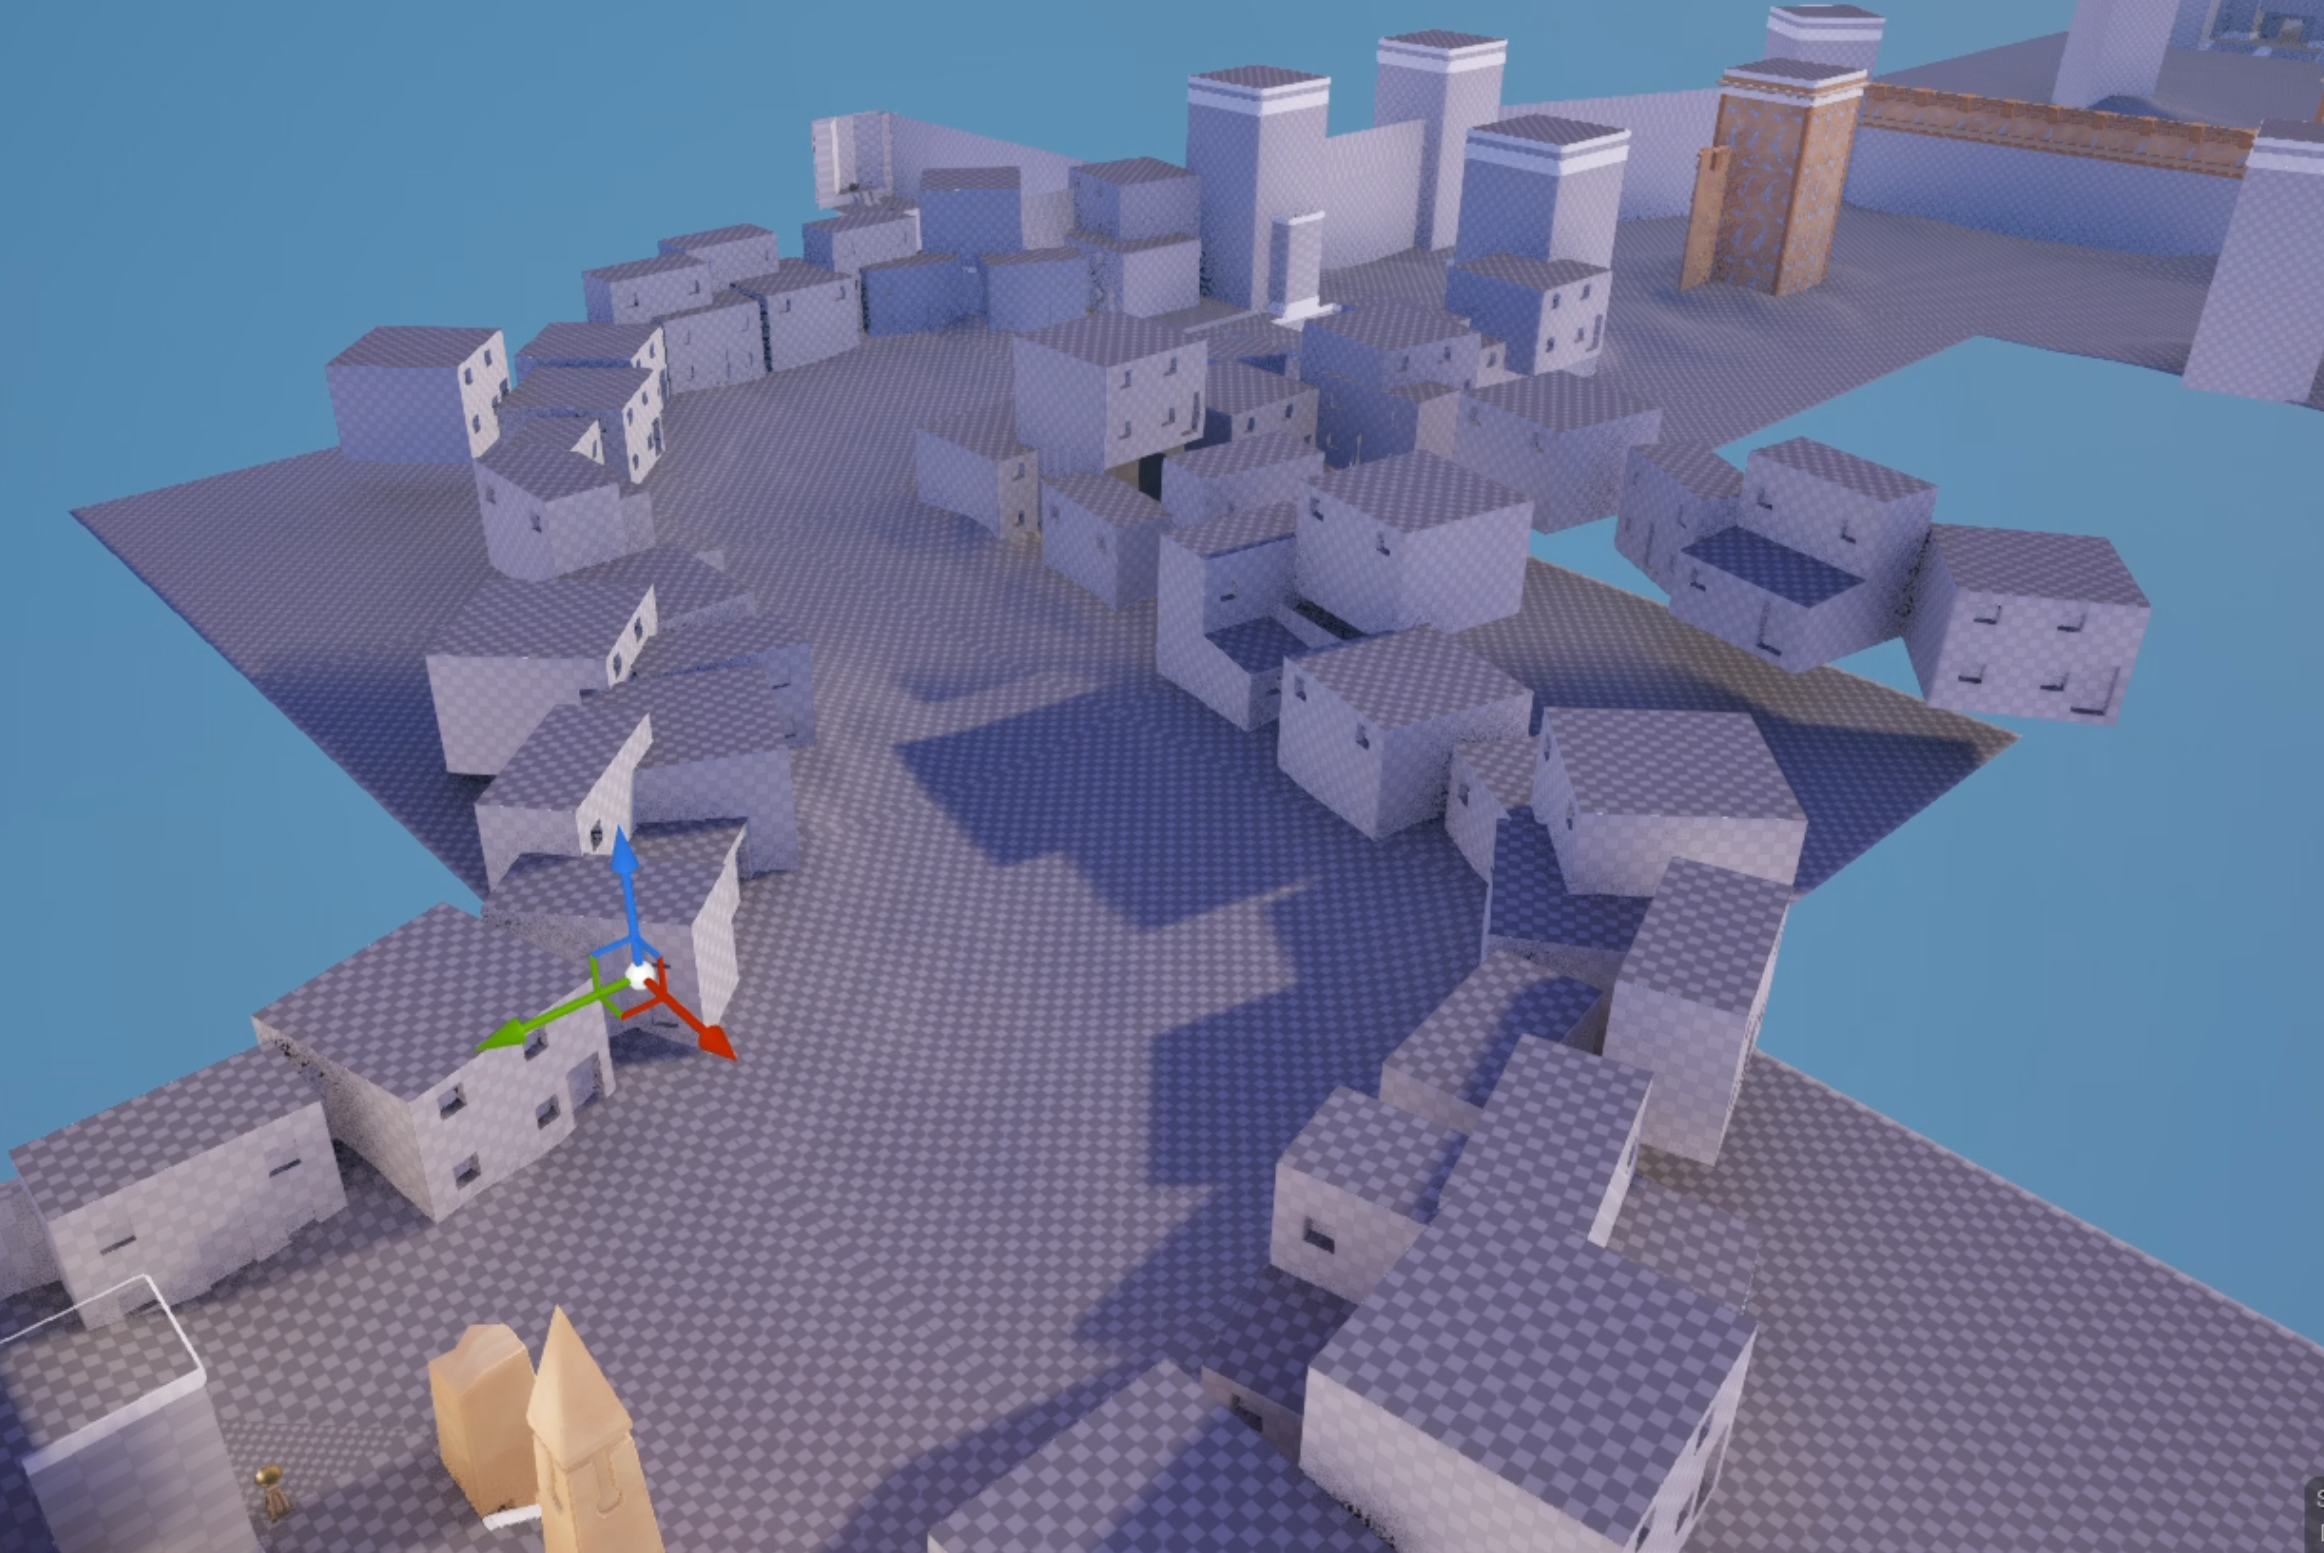
I placed the greybox as the first step in the mainly because I personally like to build out a basic framework of the core spaces, I generally like to follow a simple order of operations when building out a level
1. Start with where the core objective will be positioned (Blood altar location, Locked door location, Main combat arena, etc)
The player will be spending a majority of their time in the level here so I like to get it set down early, a locked door needs less space than a combat arena. Doing this first also allows the LD to define the space they need and reduce needing to go back and futz around with needing to move large sections of the level around to slightly widen a room.
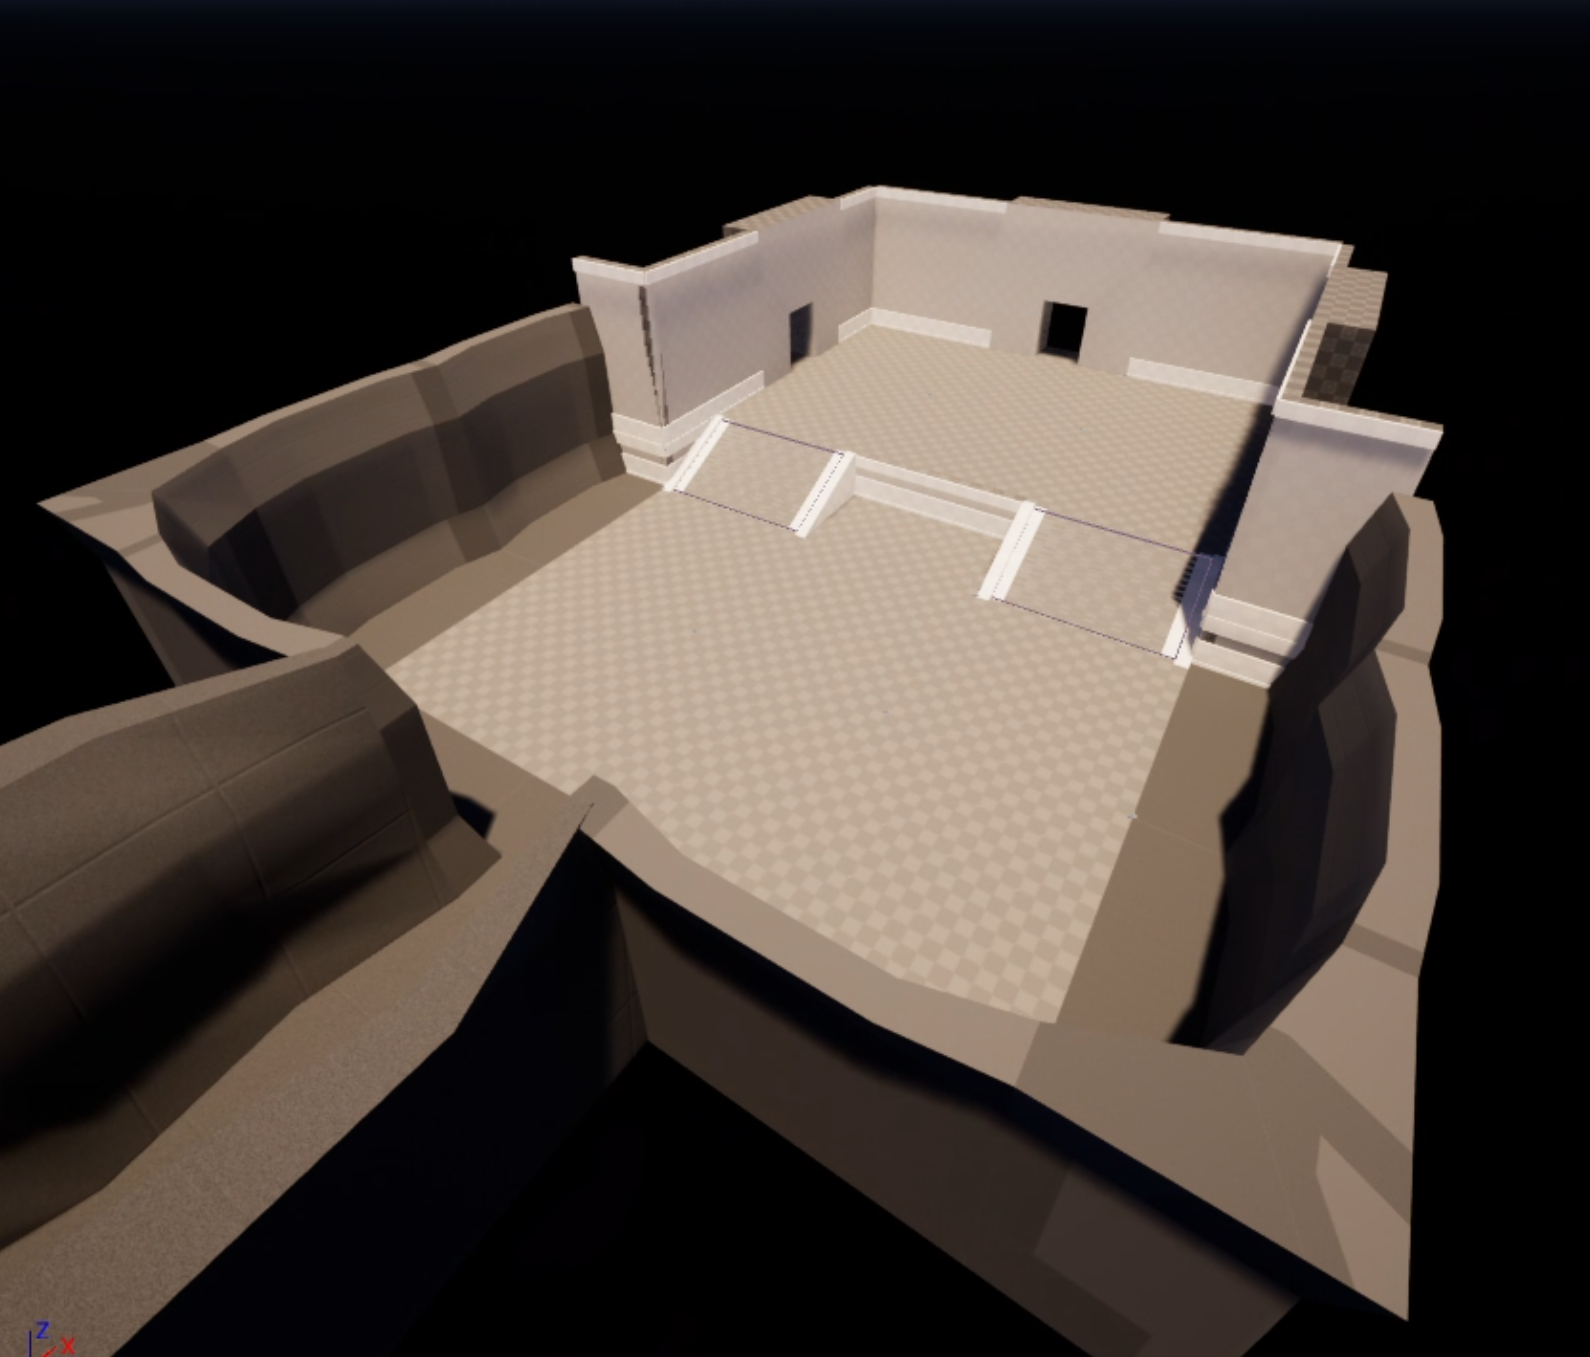
the etremley early blockout of JGL Dungeon 002
2. Figure out where the player will enter the space
I like to have the player face the main objective as soon as the enter the space, if its a door they need to unlock they should enter the room directly looking at it, this is a first impression that says “this thing (locked door, blood altar, etc) is important” without slapping them in the face.
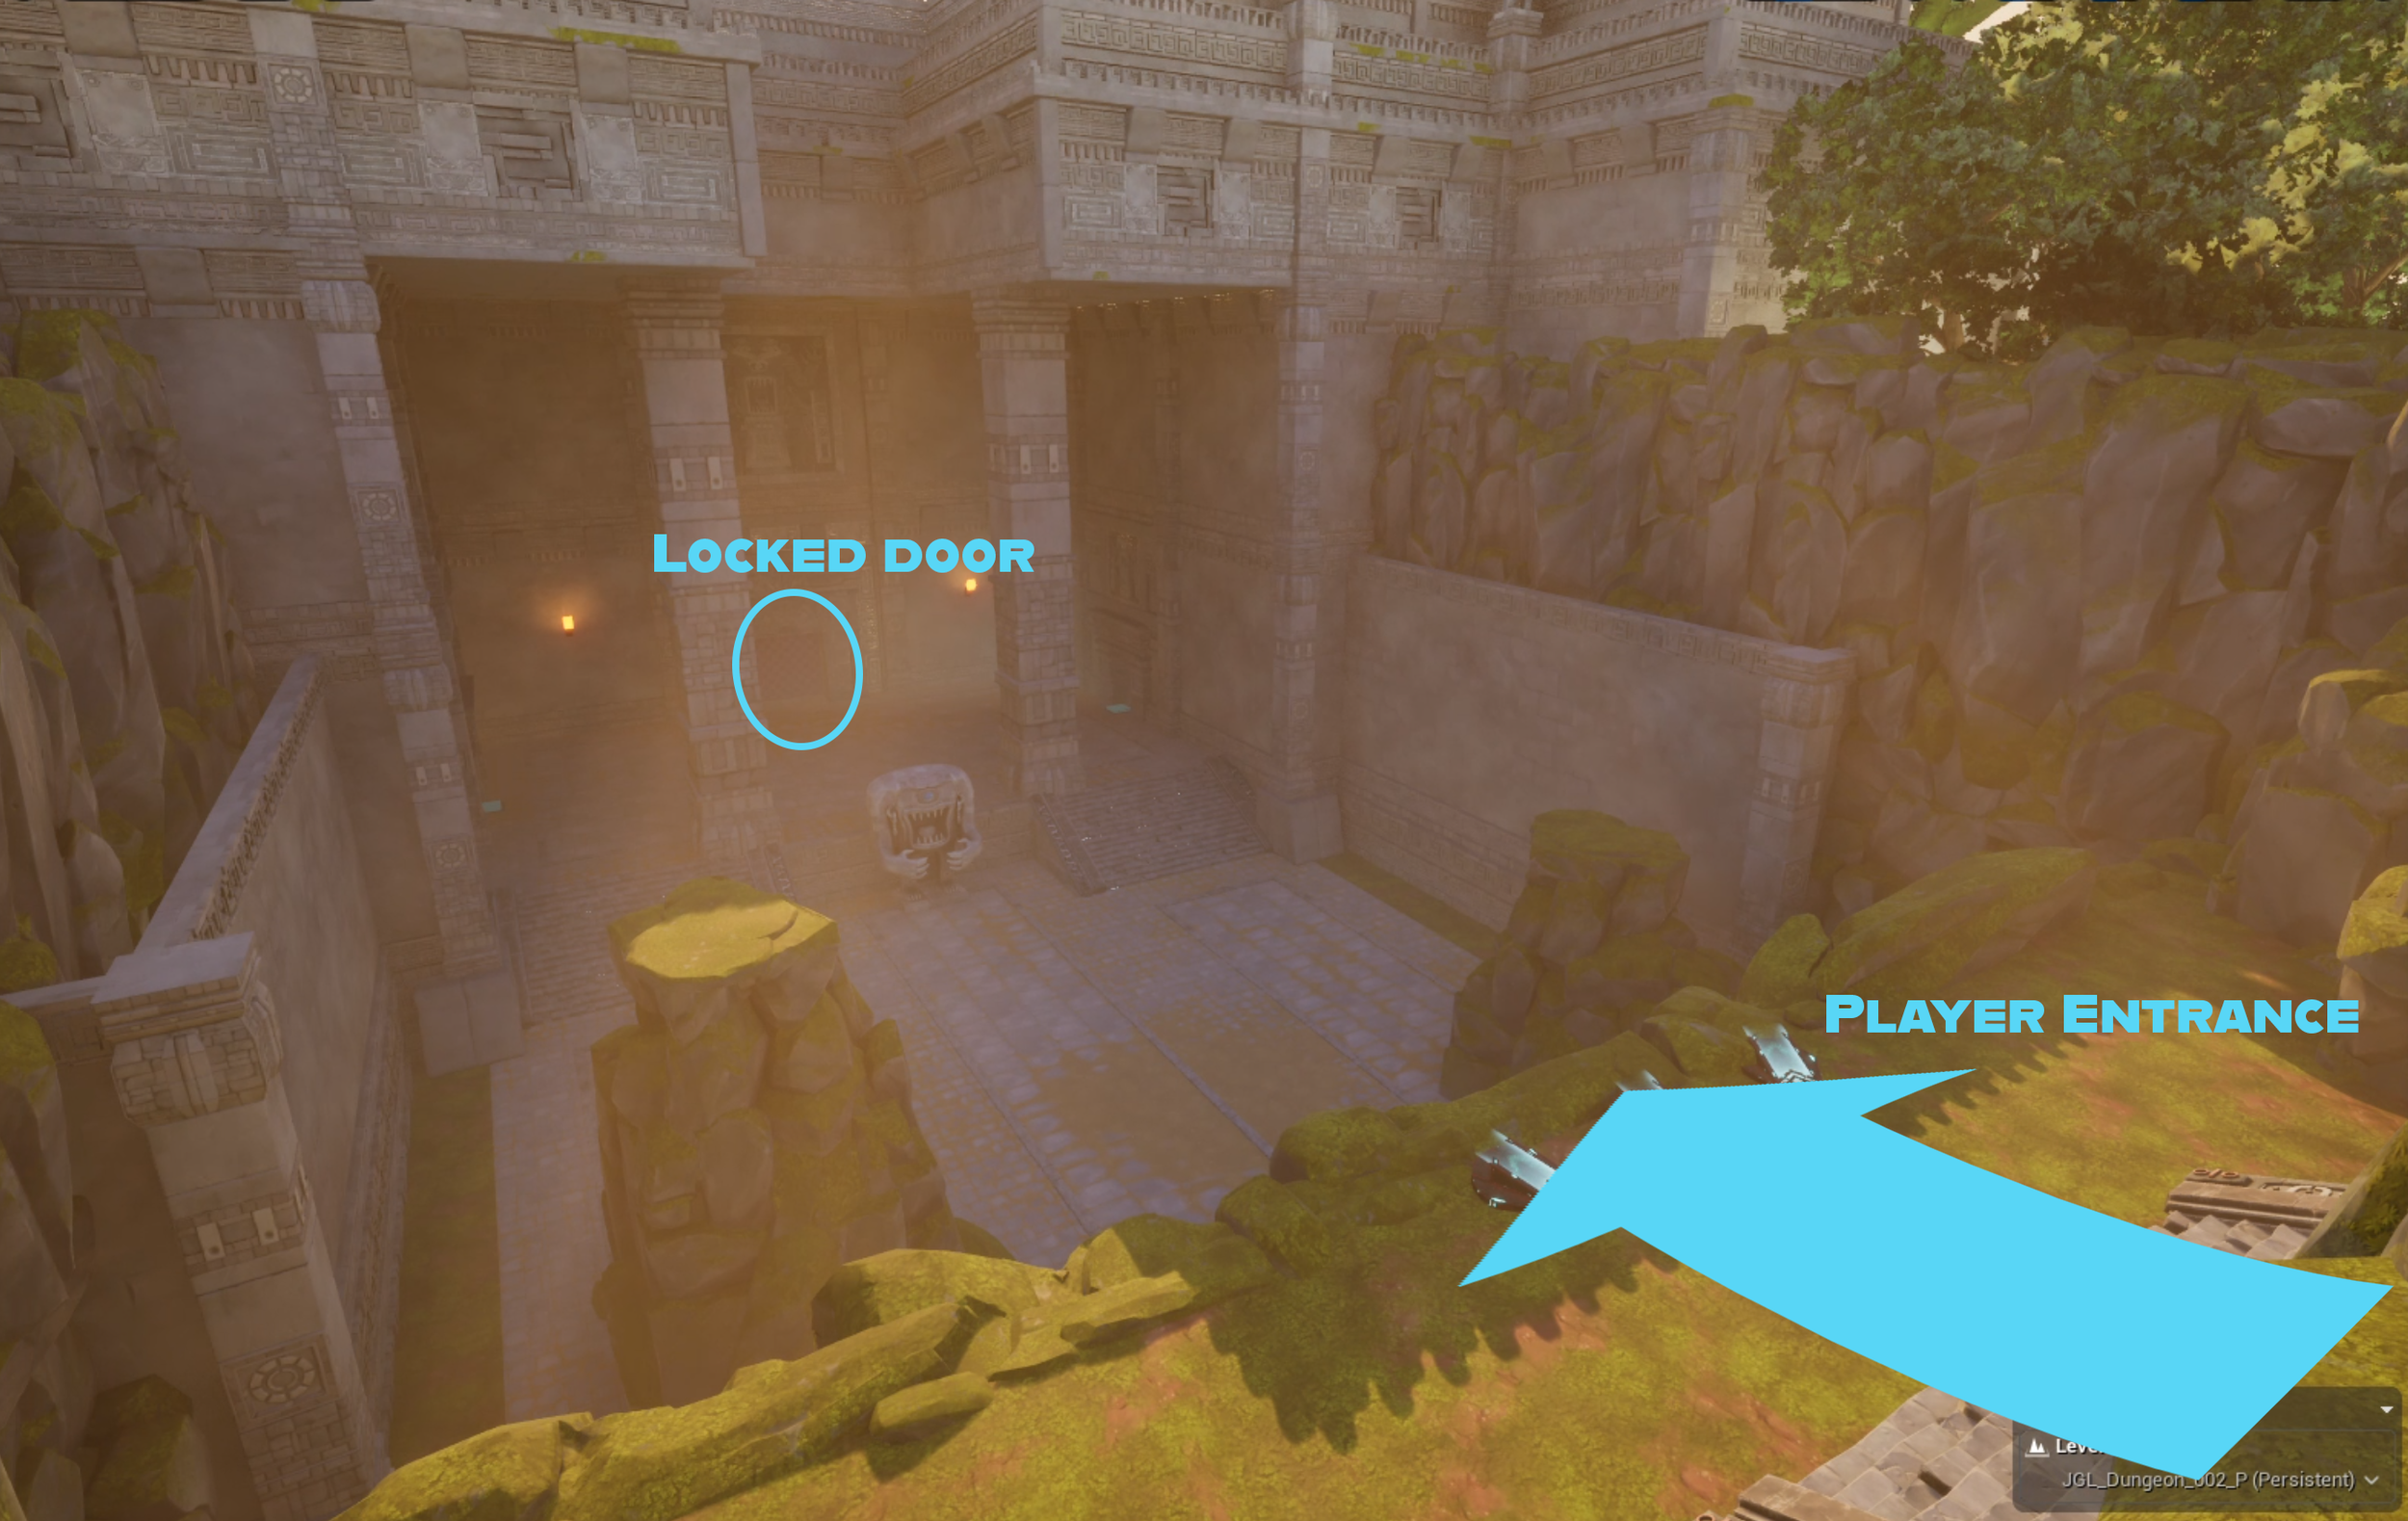
a much later (somewhat art’d) JGL dungeon 002
3. Build out a space that fits the context
Using context the LD should try and make a compelling space that player WANT TO BE IN, for example when making a level with a locked door I like to think about why the player is trying to open it, that gives me an idea to make a temple because who doesn’t want to feel like tomb raider solving ancient puzzles to open a locked door. Suddenly we know why the player is there and what they might need to do which leads into the next step.
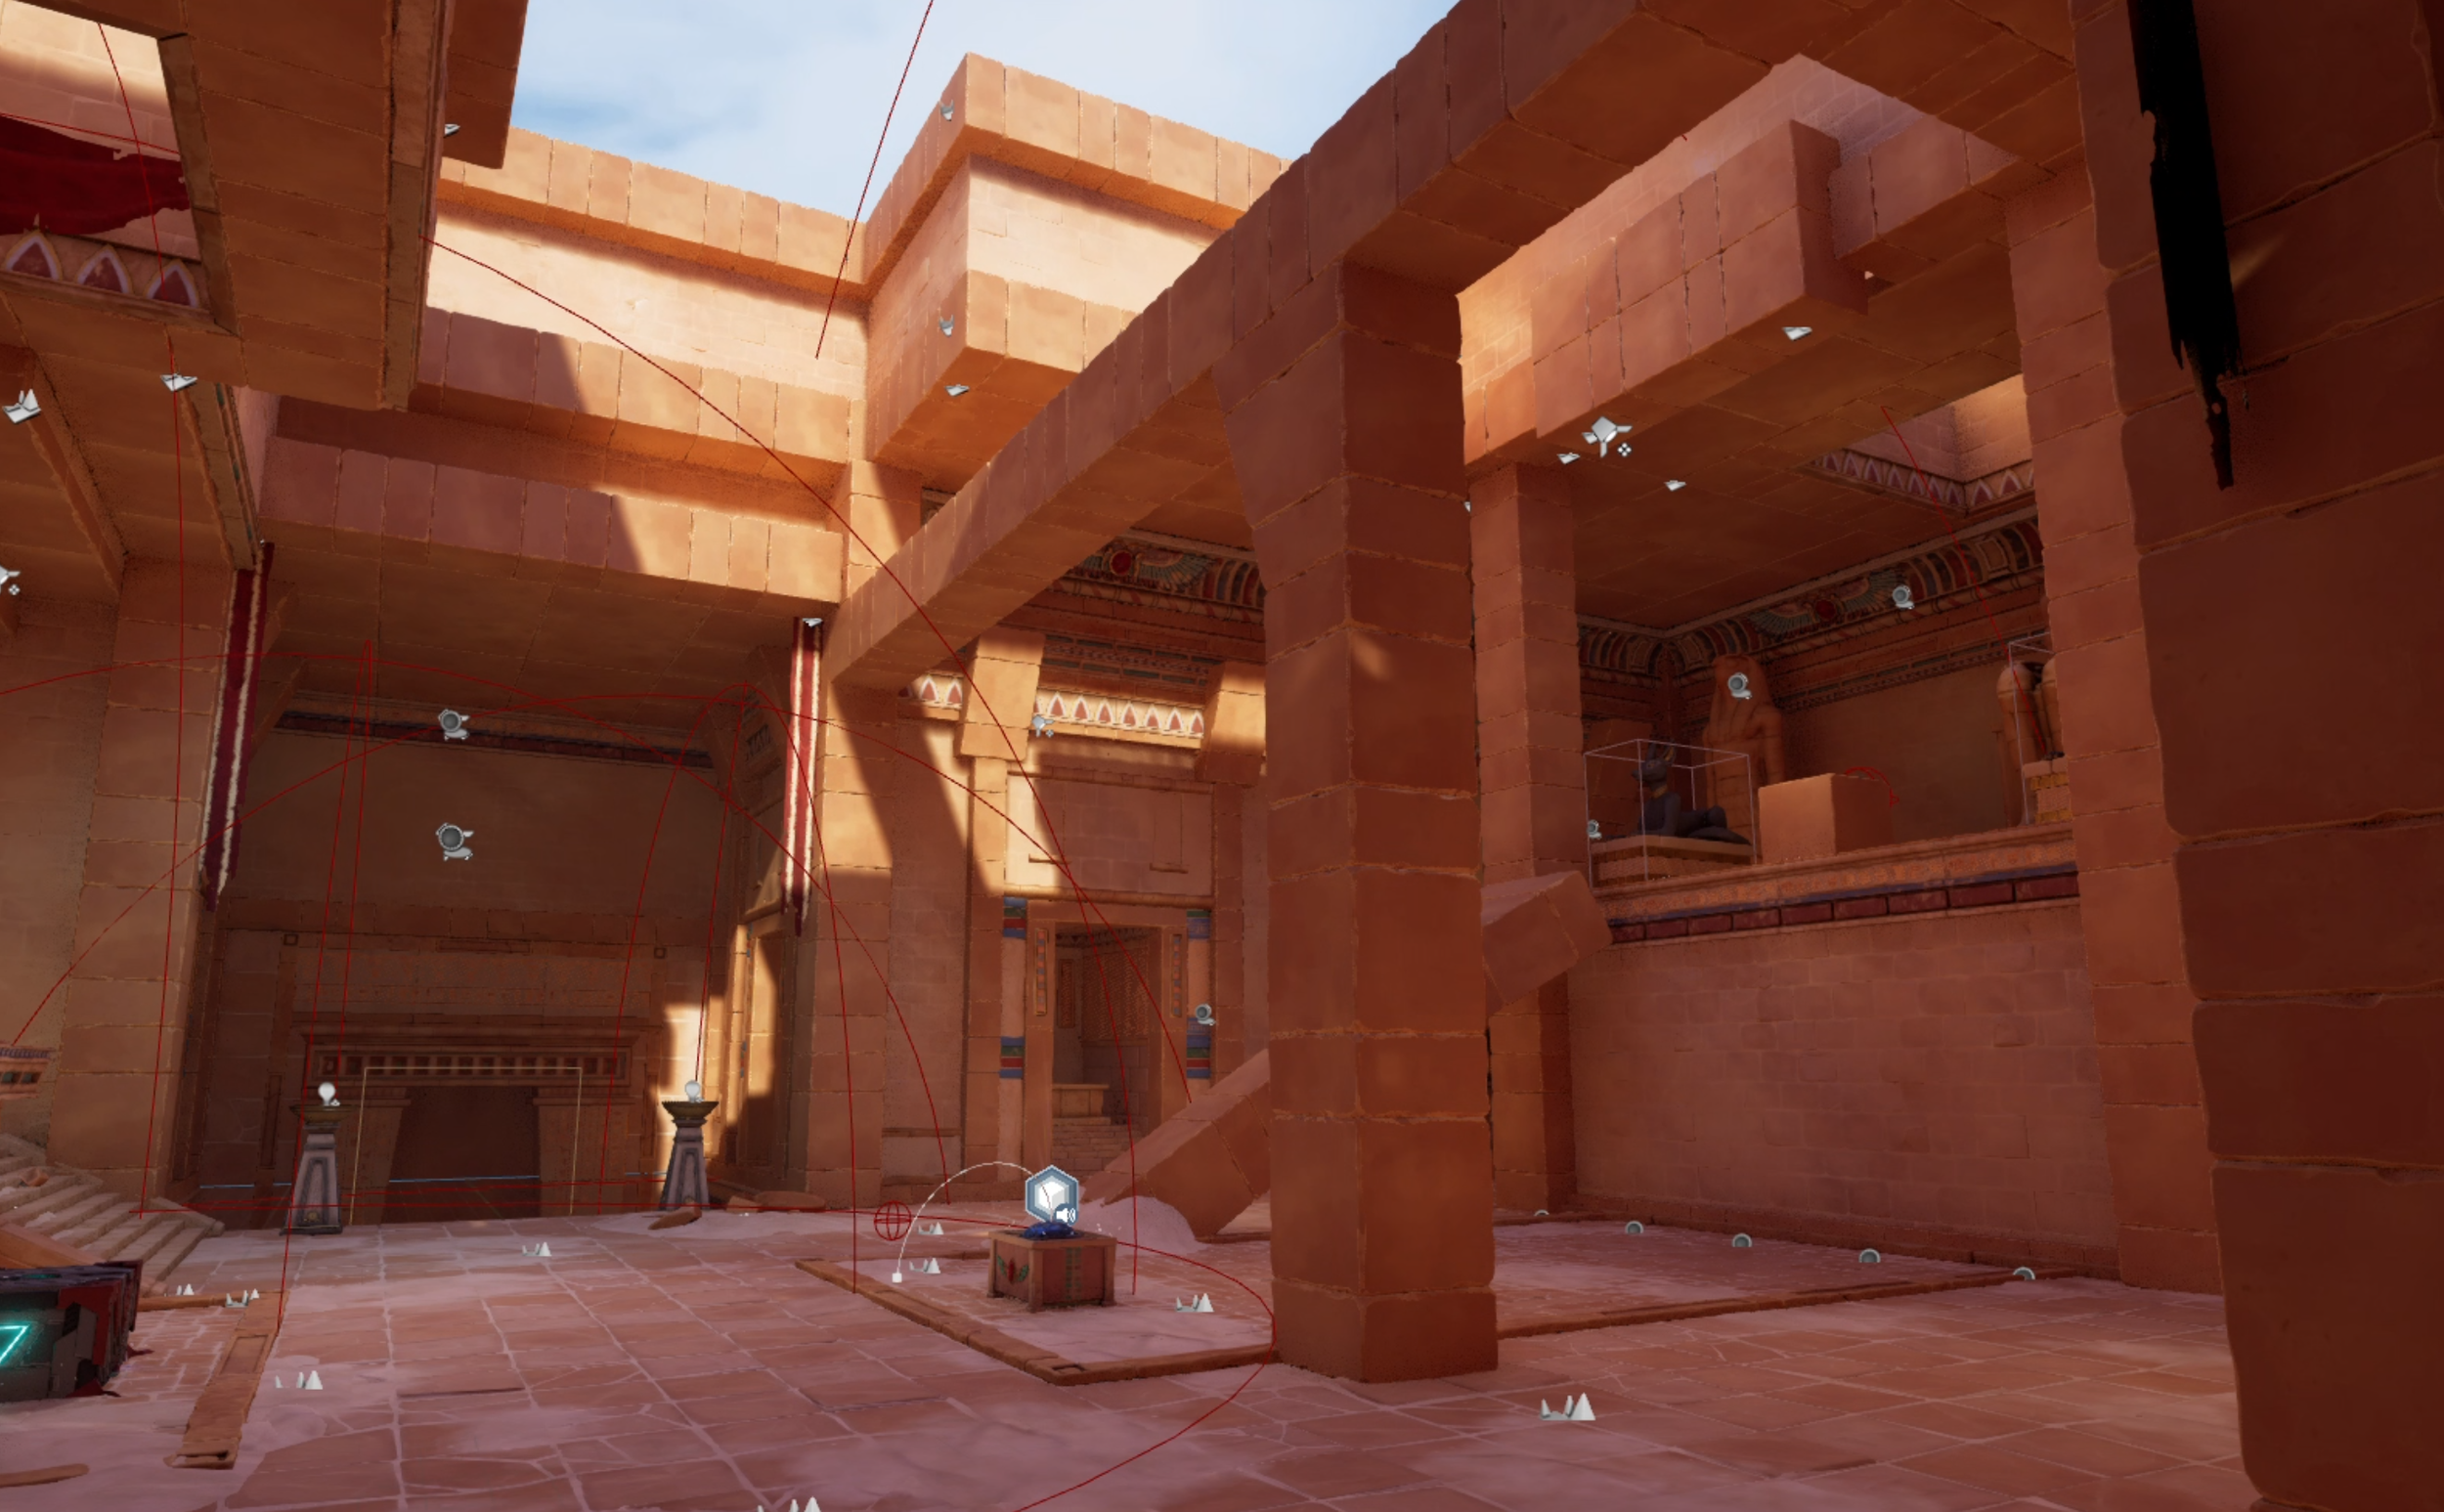
in a seemingly mundane reward room after a challenge, a secret lever can be found by walking up a broken pillar
4. Figure out how the player moves forward
Depending on the objective of the level this step might be more or less obvious:
- Blood altar? The player will be immediately swamped with enemies and will hopefully see the progress bar incrementing upwards when they kill something.
- Reach the exit? The player will see the objective text and hopefully have the sense to move forward, the need to kill the enemies that are a small distance away will coax them forward if needed.
- Key/Switch hunt? When seeing the objective, the players will most likely get the idea that they need to explore and find said switch or key.
This tells us if we need to add any adjacent areas, things like separate rooms with a combat trial, traversal challenge, or puzzle to do something (Claim a key, kill a mini boss, etc) or if we need to focus more on the central room to make it more interesting to fight in, things like cover pieces to avoid fire, raised walkways to get higher ground, gaps they need to pay attention to avoid falling into, or even boxes to shoot, which leads nicely to the next step.
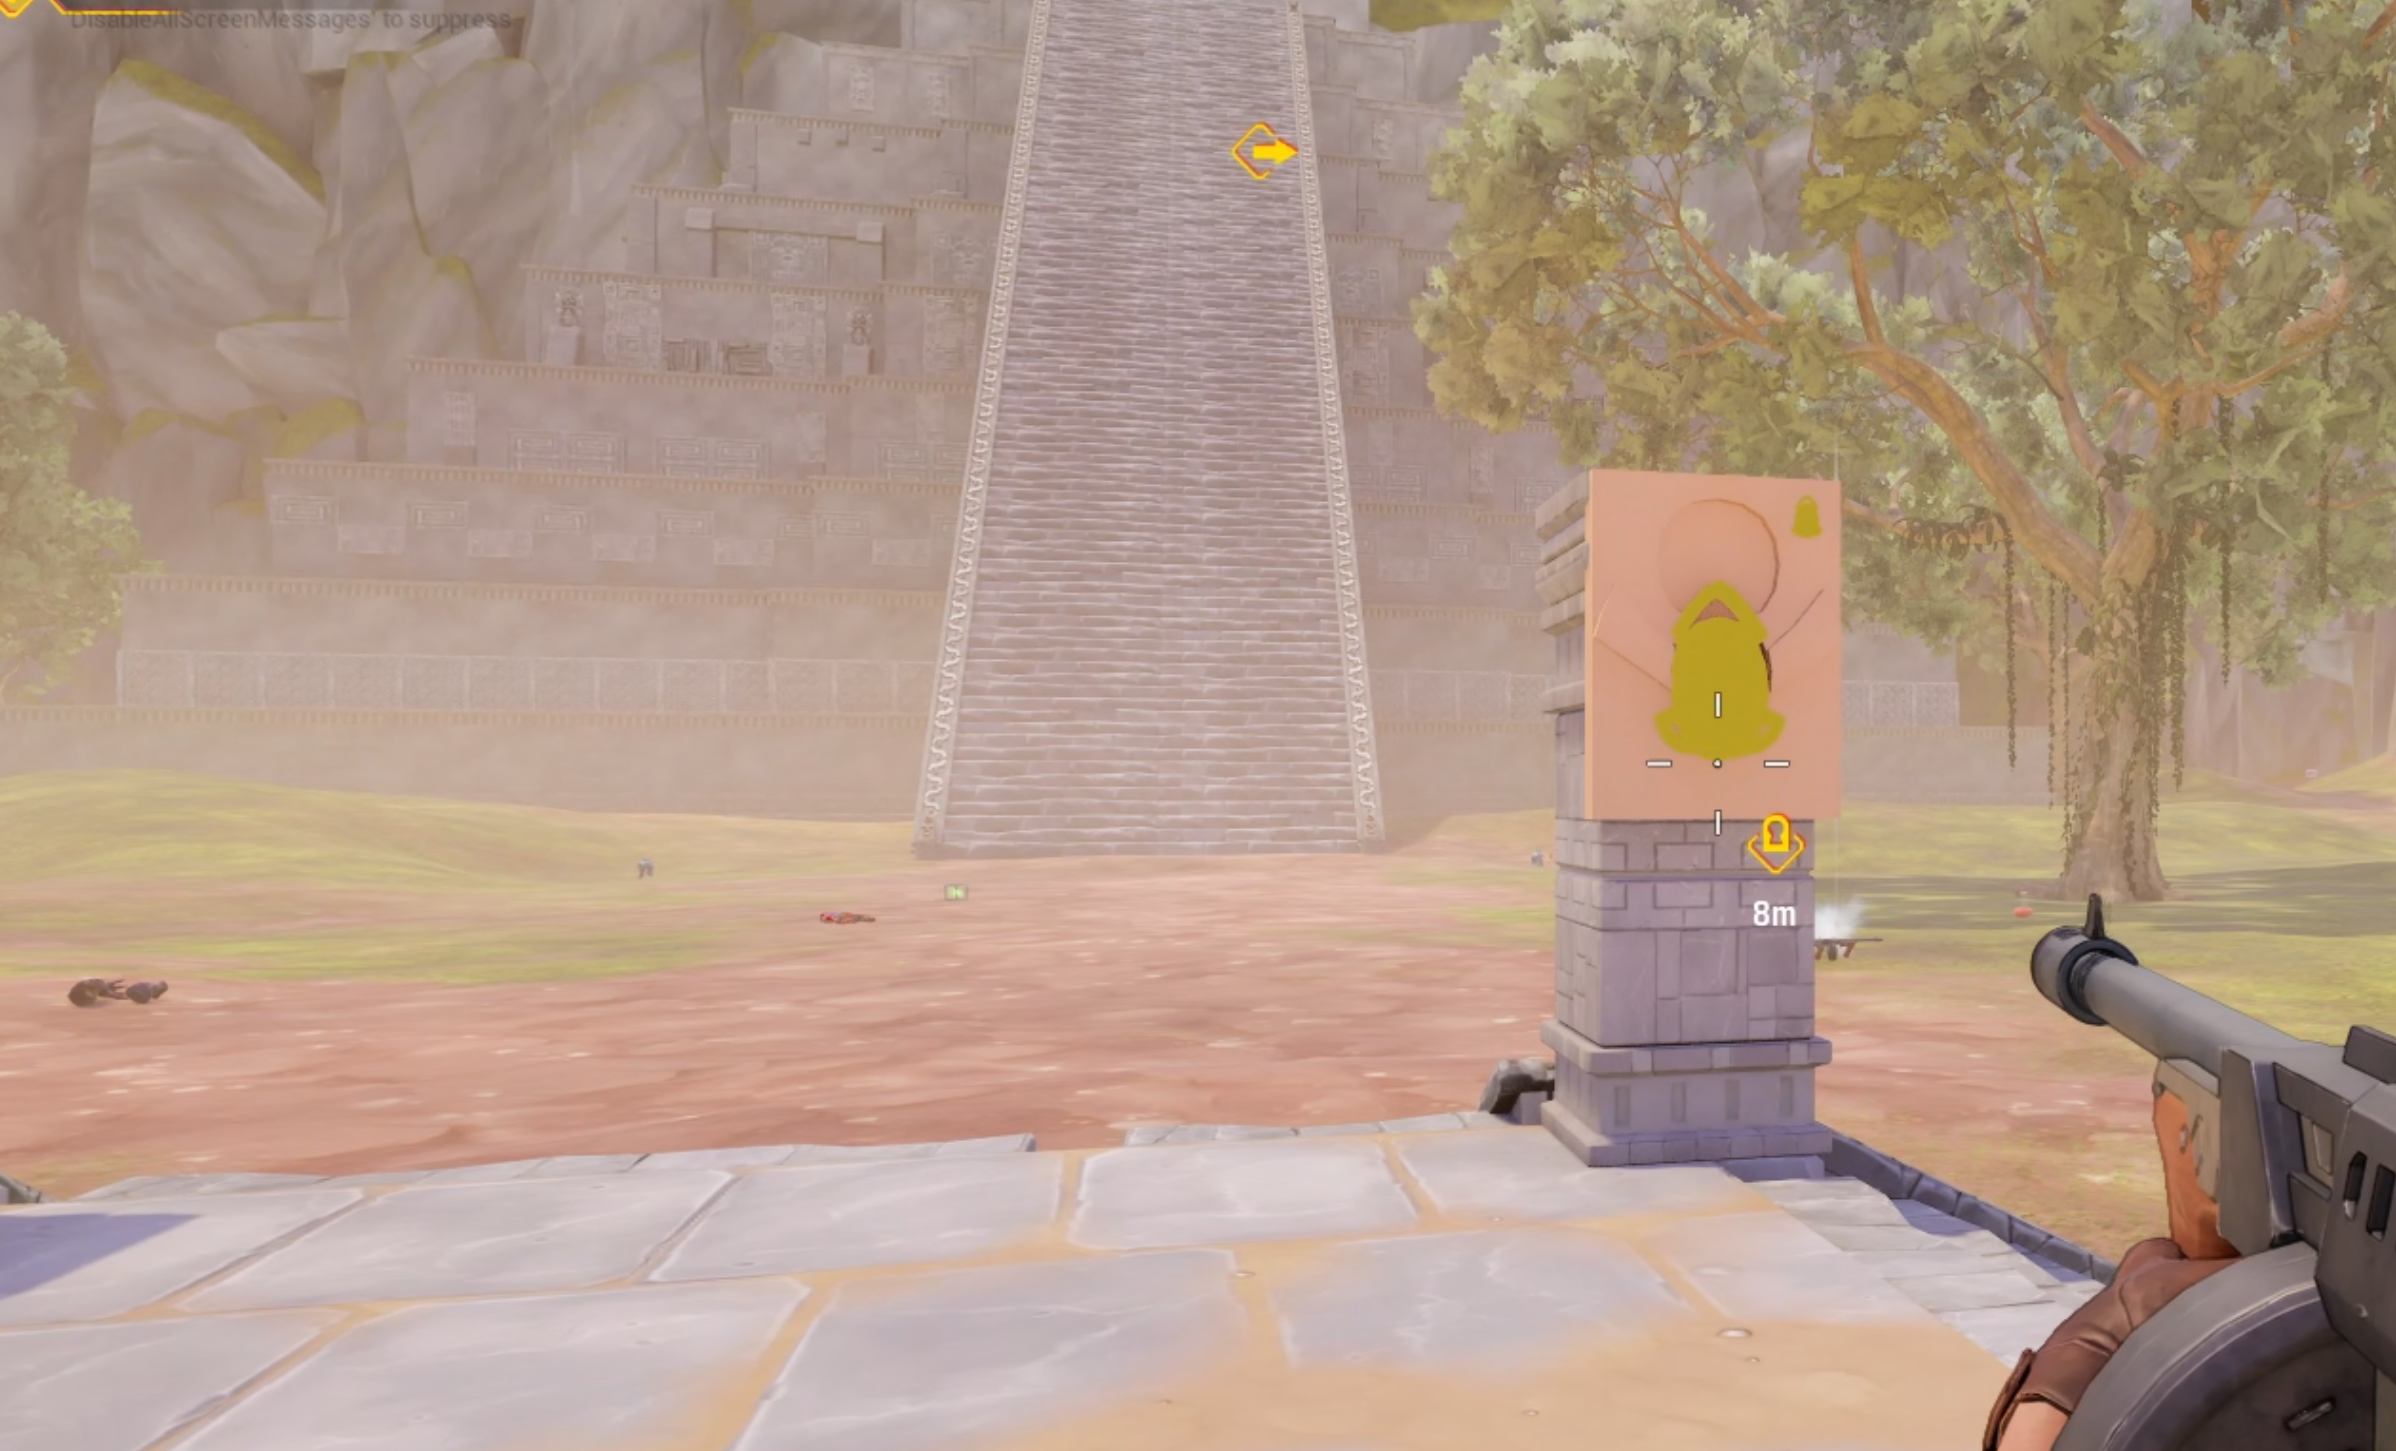
a spot for a key that the player has found opens the way forward
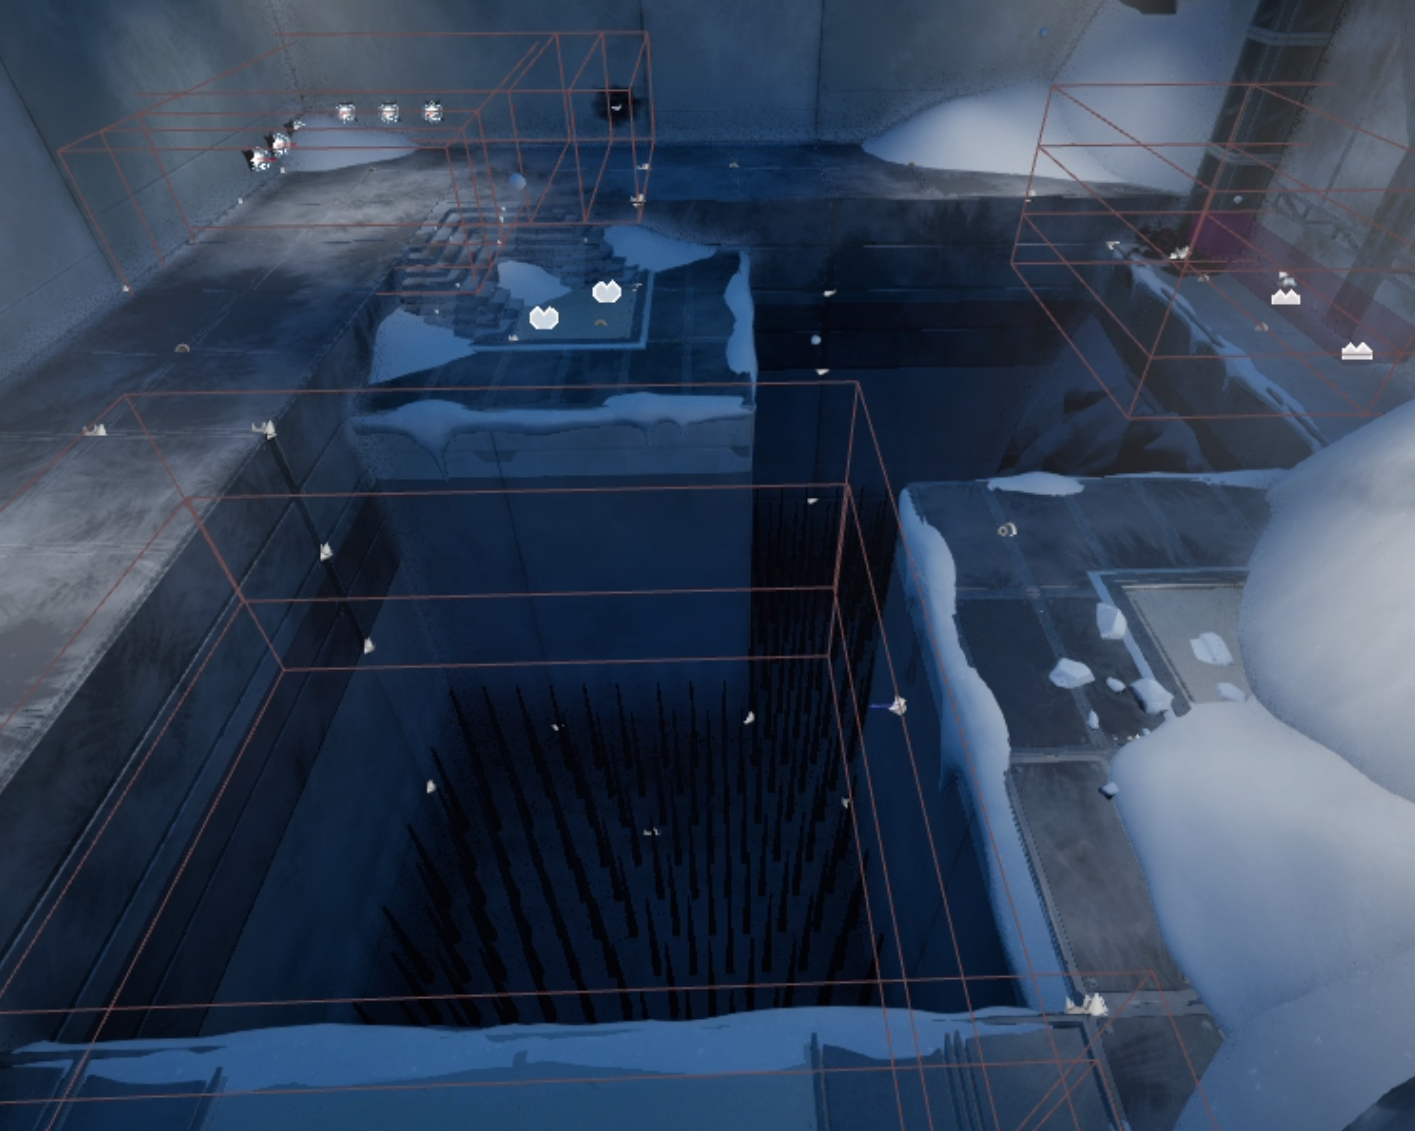
5. Think about where the enemies come from
In SS:Shatterverse, we wanted to have enemies enter the space through an actual entrance, it didn’t need to actually work spatially but it needed to feel like they were called from somewhere, we used multiple sources:
- a cliff or unreachable ledge that the enemies spawned at the top of then ran off of and into the area
- a one-way door that let the enemy into the level then slam closed
- 1 way elevators or holes that enemies jumped out off
- limited amounts of enemies might be milling around the space as player enter
- if needs be they can teleport in with a flash sound and VFX
So we need to place things like doors, ledges to drop down from, or holes in the floor (that can double as hazards placed in the step before) and that placement requires room, its better to claim that space now rather than later
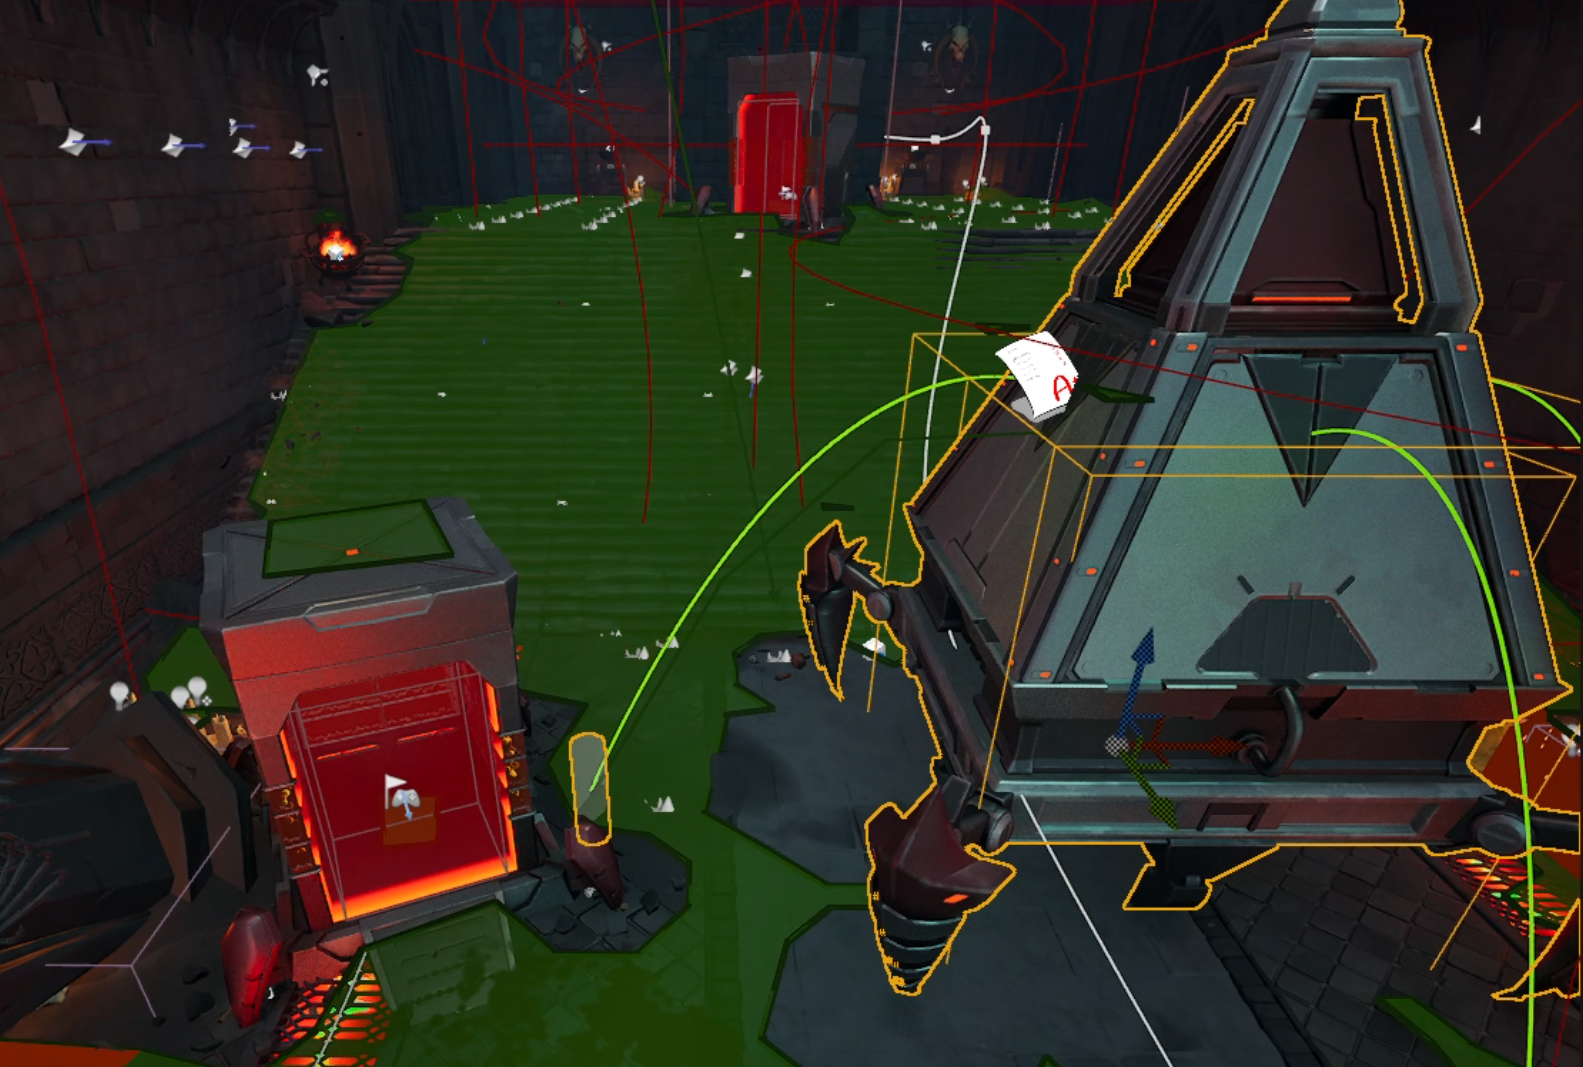
a monster closet in the lava biome showing the path enemies take to exit the spawn area
6. Place pickups (health, armour, gold, etc)
This is pretty self explanatory but in an FPS players might need to heal, its generally good practice to place these to the outer reaches of an arena or out of the way areas, I like to make the player actively look for them when they are needed and force a distraction to spice up the fight.
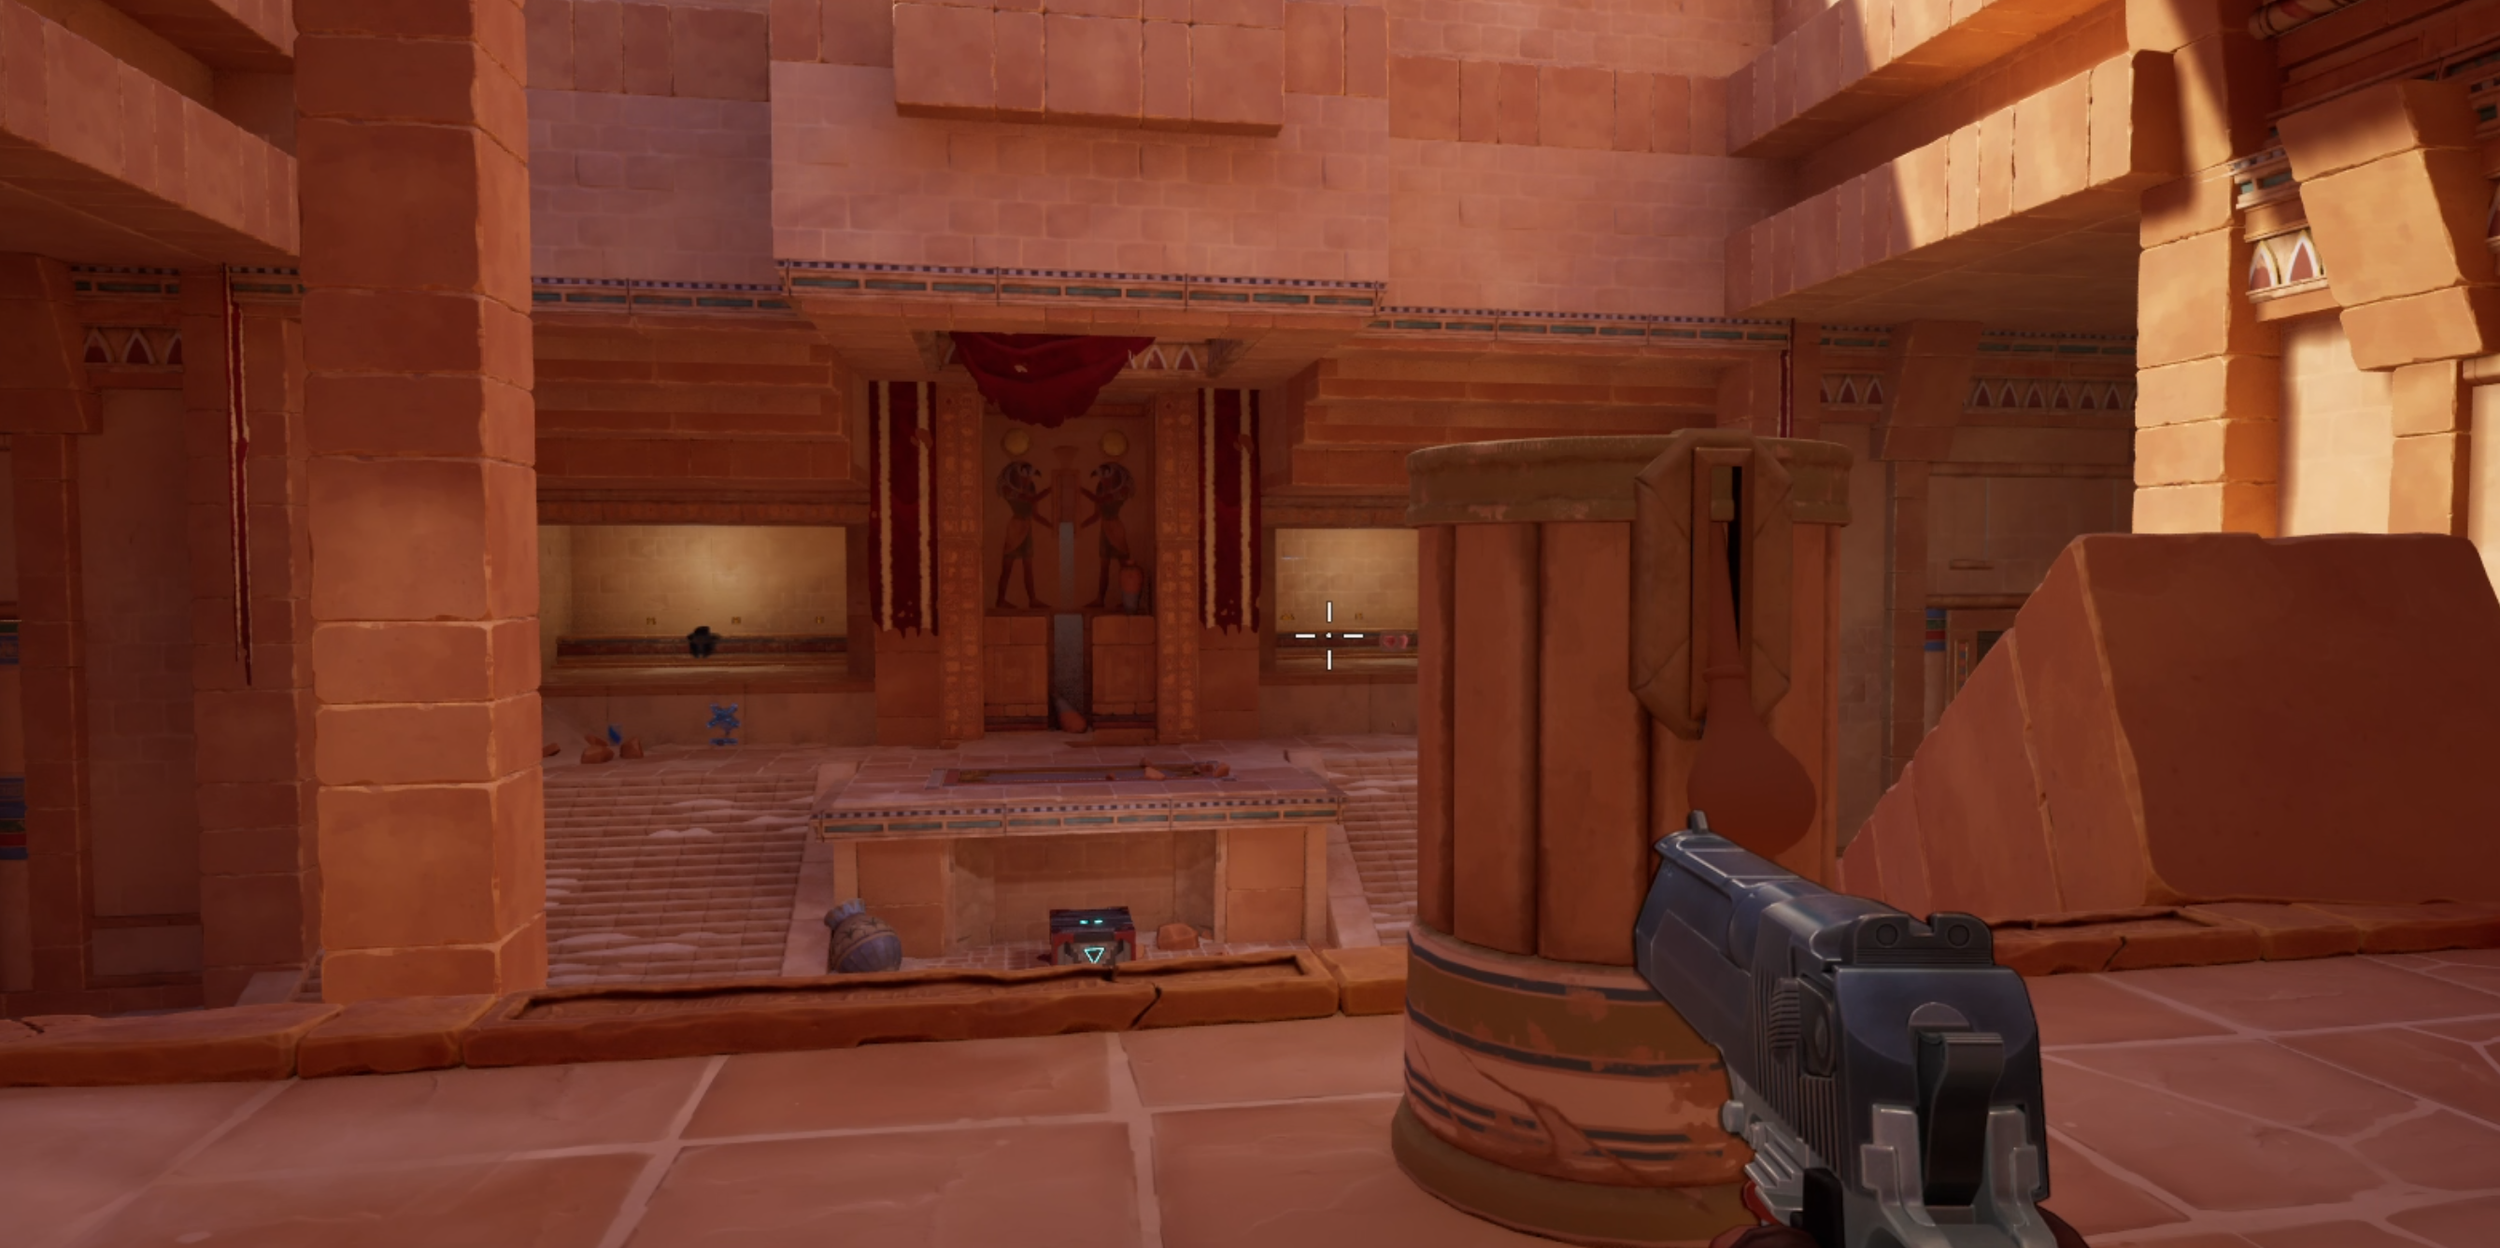
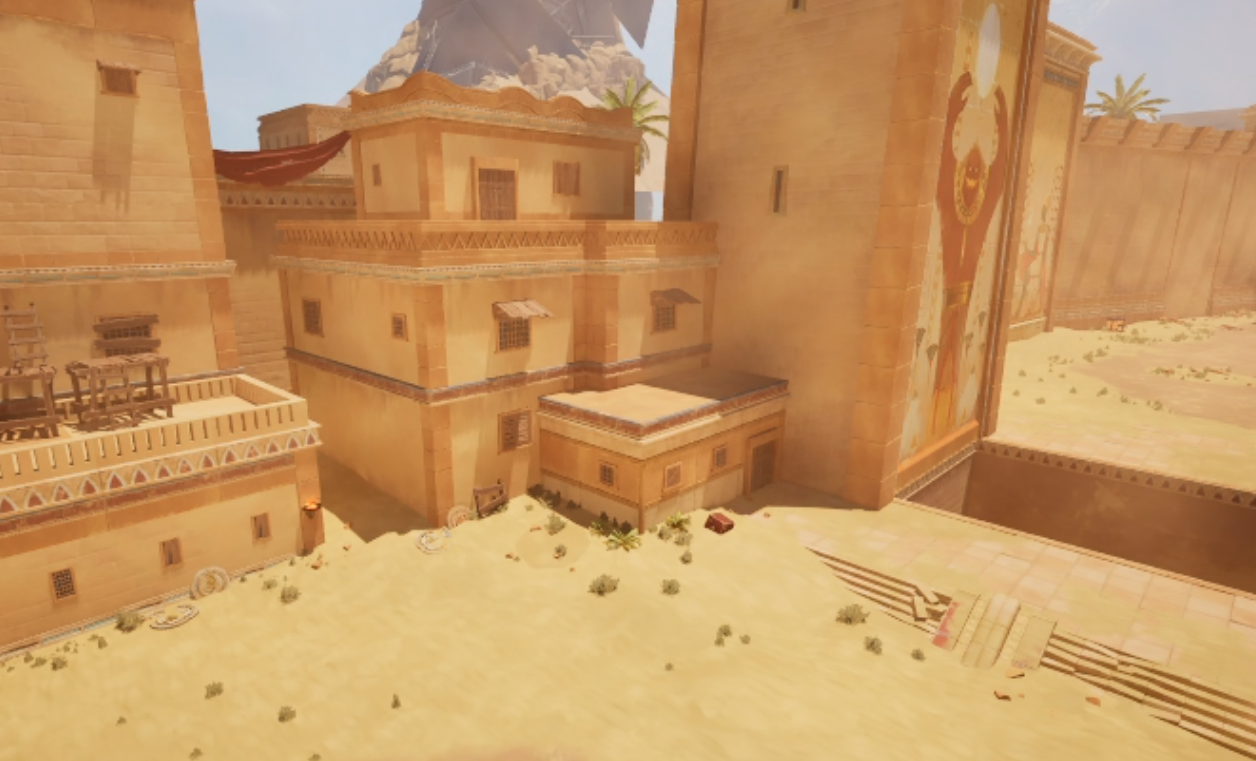
a Desert room that shows armour pick ups, a recently used secret switch plus the gold it was hiding
After this process it is generally good to move onto the next step to make everything functional fairly quickly as the only way to be sure if the level is fun is to test it with enemies, ideally we will be returning to this step anyway when iterating so sometimes it's okay to go a little fast and loose initially.
5. combat encounters / triggers
This is when the level becomes functional, in previous steps we have built geometry, decided where objectives will be placed, where doors will open and enemies will spawn, but none of that can be tested until the logic to make it all function has been implemented.
In SS:Shatterverse we had multiple ways of starting or Triggering logic:
- an invisible trigger volume that started logic when a player or enemies walked into it
- one-way interactables, buttons or switches that can be turned on but not off
- Binary interactables, buttons or switches that can be turned on or off
- Timed interactables, buttons or switches that when turned on will turn back off after a set time
- shootables, any crates, wall targets or breakables that can trigger logic when destroyed
- wave completion, when a wave of enemies is complete or killed, logic can be started
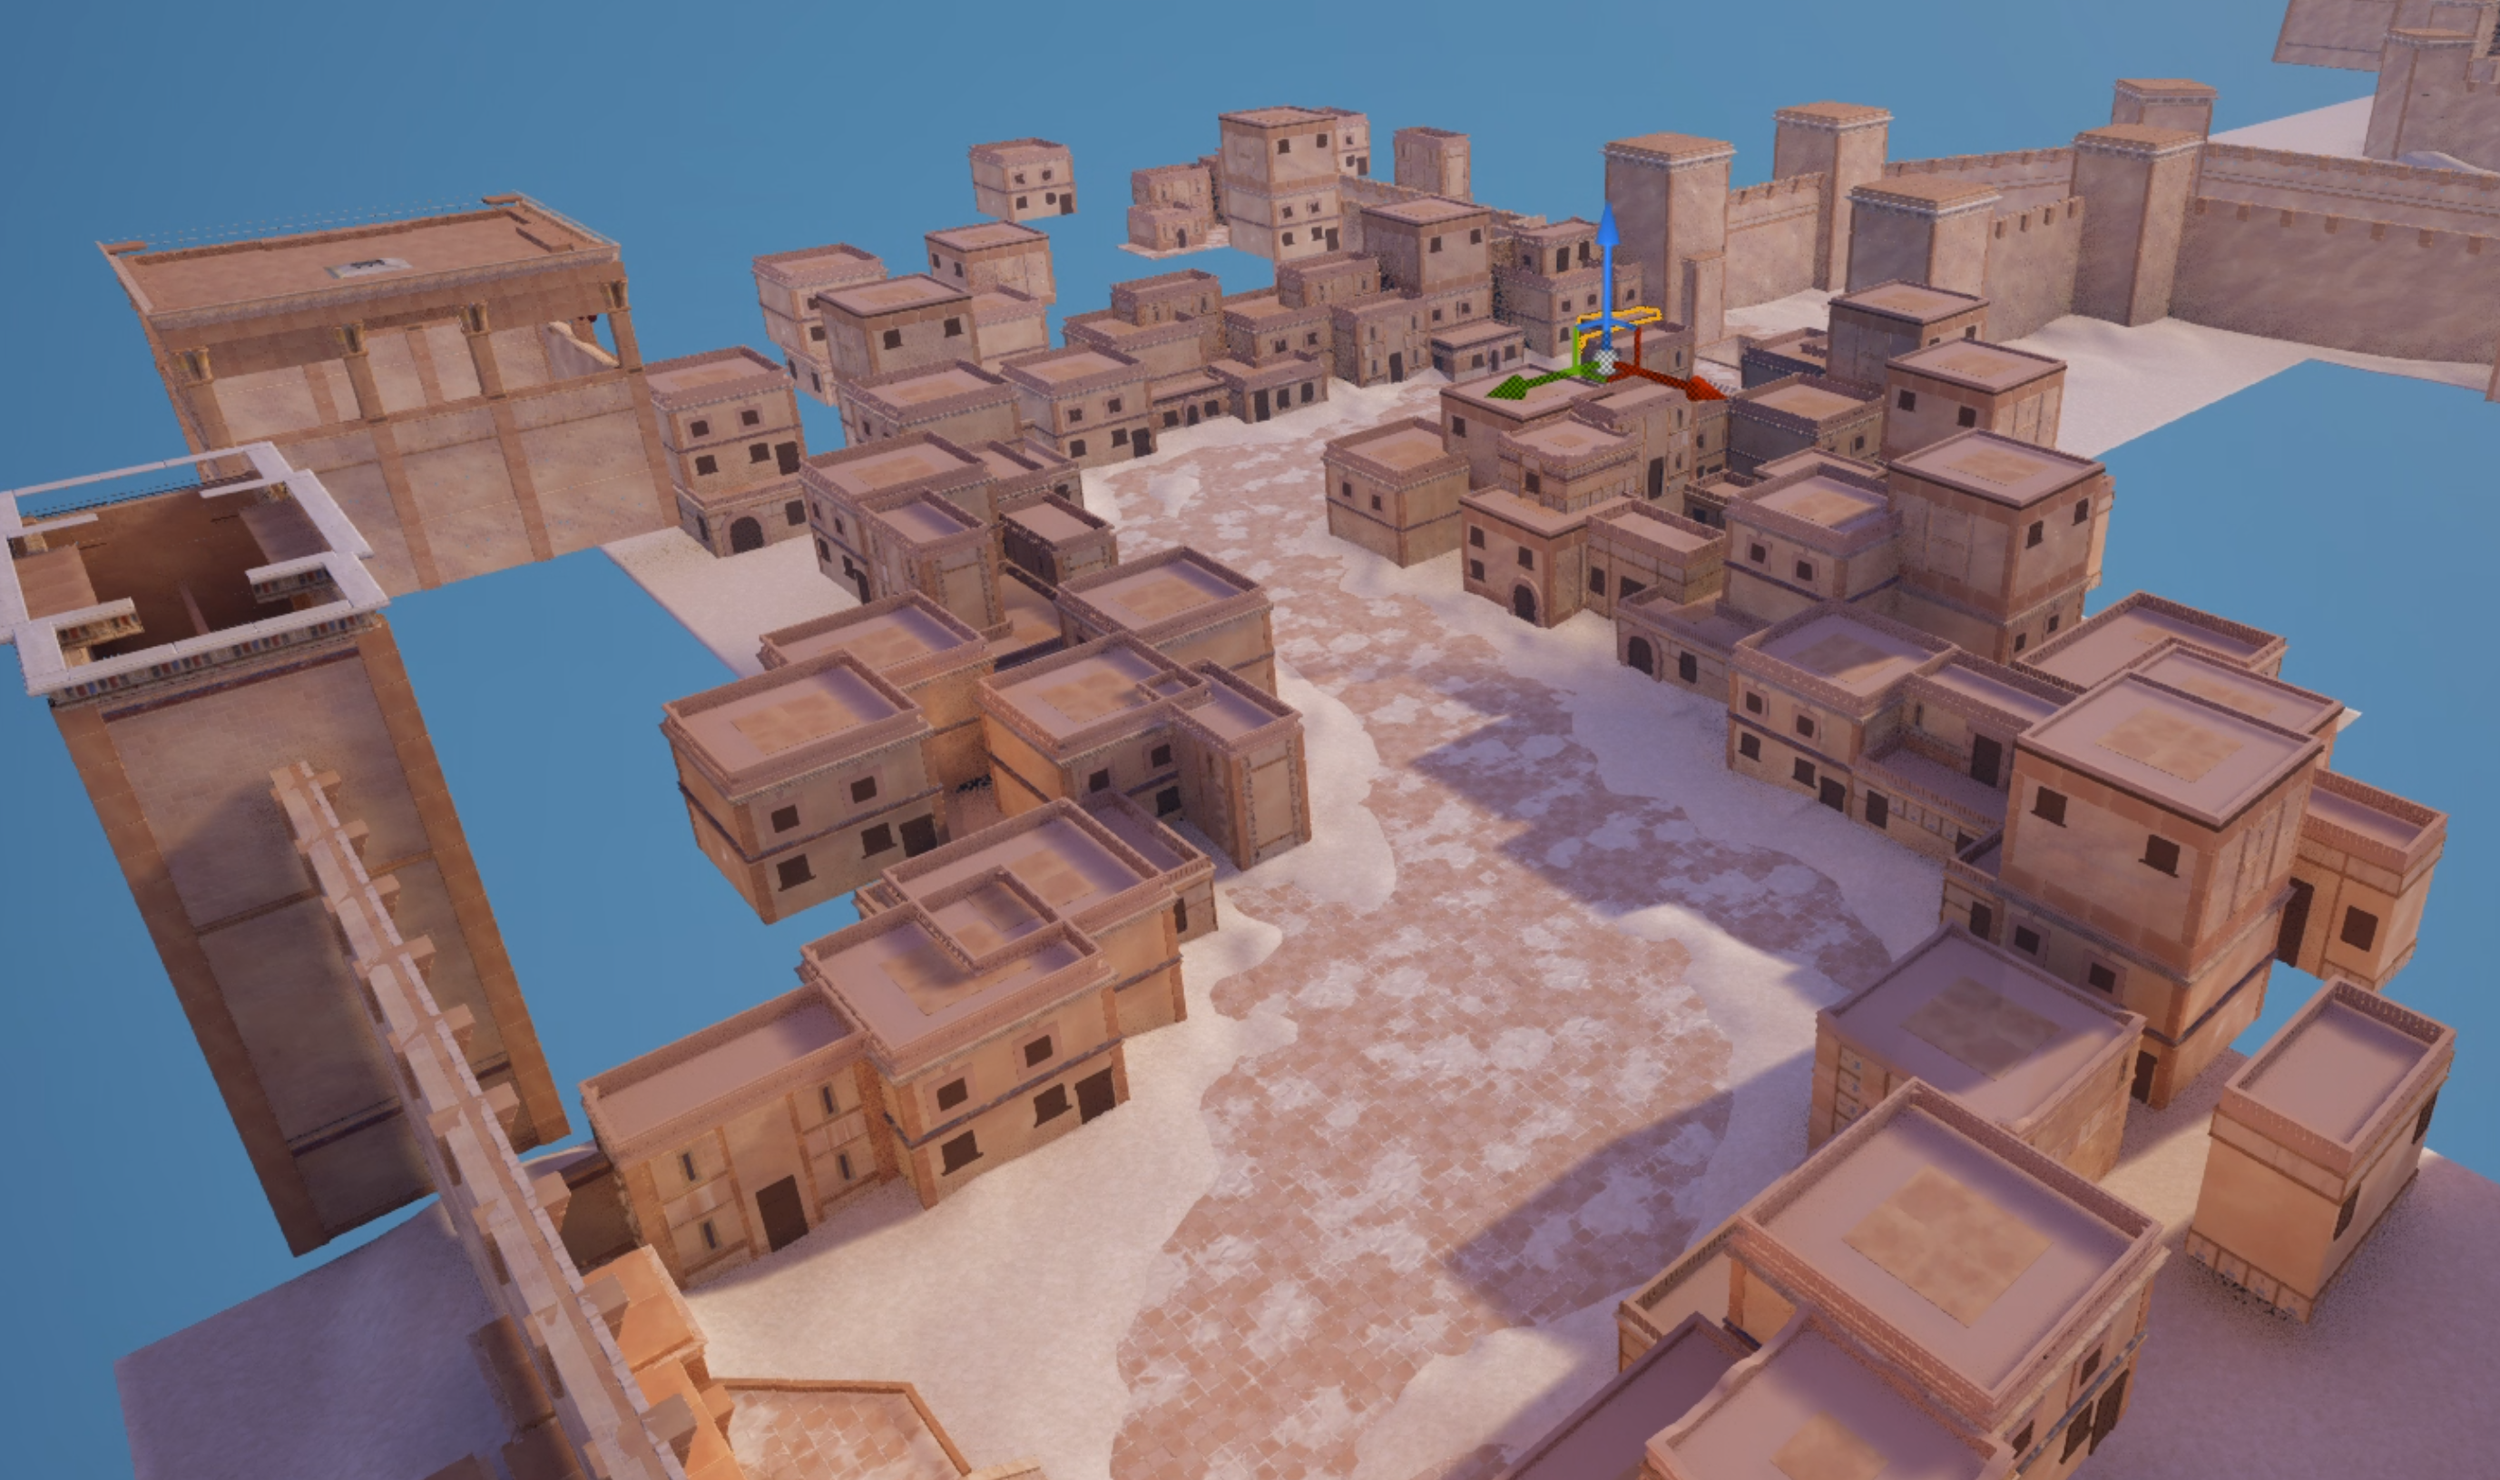
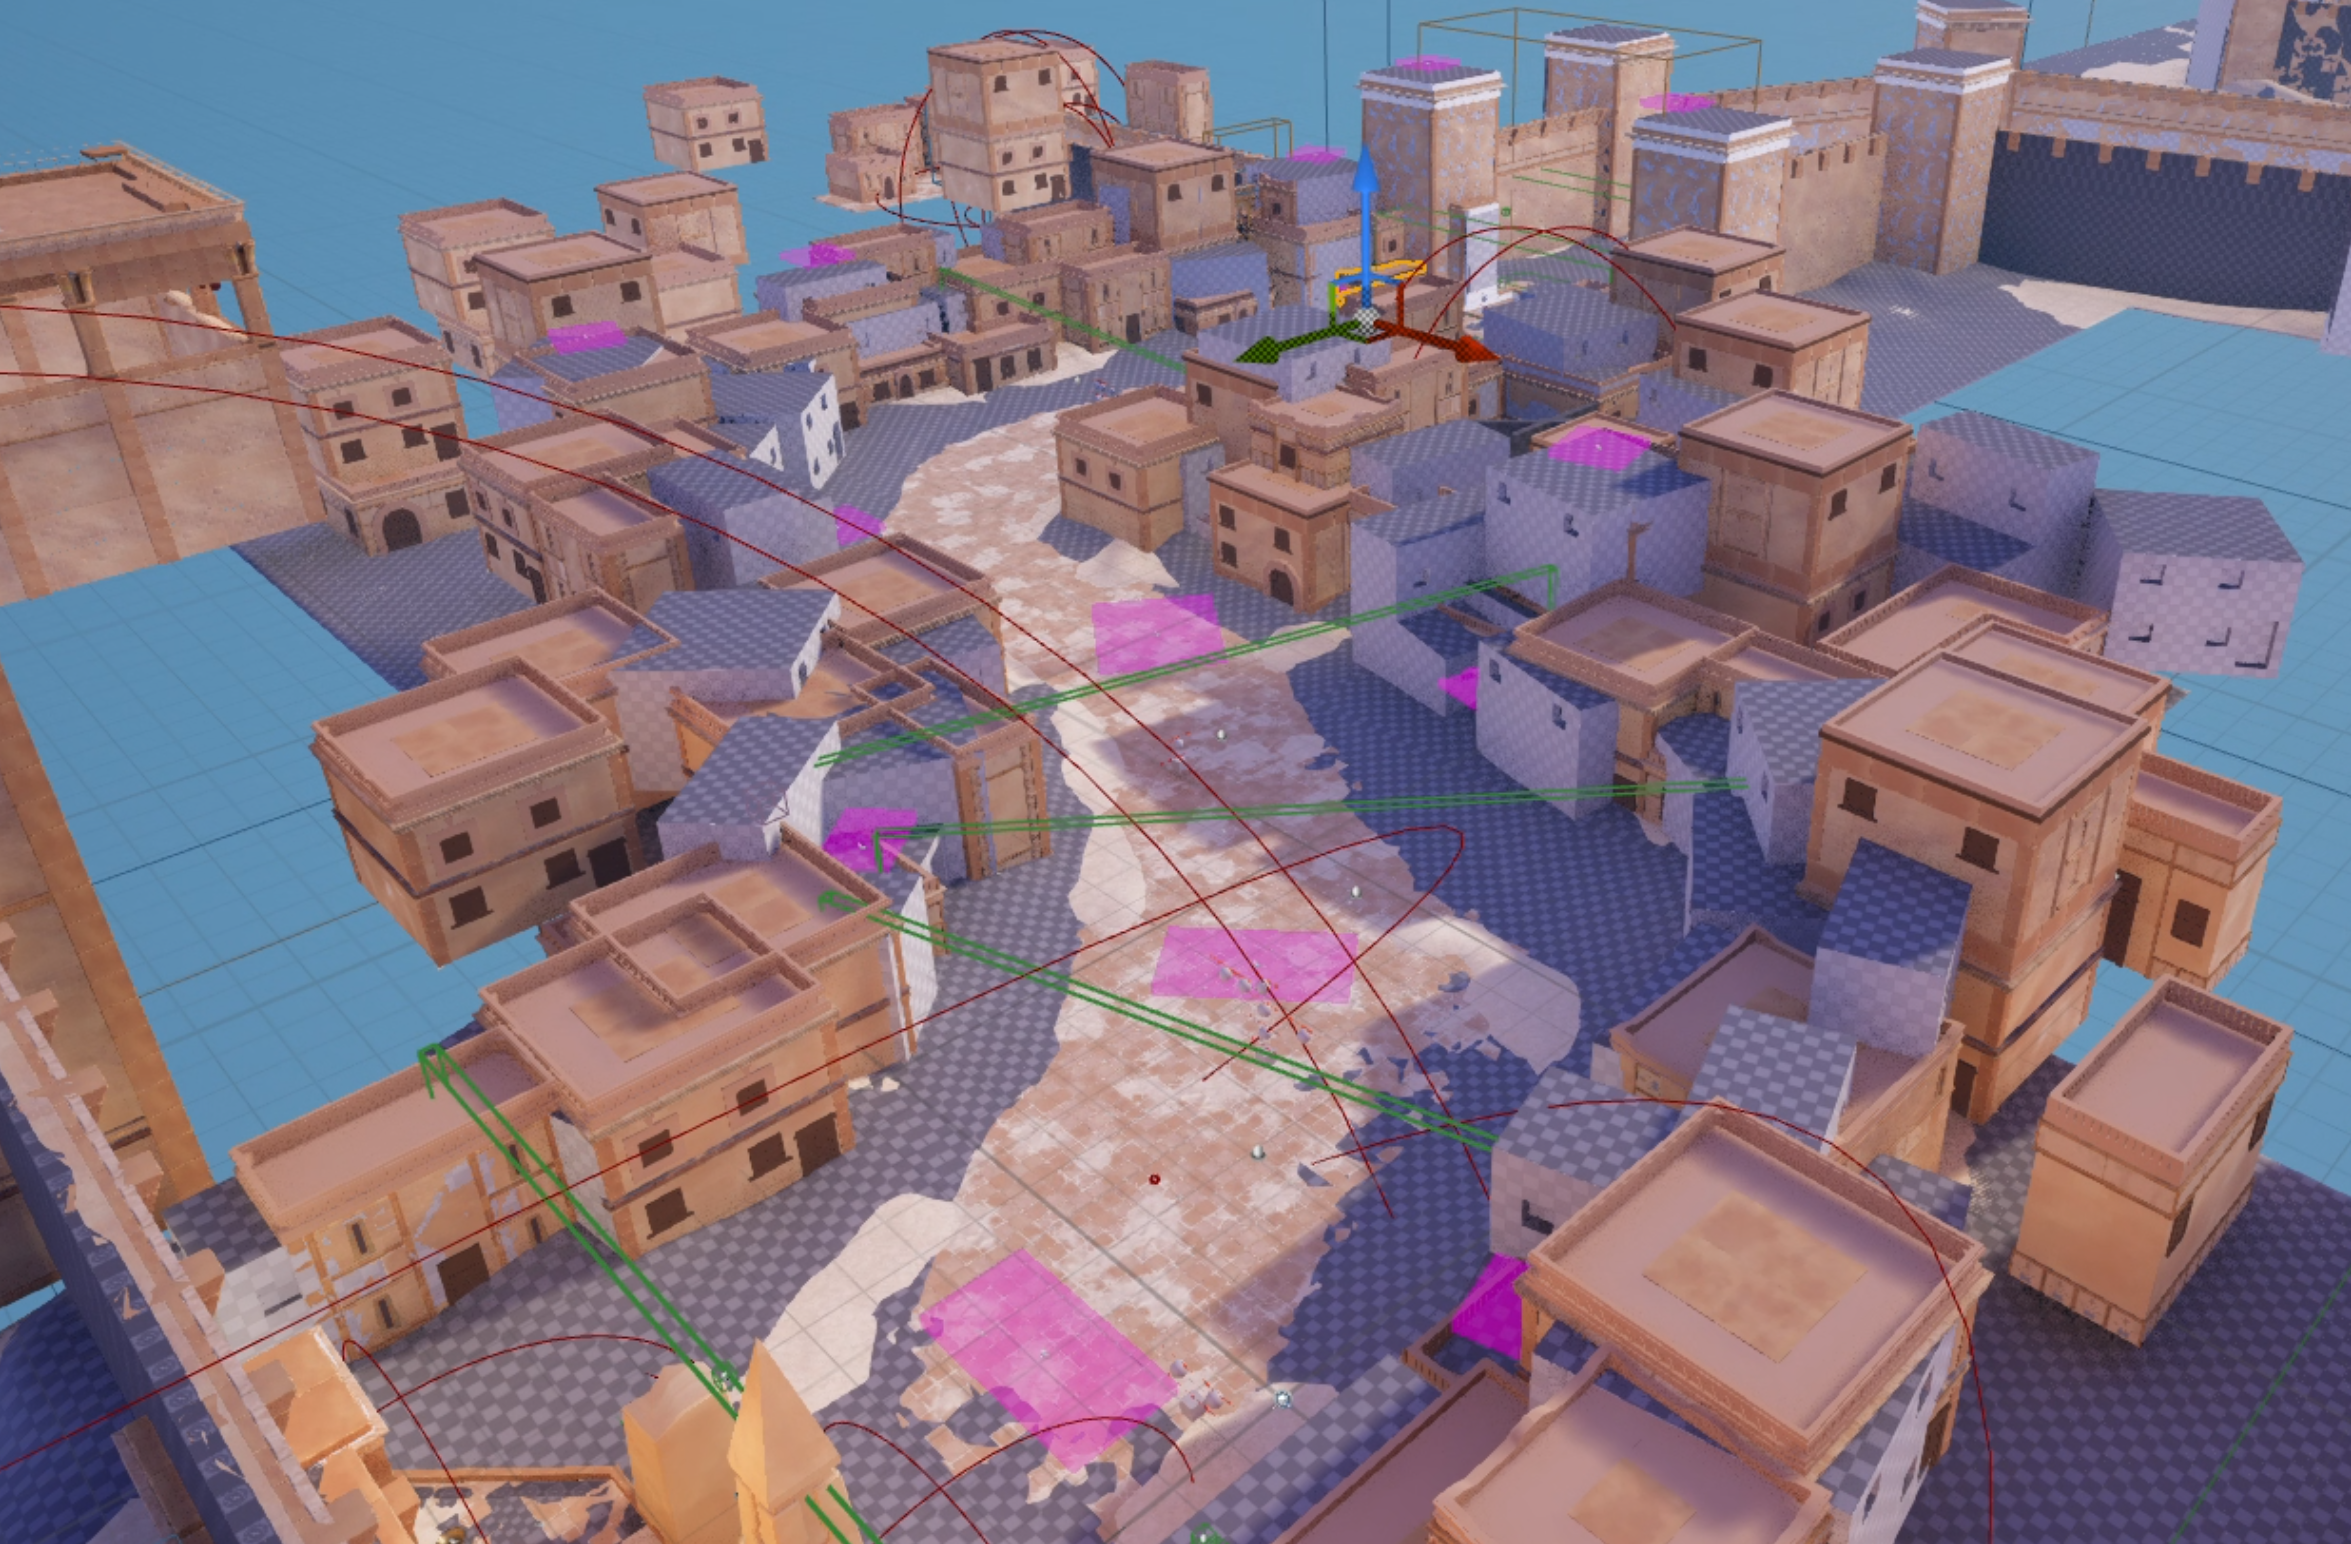
To start combat encounter, open a door, complete an objective or anything else that functioned outside we used the level blueprint tool to build out almost all of the logic in a readable visual scripting flow chart (unreal blueprint tool), we kept almost all of the scripting work in one place and used the sub-level system to allow LDs to work on level logic while leaving the environmental artists to do their work on a separate level (Logic was on LD_Main, art on Art_01 and Artgore_01)
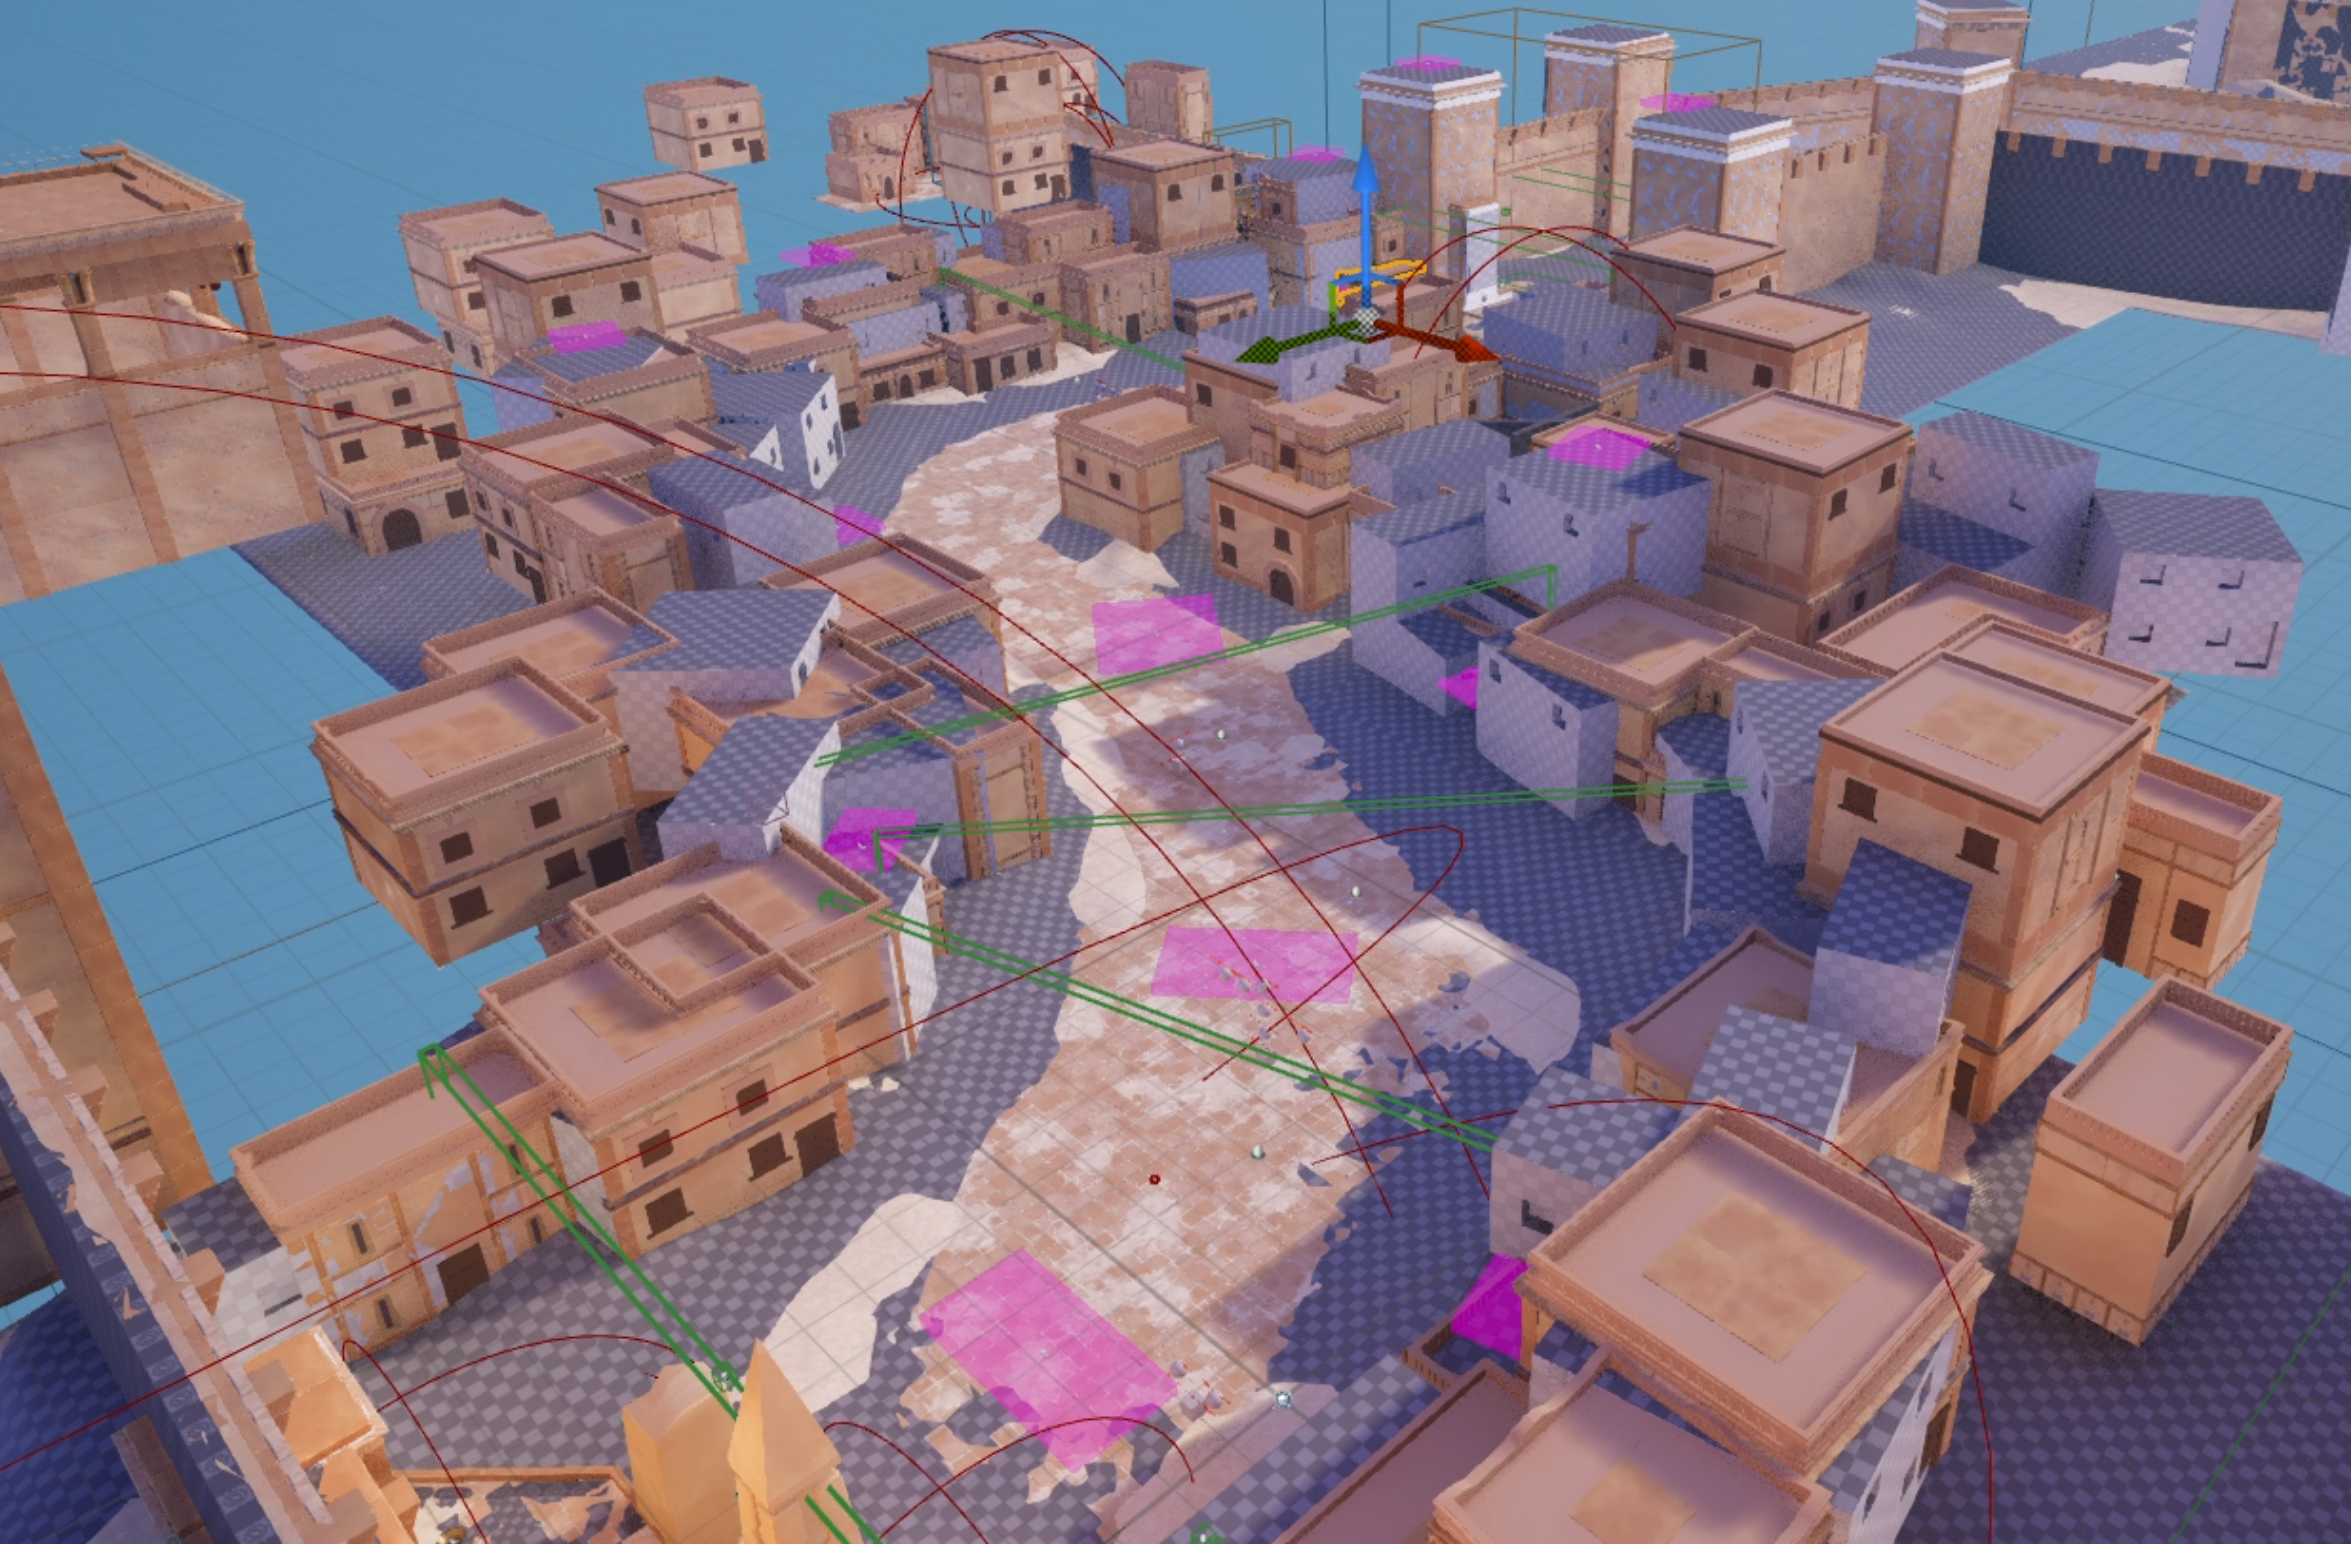
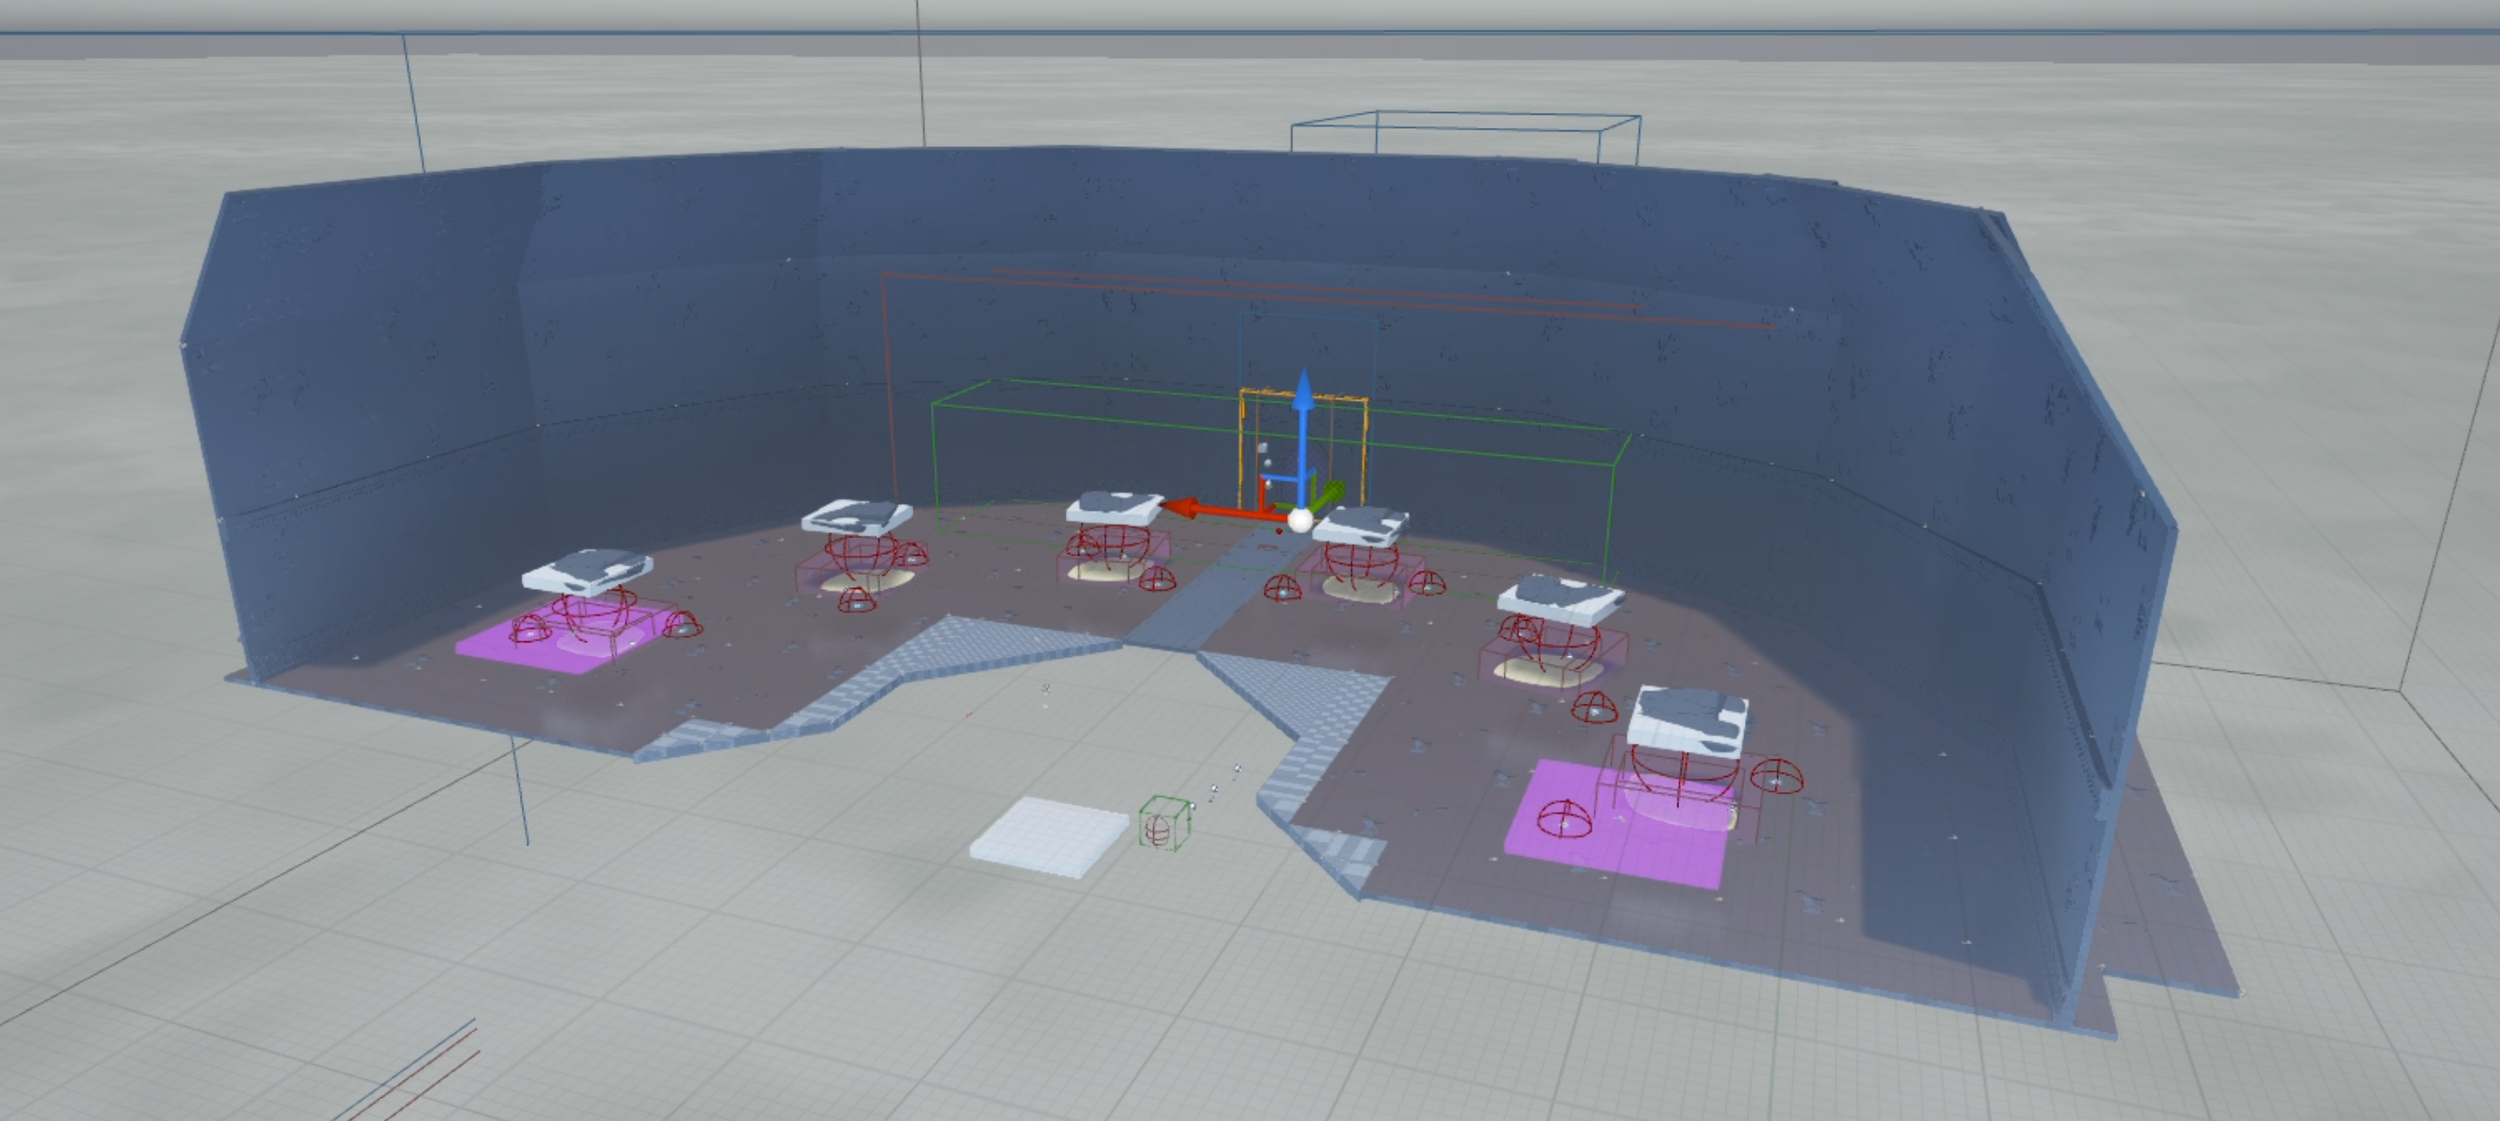
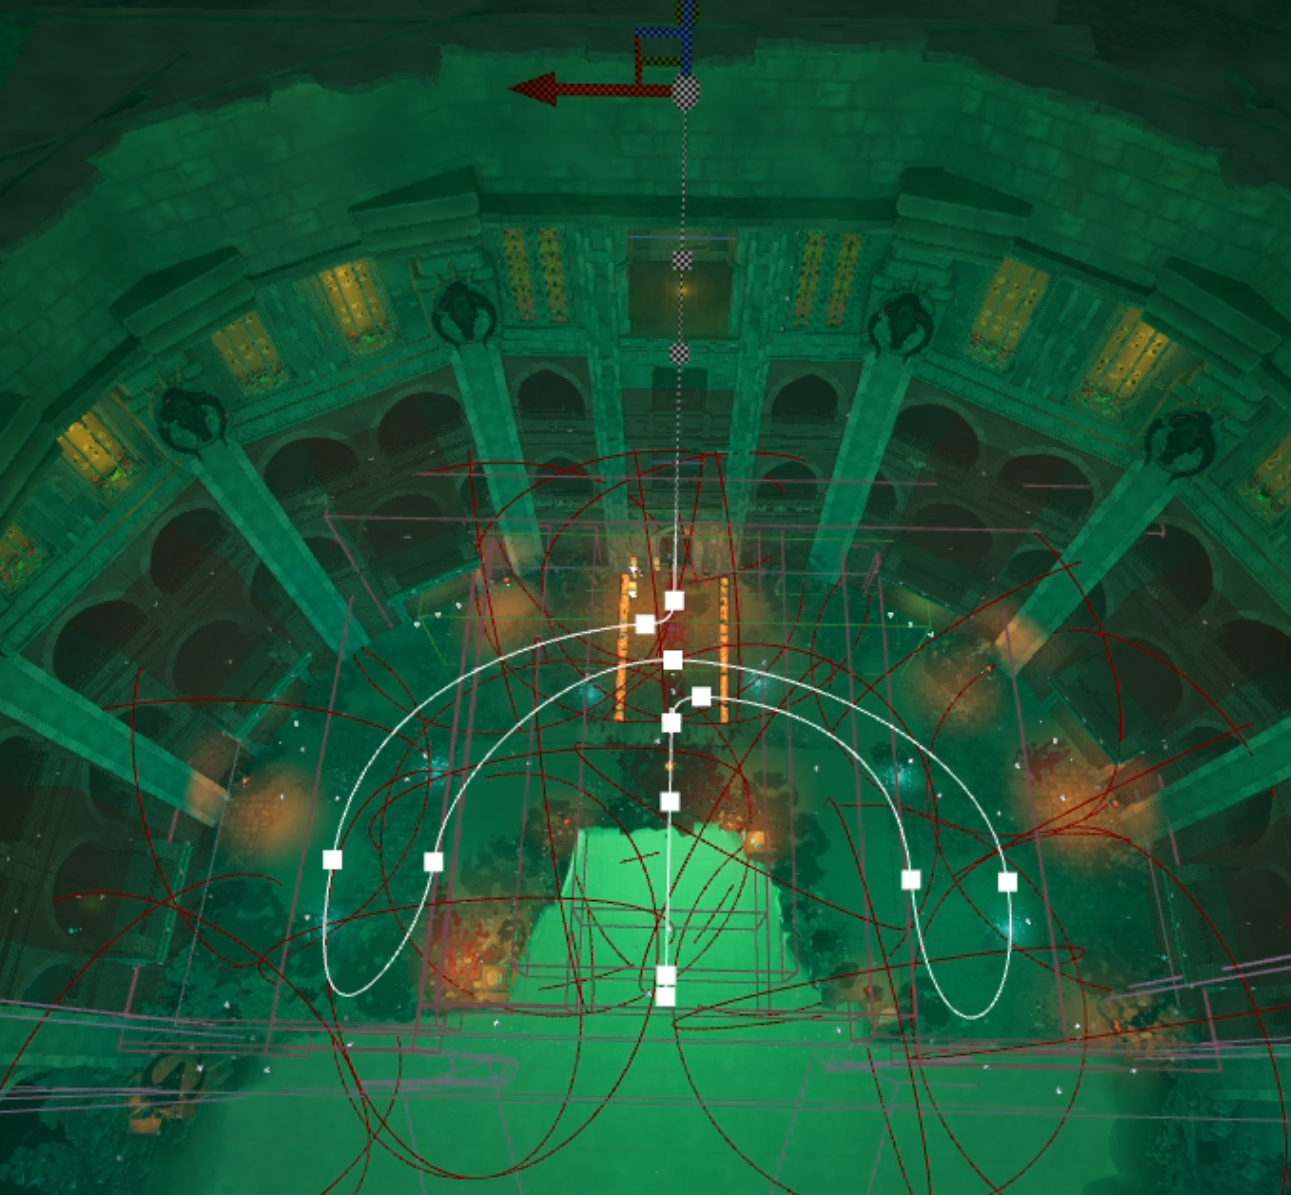
a desert map with its blockout layer, art layer and level logic enabled (pink enemy spawn volumes, green outlined trigger volumes, and pick up locations)
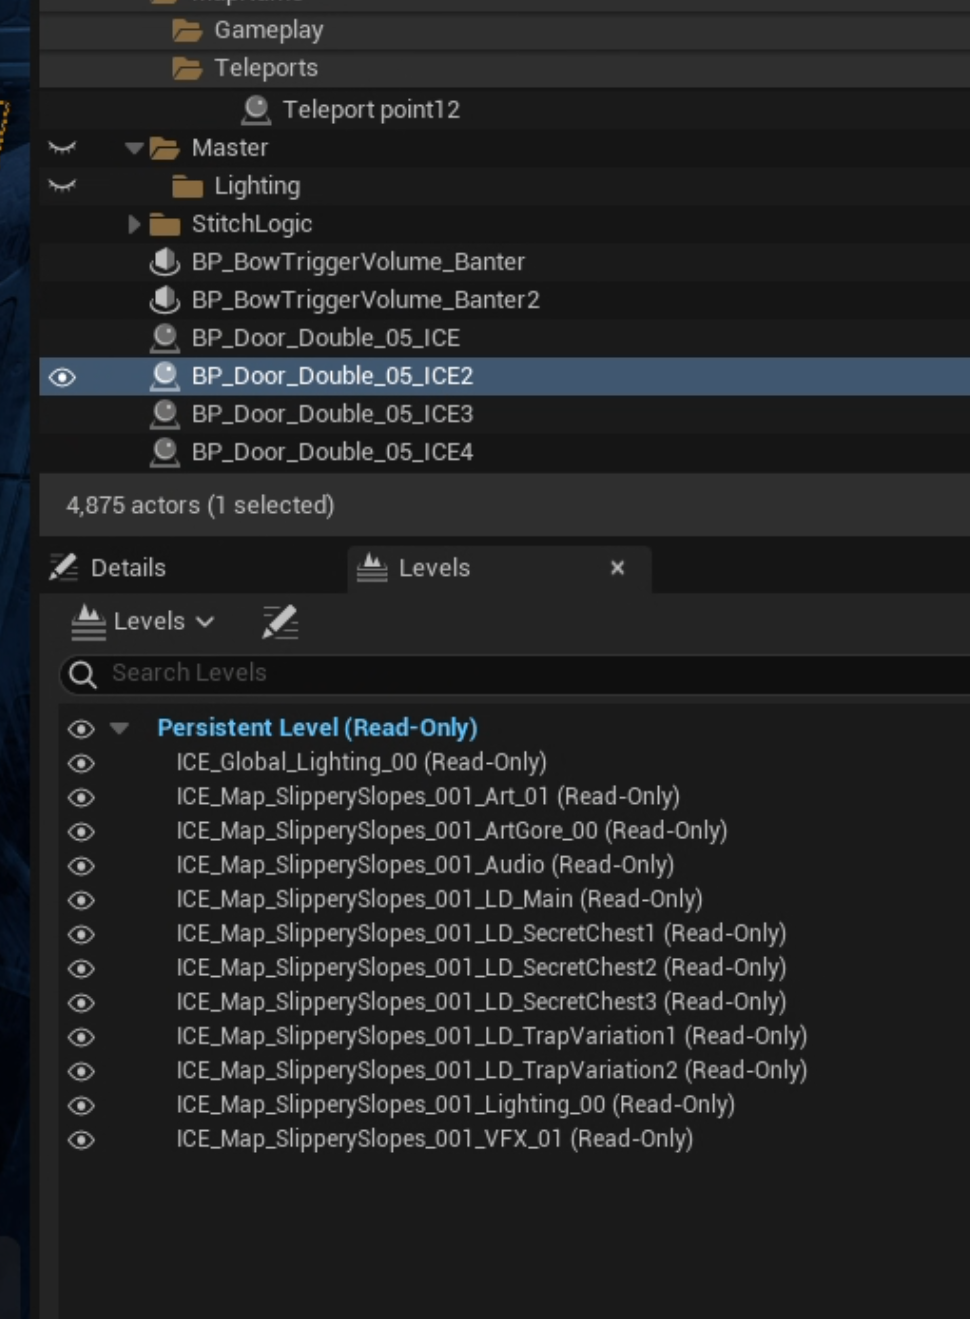
the sub-level systems panel that we used to allow artists and LDs to work on the level at the same time.
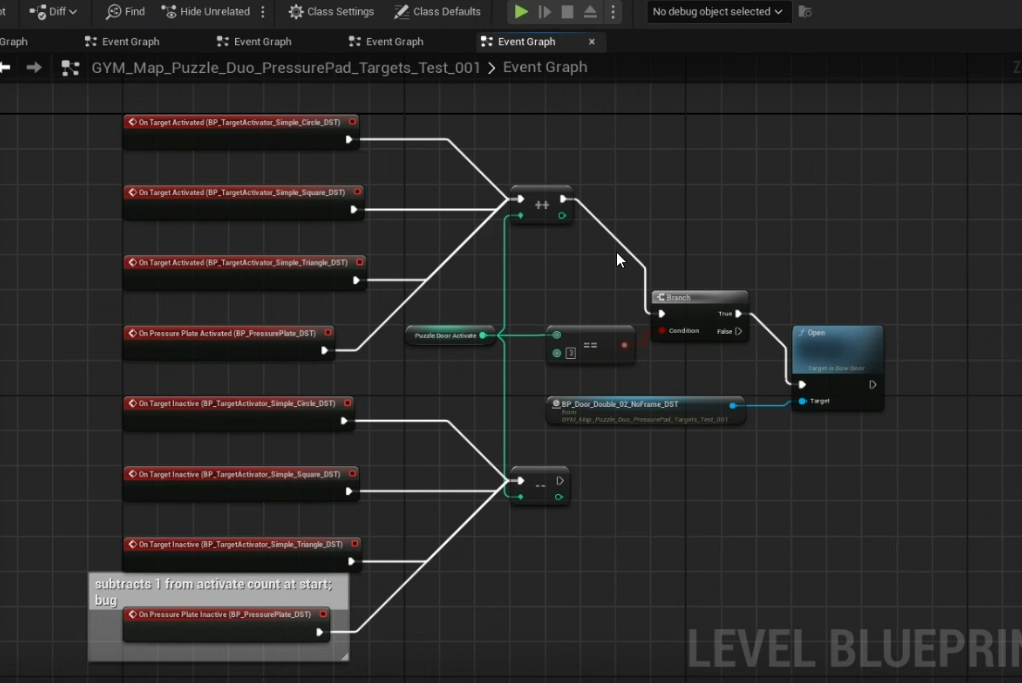
a sample of level logic for switch hunt puzzle.
6. Group test
Group testing is an extremely important task for an LD to do as it gets outside eyes on any work done to spot any issues, UX blunders or idea tweaks that the primary LD might have missed, it can be common for LDs to get far too invested to the structure, flow or idea of their levels that a new player can point out as un-intuitive or just not fun.
This is even more important for a multiplayer game like SS:Shaterverse as the nature of many players in one session is a bit of a force multiplier against the enemies and must be accounted for when setting the spawn amounts and any timed objectives. Testing with multiple players represents the usual play state much more accurately than solo testing and again more eyes mean more chances to catch any issues, for example poorly placed objective markers (floating marks that highlighted locks, or gave directions) were a very routine problem the LD team on this project would catch.
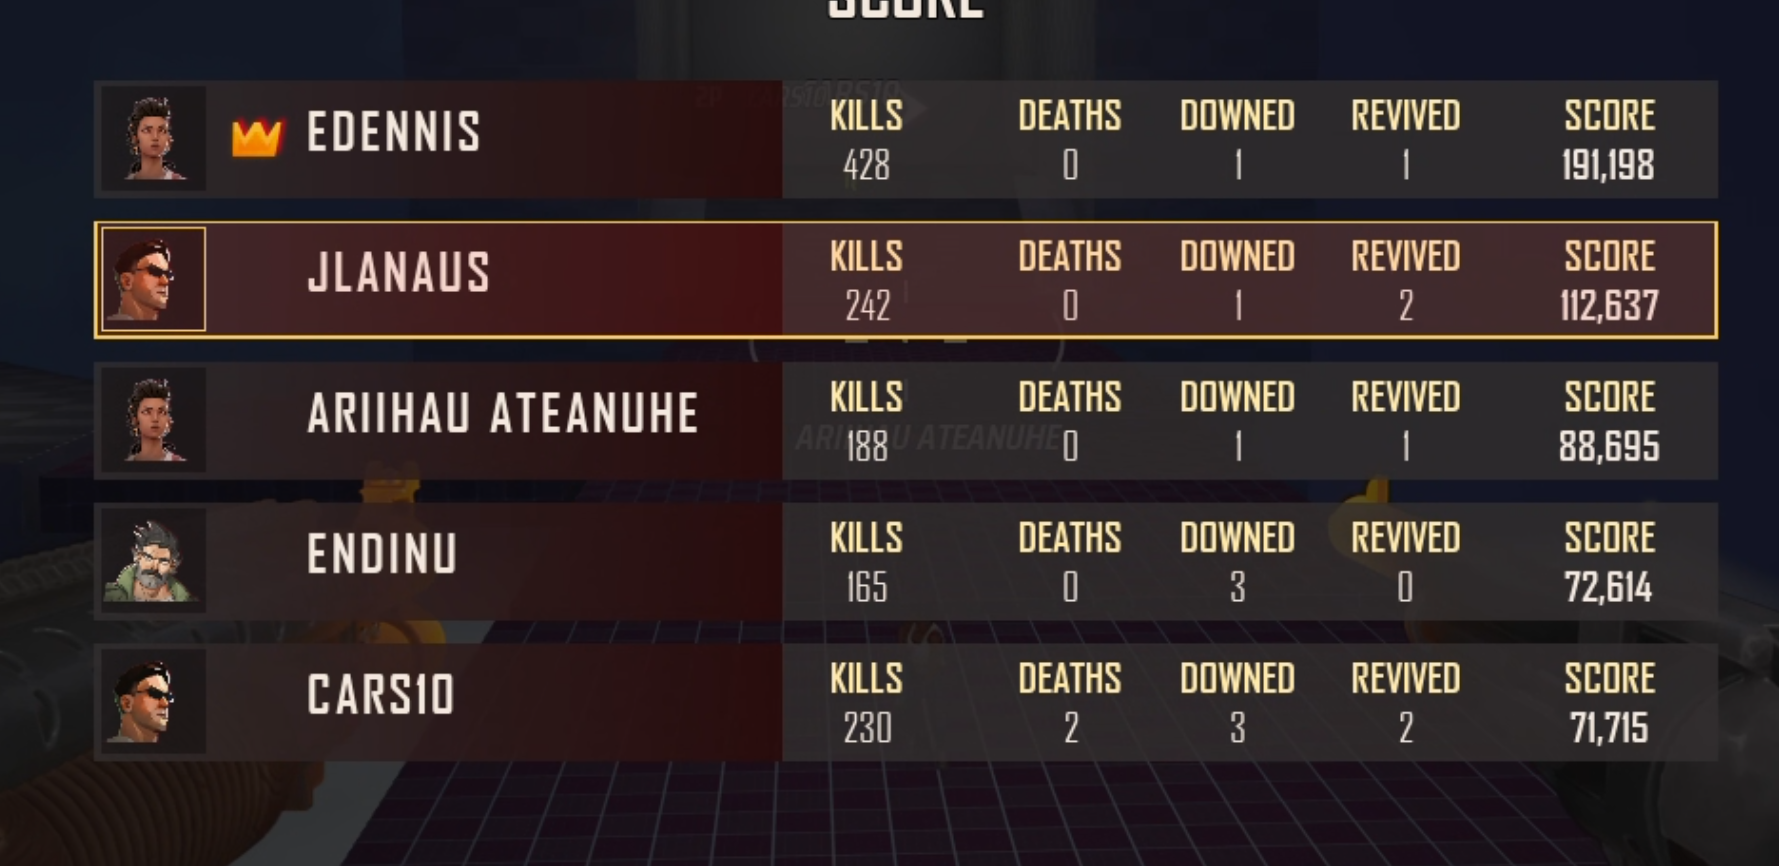
some of the LD of Game design team doing multiplayer testing
7. Level art + 8. Verification
both of these steps are very similar as they primarily involve the LD team going over the levels after the art team have done their work to make sure the level still functions correctly and give feedback, sometimes it was just checking the collision of the art assets but sometimes it was a longer conversation on the direction of the level art itself.
the last step is general due diligence and communicating with the QA team to iron out bugs, broken colliders or geometry, or missing textures, really just buttoning up the level as a whole.