Far Cry Arcade : Town Square - TDM map
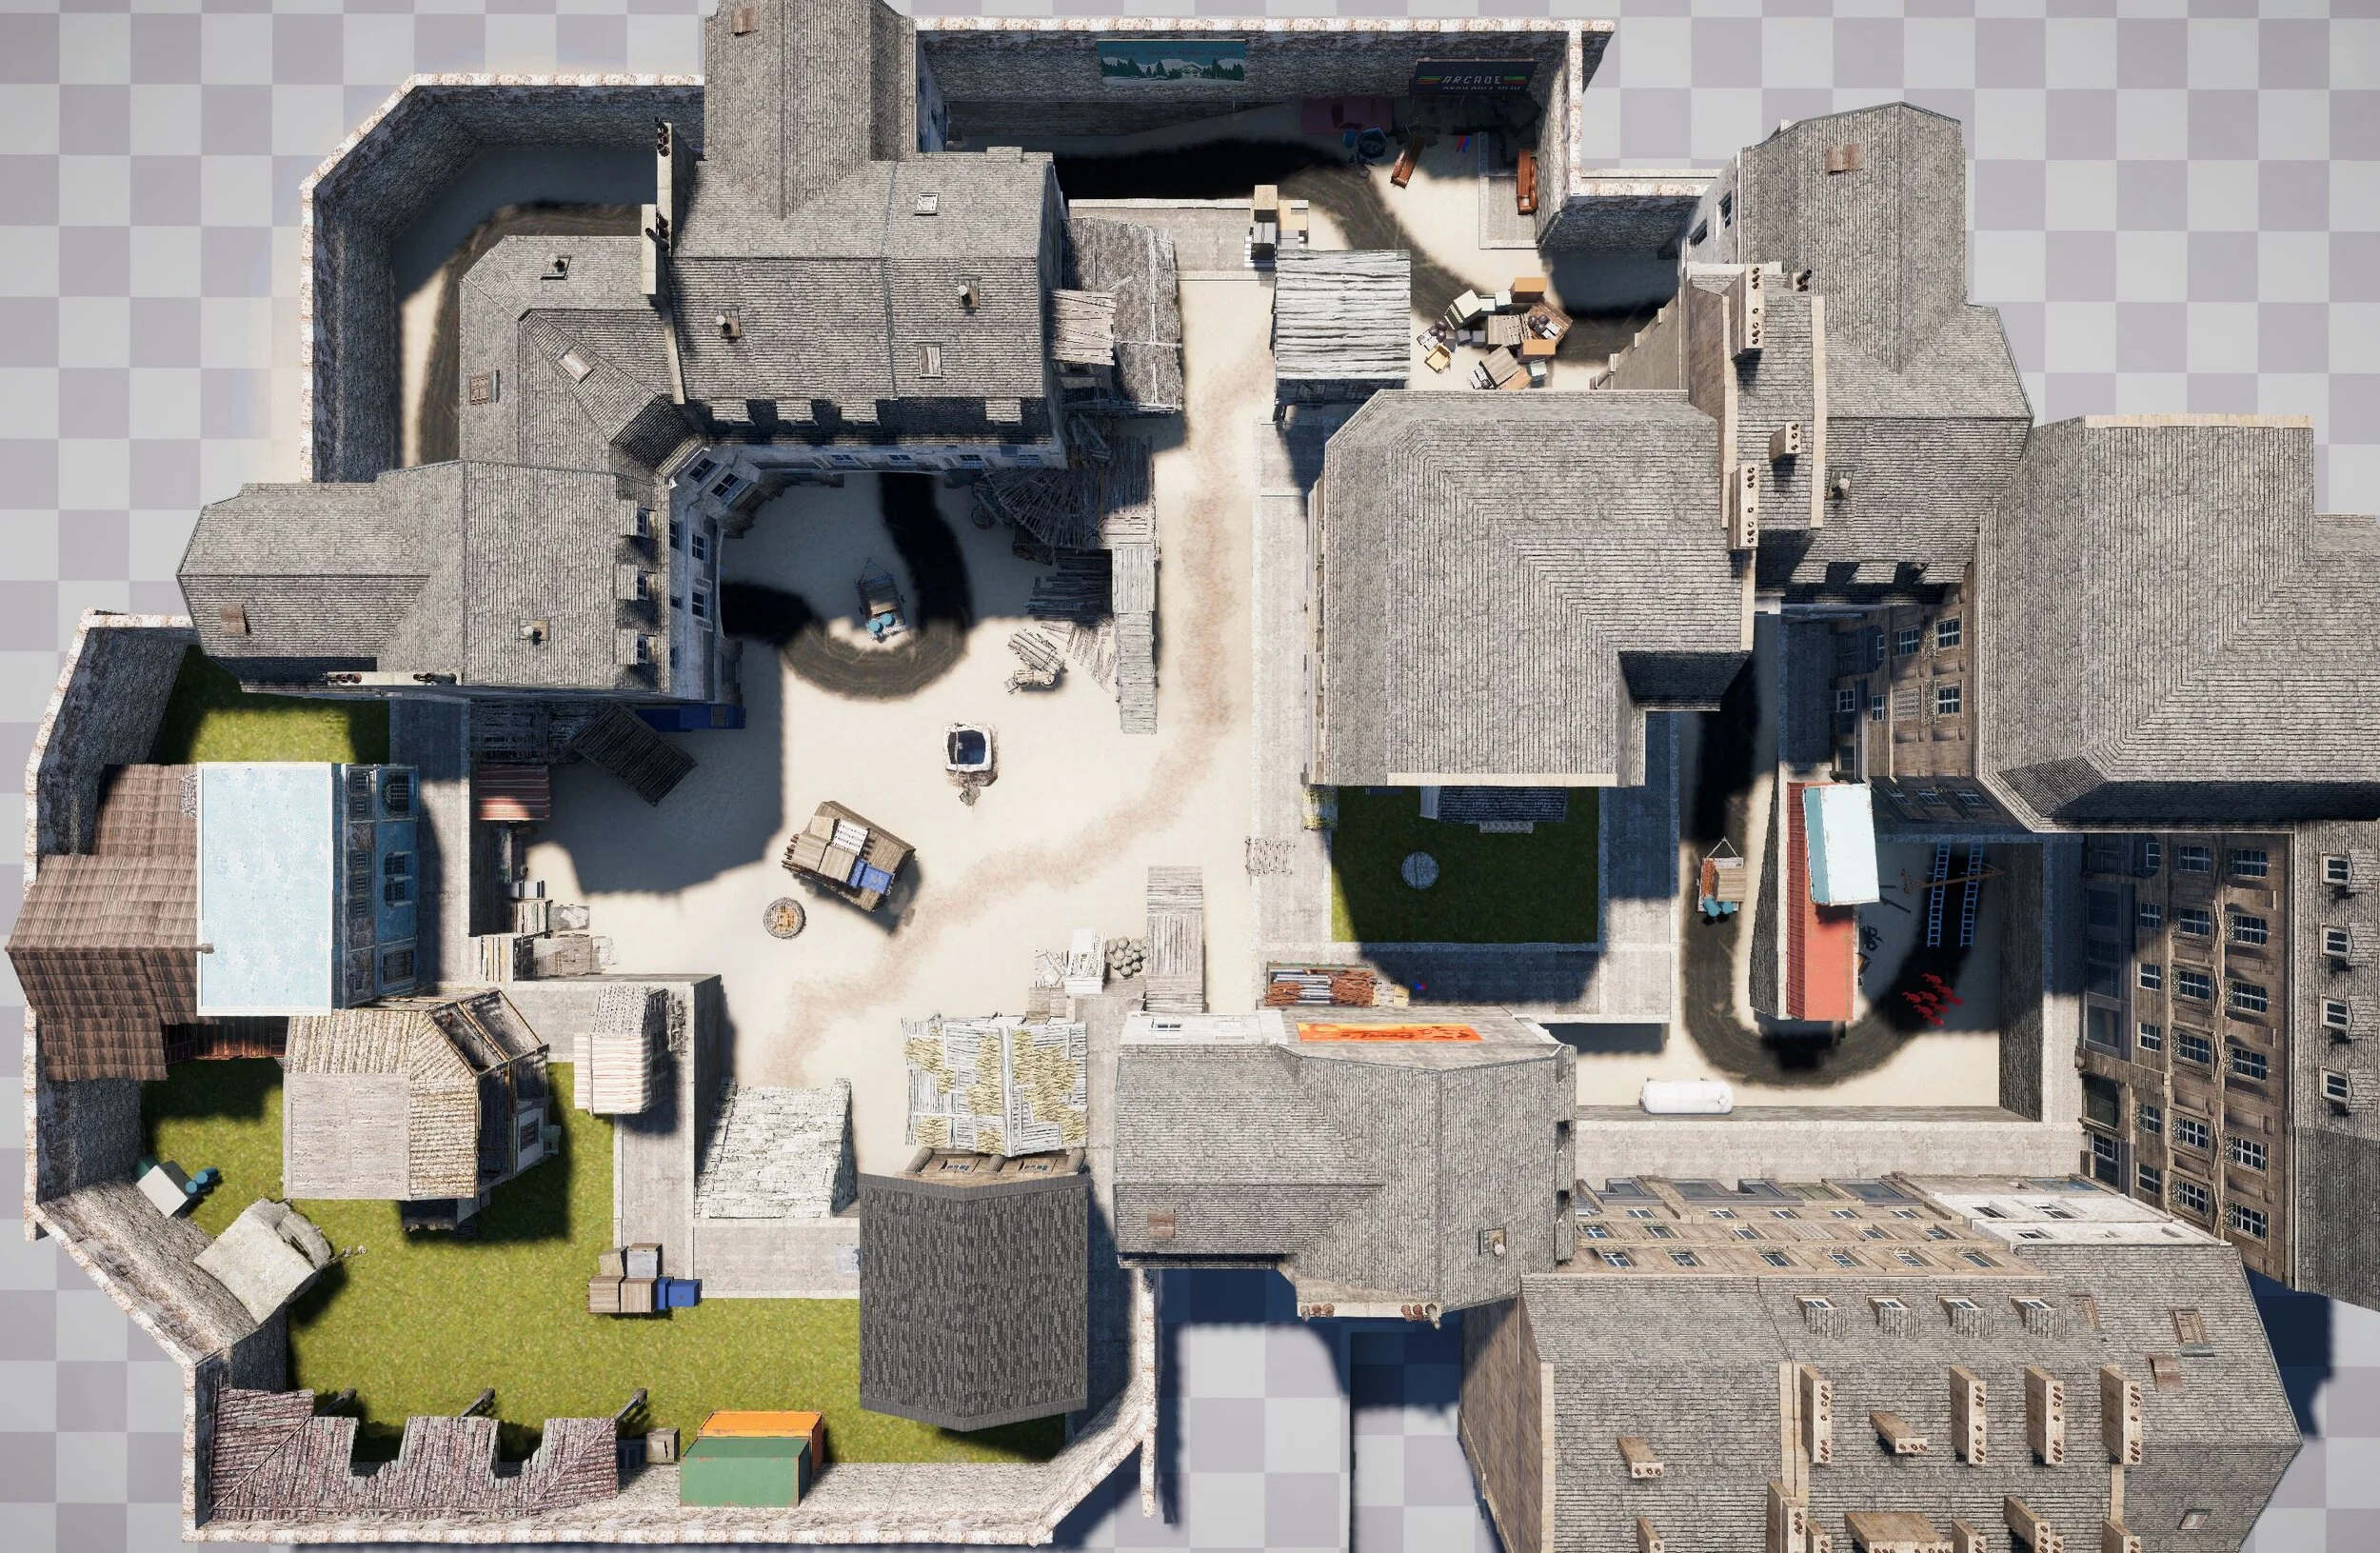
Fig 1. Finished map from above
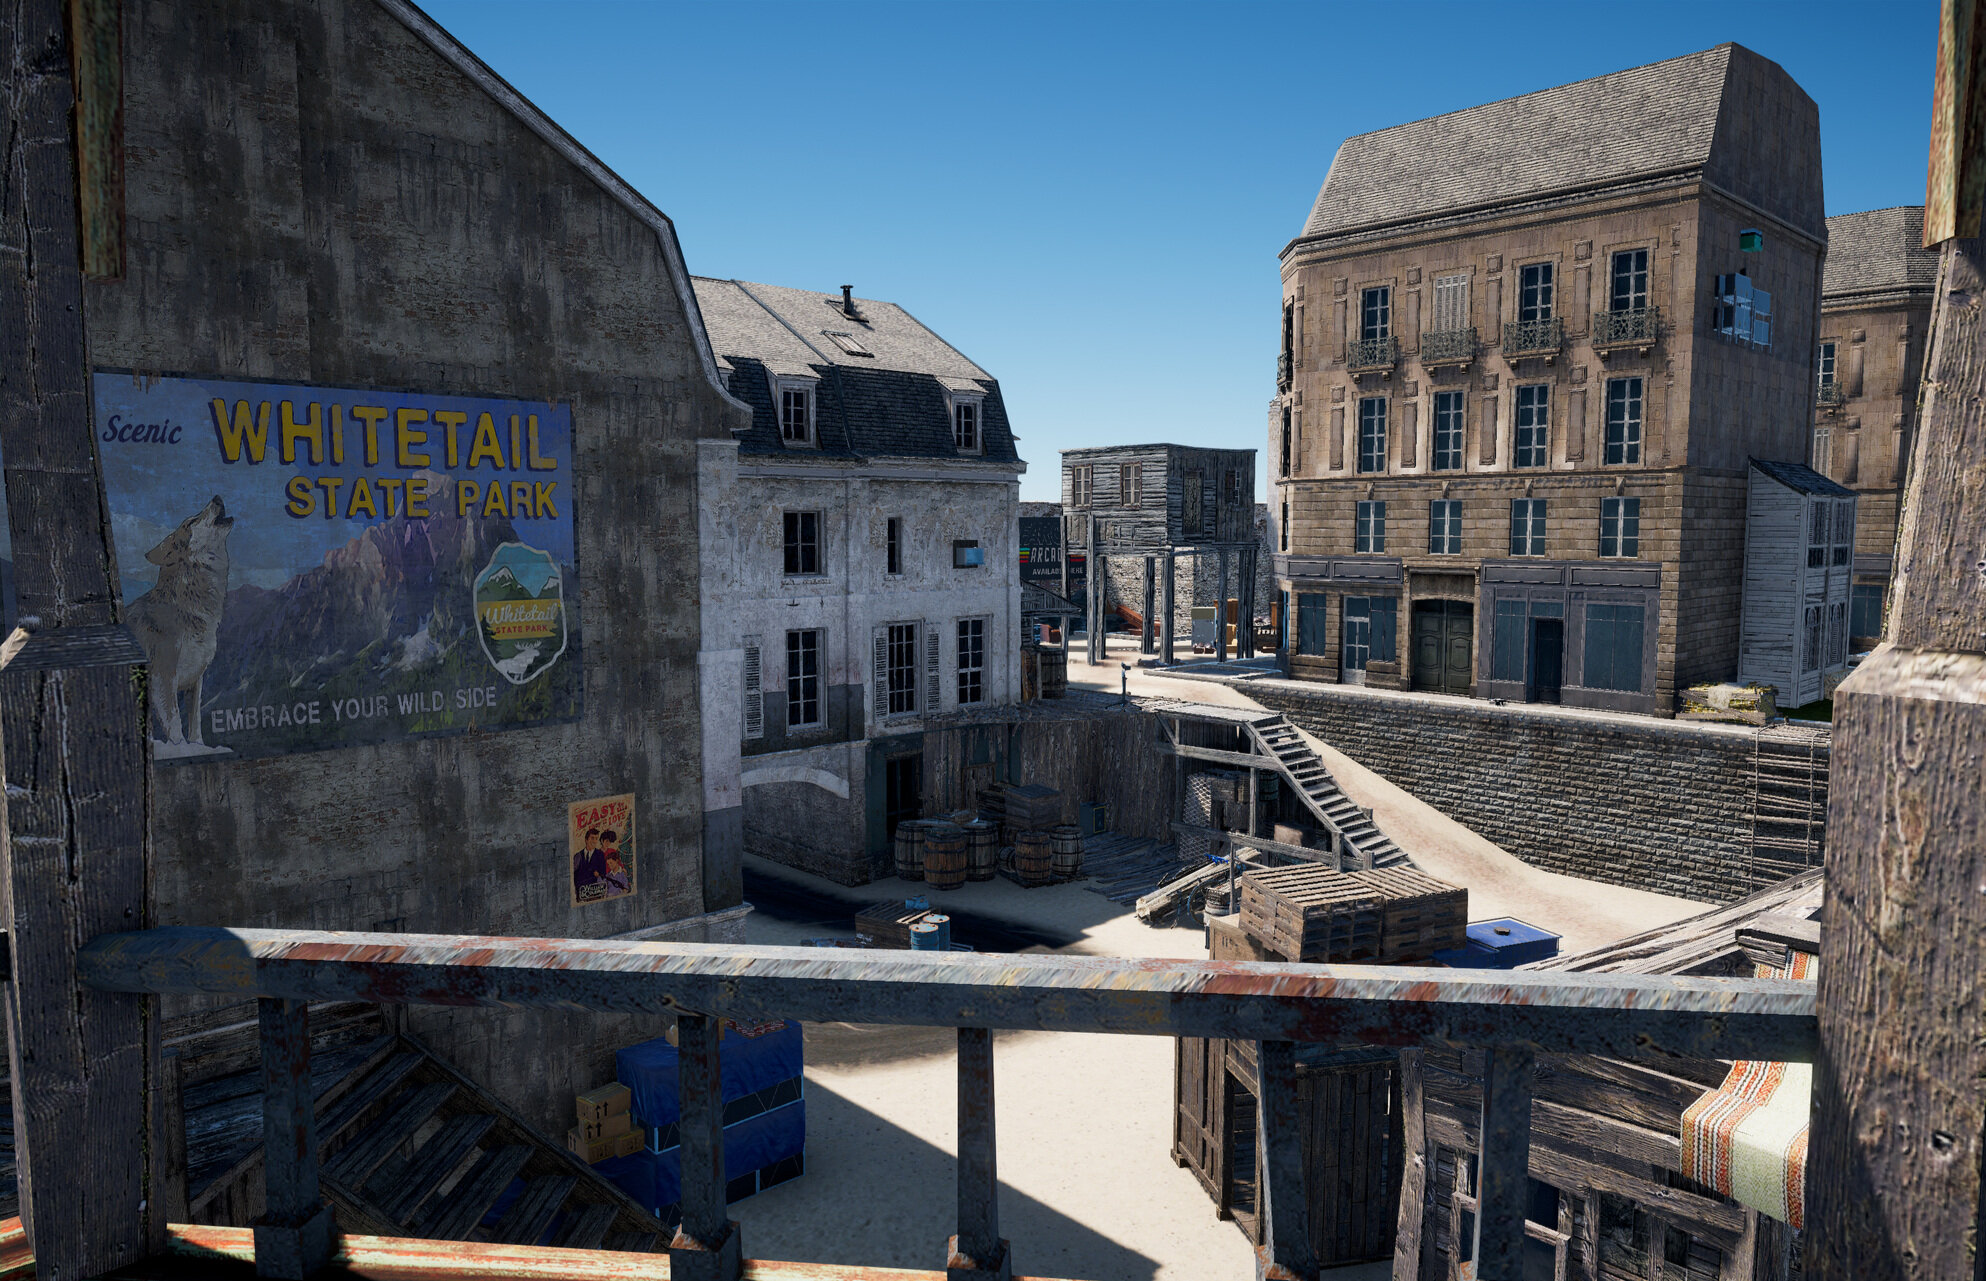
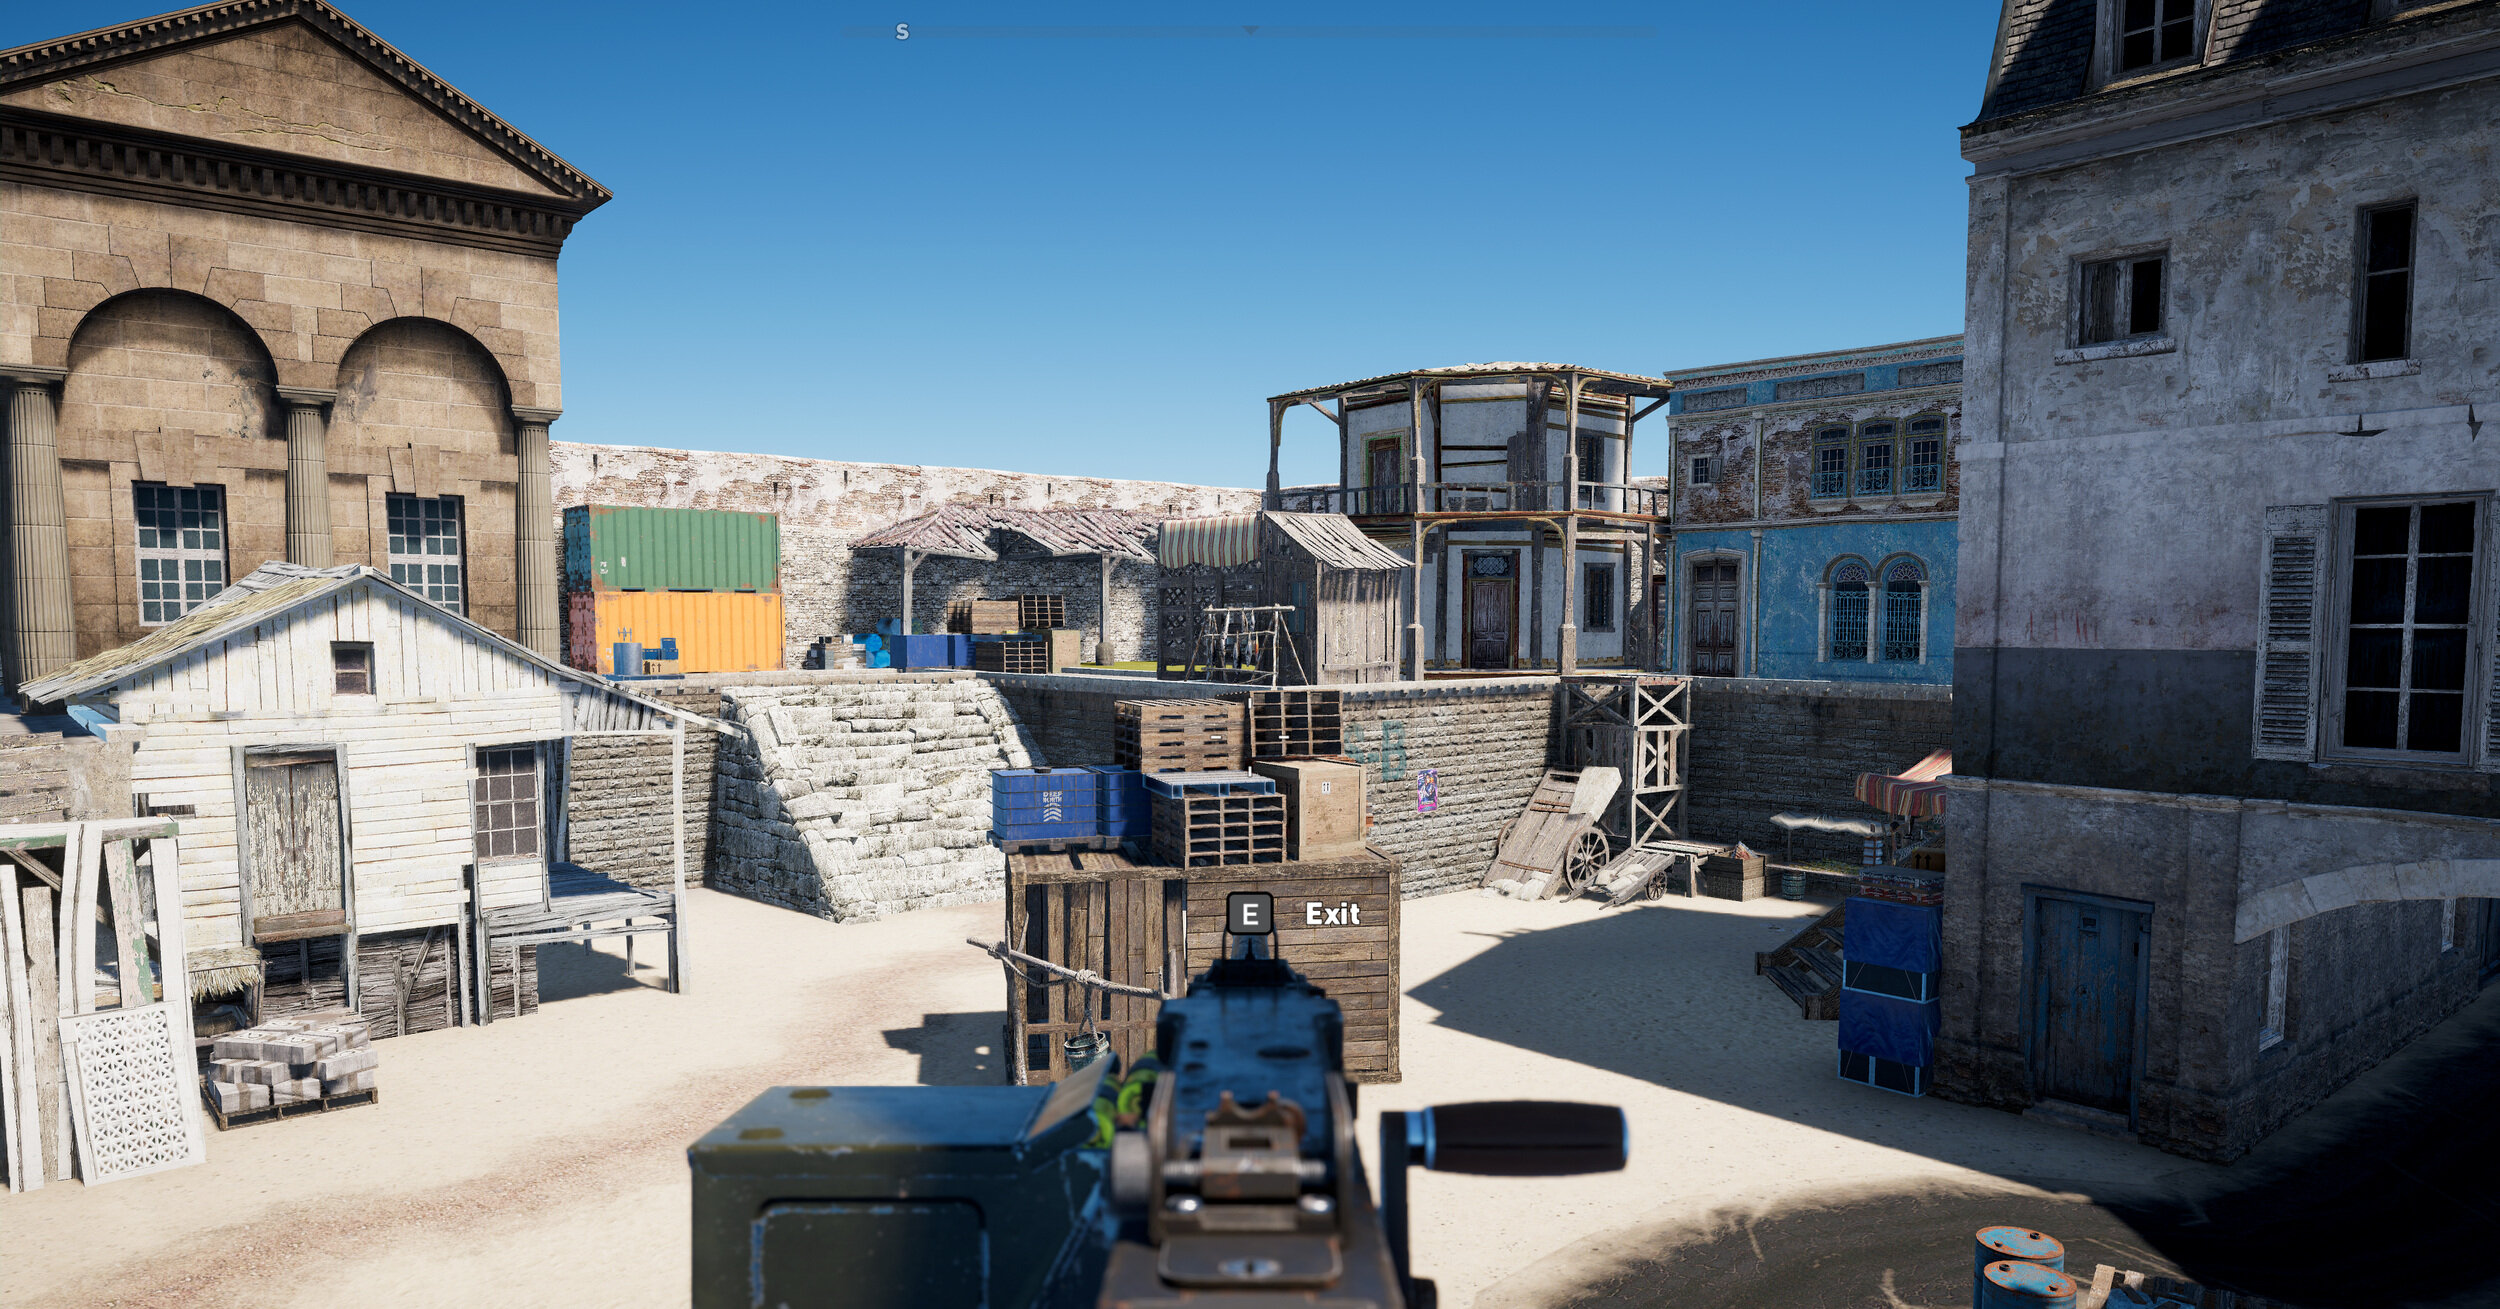
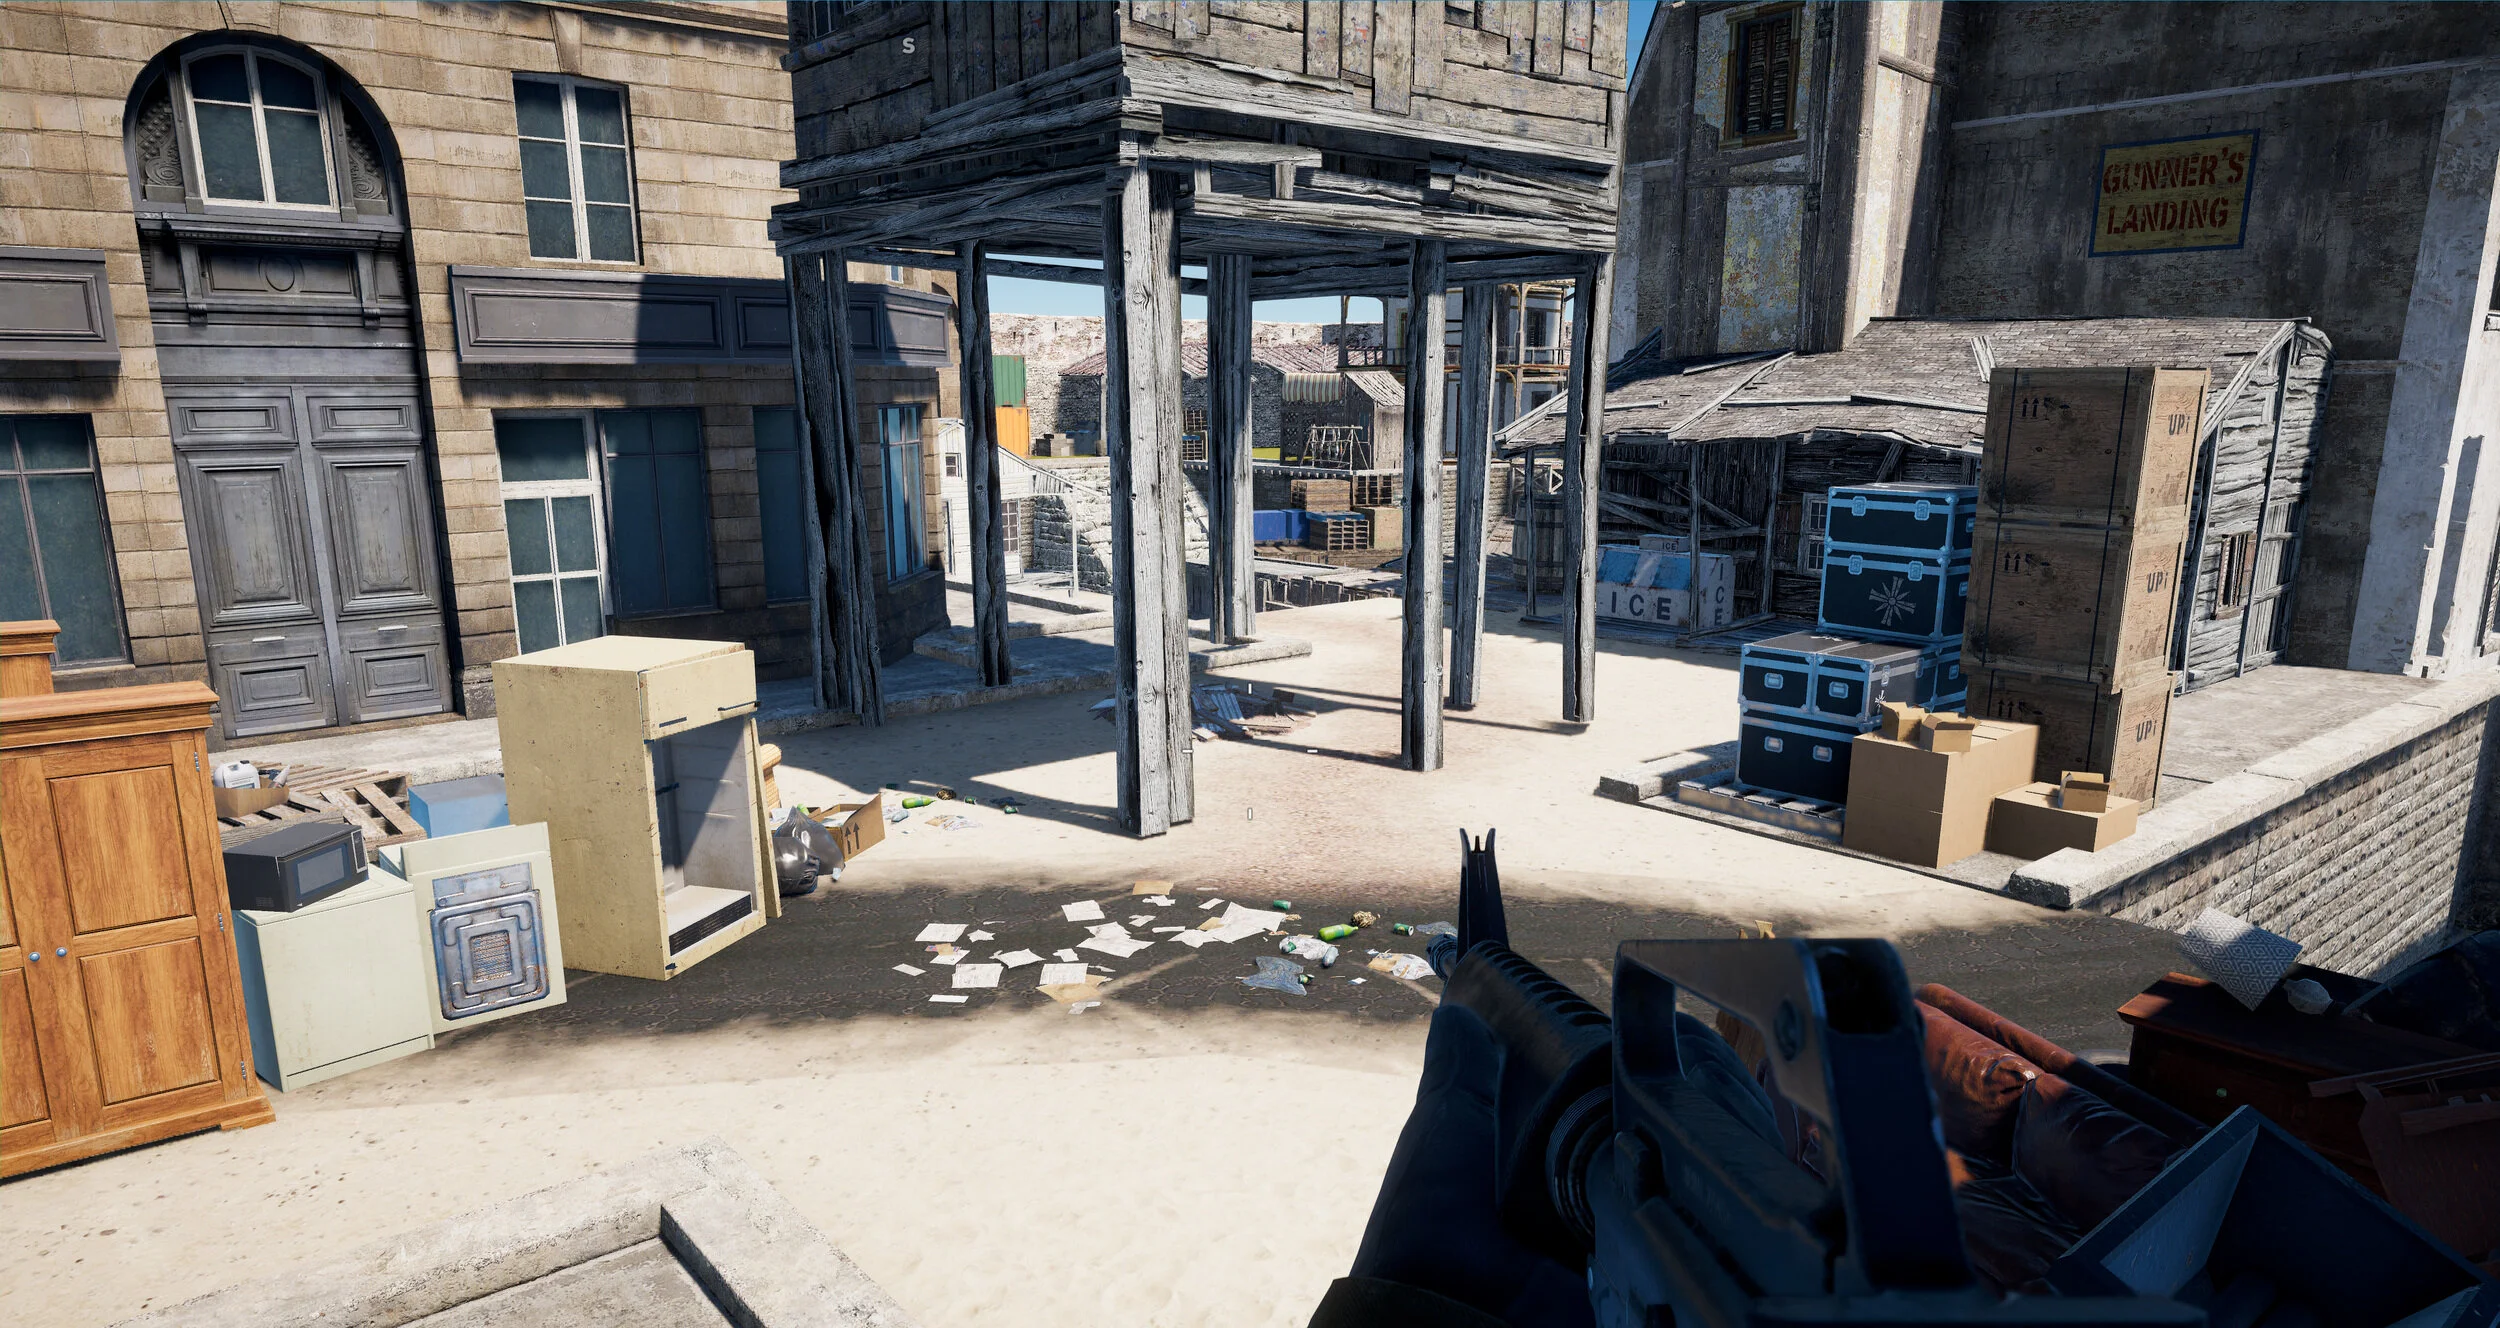
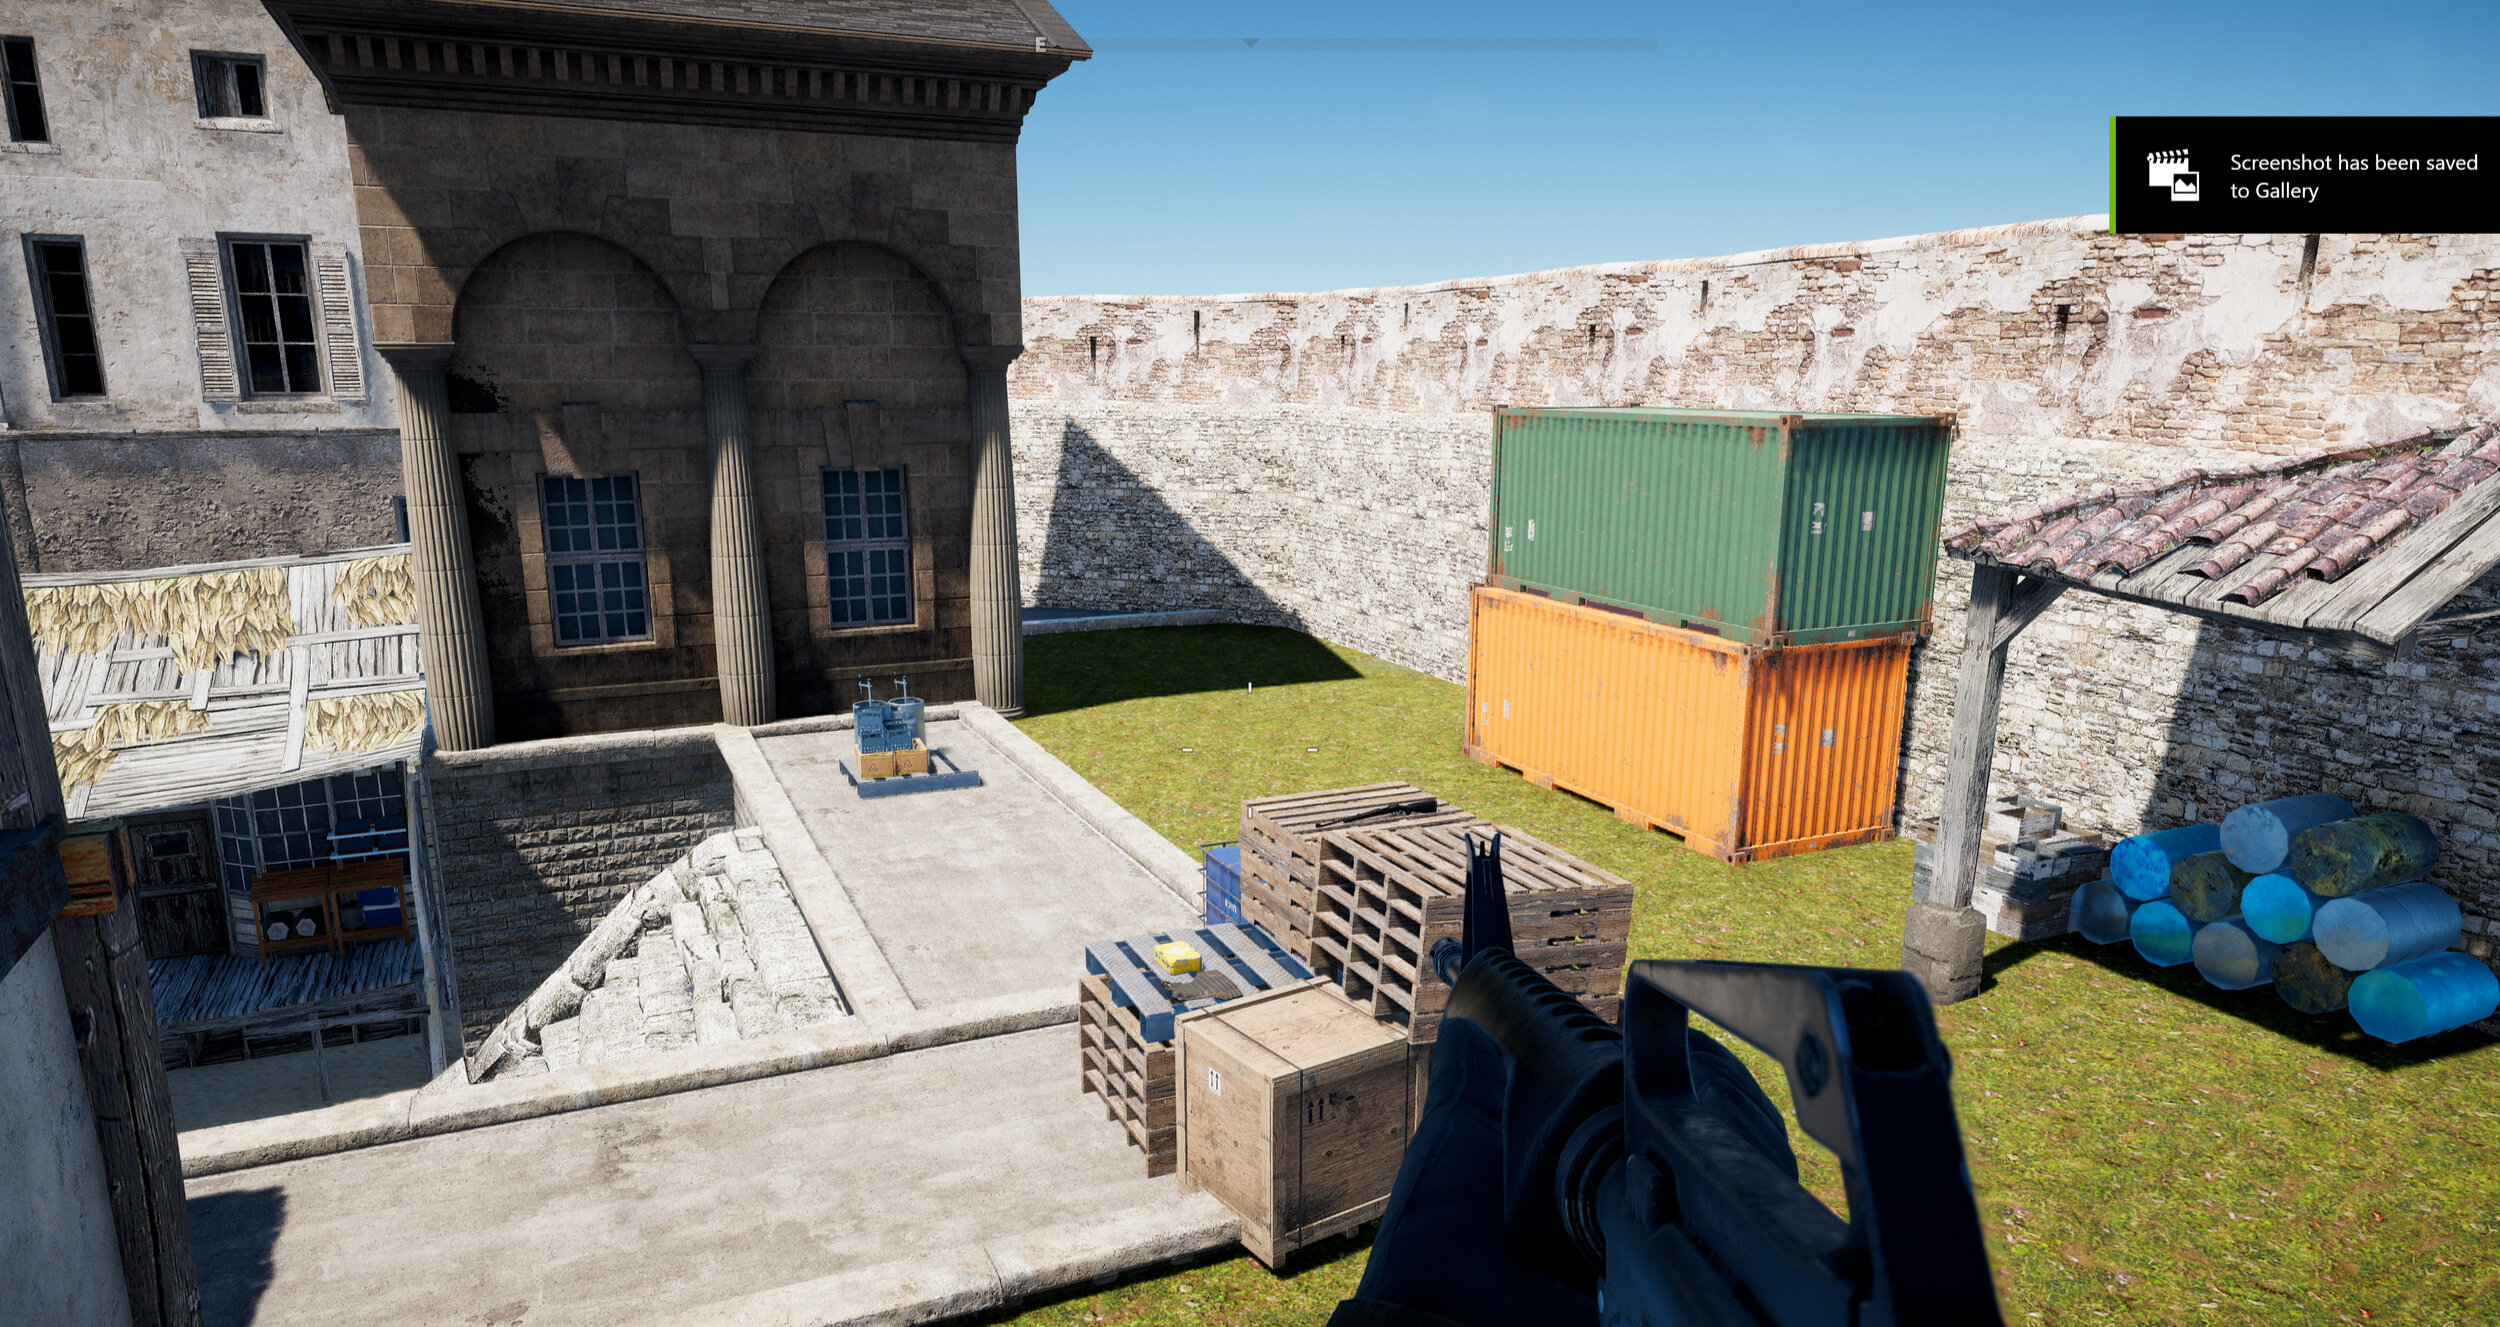
Finished Screenshots:
Basic Layout:
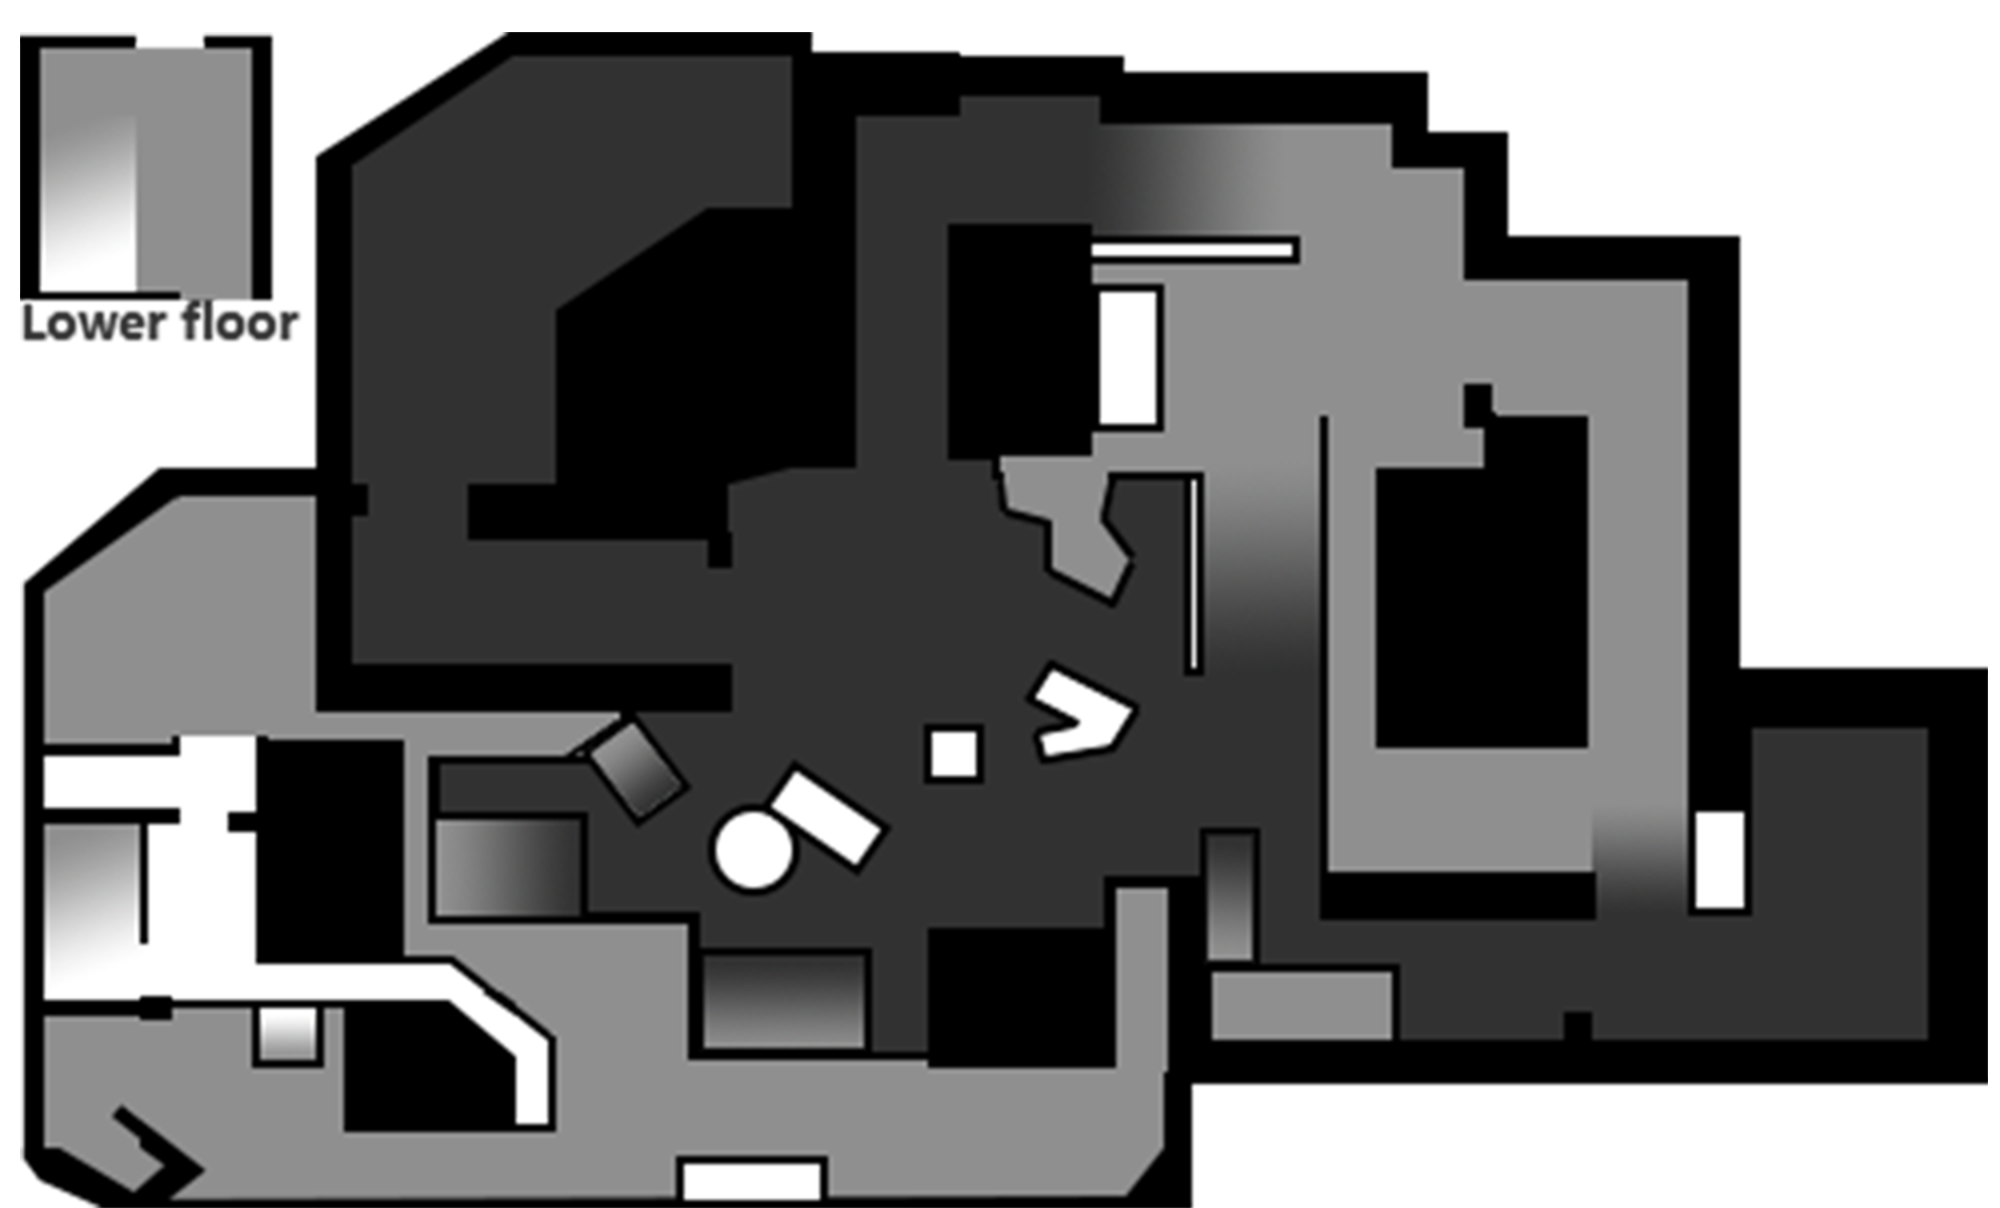
Using the diagram below I will be explaining the 3 zones of play in this level:

Fig 6. Divided map

Zone 1
this zone includes lanes for the team spawn to access the core map areas , and some hard to reach sniping points so players can fire into the other zones if they have skills to reach the higher points. the top section of the Zone includes access to a turret to balance out the higher shooting points in zone 3 and a second path into Zone 2.

Zone 2
The center of the map, it contains a very powerful weapon to encourage player interaction, along with that, the center of this map is at a lower elevation to make it easy to target from the other zones, the only raised point overlooking the center itself contains an undefended turret, to give people reasons to go-through zone 1 to the center but still have the player be vulnerable when using said turret, zone 3 has more easily accessible raised points to balance out the power difference.
Zone 3
Zone 3 mainly consists of an open area, which leads into Zone 2 and a building with multiple floors and lots of cover. The buildings have access to open areas like the roof of a small house, and access to an apartments terrace which overlooks Zone 2, the terrace also has cover to balance with the turret directly on the other side of the map. The open area of the map is mainly built to direct players to either the building in Zone 3, or towards Zone 2, however cover pieces have been added to the open area in that actual map to allow for better player survival.